Upload BOM & Gerber
-
Mobile: +86 13312967631
-
Email: sales@sugaintl.com

IPC Class 3 PCB Manufacturing & Assembly
Class 3 PCB Fabrication and PCBA Manufacturer in China
Align the applicable IPC class with bare-board fabrication, assembly acceptance, inspection, testing, traceability, and shipment records. SUGA manufactures IPC Class 3 PCBs and PCBAs in Shenzhen, supporting PCB fabrication up to 40 layers and assembly across 18 SMT lines. AOI, X-ray, flying probe, ICT, FCT, FAI, microsection, coupon, and structural verification can be linked to the required inspection, test, traceability, and shipment records.
40 Layers
25 μm Class 3 PTH Copper
75% Minimum PTH Vertical Fill
When Does a Product Need IPC Class 3?
When a product requires continuous on-demand performance, it should be classified as IPC Class 3 if any interruption in operation would result in unacceptable safety, mission, service, or recovery consequences. In all released documents related to the product, the product owner should clearly identify whether IPC Class 3 applies to the bare PCB, the assembled product, or both.
| Engineering basis | Class 2 condition | Class 3 condition | Required callout |
|---|---|---|---|
| Service expectation | Dedicated service; recoverable interruption | Continuous performance on demand; mission loss unacceptable | Product function; service condition; required class |
| Failure consequence | Controlled interruption recoverable | Downtime or loss of function unacceptable | Hazard; recovery time; maintenance access |
| Acceptance margin | Applicable Class 2 criteria | Tighter Class 3 limits for specified features and joints | Bare-board and assembly acceptance documents |
| Verification coverage | Coverage required by the governing document and product plan | Additional coverage for critical features, joints, functions, and records | Object; method; coverage; limit; deliverable record |
| Order definition | Class 2 callout where required | Class 3 standard revision, addenda, and evidence deliverables | Drawing; purchase order; quality clause; controlled data revisions |

IPC Class 2 vs Class 3
Class 3 changes the released manufacturing definition of a product. Class 3 is not the addition of one final inspection to an otherwise Class 2 order. The bare PCB drawing, PCBA assembly drawing, purchase order, and quality clause documents must all agree on whether IPC Class 3 applies to the bare PCB, the PCBA, or both. Changes made after the initial release can significantly affect plated-hole requirements, solder-joint acceptance criteria, coupons, sampling procedures, test coverage, traceability, and qualification evidence.
A frequent mistake when ordering is to reference only "IPC Class 3." This leaves the physical item and governing document open to interpretation. IPC-6012F Class 3 may also be referenced on the bare PCB drawing while the assembly drawing or acceptance document references IPC Class 2. Conflicting standards must be resolved before first-article inspection. An intermittent circuit failure in a field-replaceable module cannot be equated to the same failure in buried hardware, such as a safety interlock or a trip channel designed to operate when called upon.
The product category does not determine the class of the product. The medical, automotive, industrial, aerospace, and telecom industries all have products with different reliability requirements associated with their deliverables. It is the responsibility of the product owner to connect the controlled requirements to product-specific factors, including operating demand, hazard, recovery time, maintenance access, and the affected function.

Which IPC Class 3 Standard Applies?
IPC-6011A defines the general performance criteria for printed boards; within SUGA's manufacturing capabilities, the applicable sectional standard is subsequently determined by the construction method. The specific limits for all deliverables are documented in the product drawings, approved production data, revisions, and addenda.
| Deliverable | Governing standard | Engineering scope | Order callout |
|---|---|---|---|
| Rigid PCB performance | IPC-6012F, Class 3 | PTH; blind/buried via; microvia; registration; structural performance | Class; revision; addendum; drawing; stack-up; product limits |
| PCB acceptability | IPC-A-600M | Visual and structural acceptance | Use with performance specification and controlled drawing |
| Flex / rigid-flex PCB | IPC-6013E, Class 3 | Bend regions; rigid-flex transitions; materials; interconnects | Construction; class; revision; stack-up; flex requirements; addendum |
| Soldering process | J-STD-001J, Class 3 | Materials; soldering methods; process control | Class; revision; approved materials; process requirements; addendum |
| Completed PCBA | IPC-A-610J, Class 3 | Component and solder-joint acceptance | Link class to product, inspection, and quality documents |
| Space / military addendum | J-STD-001JS + J-STD-001J | Space- and military-specific soldering requirements | Base revision; addendum; customer clauses |
| Rigid PCB sector addendum | Applicable IPC-6012 addendum | Sector-specific rigid-board requirements | Exact addendum; required base revision |
| Cable / wire harness | IPC/WHMA-A-620F | Cable/harness process, test, and acceptance | Apply only to cable/harness deliverables |
| Program assurance | DO-254 plan; NASA workmanship; environmental qualification; customer clauses | Program-specific assurance, qualification, and records | Keep separate from PCB/PCBA acceptance callout |
IPC-A-610 Class 3 Criteria
IPC-A-610J assesses completed assemblies through examination of the actual component and solder-joint geometries, including through-hole fill and wetting, visible leads and terminations, and hidden-array acceptance. The requirements of J-STD-001J and the product drawing are not superseded by IPC-A-610J. When the product is ordered with an IPC-A-610J Class 3 designation but does not include the matching process requirements, assembly drawing, inspection coverage, or customer additions, the basis for manufacturing is incomplete.

When Do Sector Addenda Apply?
When a sector addendum is referenced, its base revision and any customer clauses become one controlled set of documents. The base document and the addendum must reference the same revision stated in the program.
Other program controls serve specific purposes. DO-254 activities address airborne electronic hardware assurance. NASA workmanship standards, environmental qualification, AS9100D quality-system controls, source approvals, serialization, and customer clauses can all be included in a production plan when invoked by the program; however, none of these can replace the applicable PCB or PCBA acceptability documents.
Before release, the controlled document list should be reconciled against the base standard, matching addendum, drawing revision, customer clauses, inspection plan, and evidence package. A CoC cannot resolve revision inconsistencies after production.
IPC-6012 Class 3 PCB Acceptance
| Feature | Class 3 condition | Failure mechanism | Verification output |
|---|---|---|---|
| PTH / blind / buried hole wall | 25 μm / 0.98 mil finished hole-wall copper | Barrel crack; discontinuity; intermittent open; reduced thermal-cycle life | Microsection at the defined measurement plane; representative coupon correlation; bare-board electrical test |
| Filled PTH / via | 12 μm / 0.472 mil wrap plating at the applicable land interface | Surface-to-barrel discontinuity; interface crack or separation | Microsection through the applicable land interface: wrap location, continuity, measured extent |
| Microvia interface | Target-land contact; interface/cap integrity; registration; void control; continuity | Interface separation; microvia crack; latent open; stacked-via failure | Structure-specific coupon; representative microsection; via-chain continuity; reliability data when specified |
| Annular ring | Finished land capture at specified layer and feature | Reduced mechanical margin; breakout; weak interconnect | Dimensional inspection or representative microsection; layer-specific registration record |
| Breakout | Layer- and feature-specific remaining connection integrity | Loss of land capture; weakened interconnect | Representative microsection; layer- and feature-specific acceptance record |
| Wicking | Controlled penetration at plated-hole or interface | Insulation loss; contamination path; structural degradation | Microsection; measured extent; disposition record |
| Hole-wall void | Controlled void location and extent in finished plating | Current constriction; crack initiation; open circuit | Microsection or representative coupon linked to the production panel and lot |
| Conductor | Finished width and continuity within drawing limits | Reduced current capacity; hot spot; open or intermittent circuit | AOI/visual; dimensional result; bare-board electrical test |
| Surface finish / handling | Finish; solderability; cleanliness; handling within product requirements | Poor solderability; leakage; corrosion; contamination; handling damage | Visual; solderability/cleanliness data when specified; isolation result |
Class 3 PCB acceptance evaluates the overall construction, including layer count, board thickness, copper weight, microvia structure, and finished-hole diameter. During the manufacturing process, a thicker PCB with a smaller finished hole affects how plating is distributed over the PCB and the margin available for uniform 25 μm hole-wall copper. Heavy copper applications also create increased demands for etching compensation, registration, resin flow, and lamination consistency. In addition to the plated-hole requirements, stacked or filled microvias introduce acceptance requirements for target-land contact, fill quality, cap condition, and interface integrity. These combinations are evaluated based on the controlled design of the microvia stack-up and interconnects, not by comparing their maximum capabilities independently. Microsections, coupons, and via-chain structures must represent the construction produced on the manufacturing panel.

SUGA supports Class 3 bare-board constructions up to 40 layers, and verification to accept or reject a Class 3 construction is based on microsections, coupons, AOI, dimensional inspection, and bare-board electrical test results filed against the panel and lot identity carried on the traveler.
Plated-Hole Integrity
Plated holes with high aspect ratios and small finished diameters are challenging because they narrow the plating window before drilling begins. Current density concentrates at the barrel mid-point, so a plating cycle that comfortably achieves 25 μm on a low-aspect-ratio hole may fall short on the highest-aspect-ratio and smallest-finished-diameter hole type on the panel. The measurement plane for the high-aspect-ratio hole should track the hole population with the highest aspect ratio and smallest finished diameter on the panel, not a fixed or convenient location.
The evaluation of wrap plating is conducted at the transition from the surface to the barrel, per the applicable IPC-6012F Class 3 filled/capped-via criterion, where a minimum of 12 μm is required. Therefore, the section plane for wrap plating must adequately capture the surface-to-barrel transition.
A section showing adequate hole-wall copper does not constitute proof of wrap plating if the section does not capture the applicable surface-to-barrel transition. If thin-barrel and thin-wrap conditions occur in different hole populations, one coupon cannot represent both conditions, and each population must be evaluated separately.
Acceptance criteria for annular rings begin with registration; however, to improve sampling integrity, the testing plan can use known sources of variation, such as panel-edge versus panel-center position and outer-layer versus inner-layer registration, which will typically diverge first. One coupon from a single fixed location on a production panel may pass while a poor-performing corner of the same panel does not. Rotating the pull locations across production lots helps ensure representative sampling.
Internal Interconnect Integrity
The introduction of microvias has shifted the inspection focus from hole-wall copper to target-land contact and interface integrity, while introducing additional variation in the probability of failure based on stack geometry.
For example, a two-level staggered microvia and a three-or-more-level stacked microvia do not have the same potential failure path; therefore, a generic coupon tested against one construction does not qualify the other.
Stacked and filled vias concentrate stress at the target land under thermal cycling. The continued need for via-chain continuity and interconnect stress testing, when reliability performance data is required, must take into consideration the actual geometry of the via stack rather than simplified test structures.
Electrical testing confirms that a net has a conductive path at the time of the test; however, electrical testing does not determine the remaining copper margin on the hole wall or the degree of formation of the interface.
A narrowed, nicked, or discontinuous conductor found later by AOI or dimensional inspection may be the visible result of a defect that was not detected by electrical testing. Consequently, AOI and dimensional inspection should be read together with electrical test results rather than as an either-or pass/fail decision.
Class 3 Assembly Acceptance by Joint Type
The acceptance process for Class 3 assemblies is based on the geometry and visibility of the joint types.
| Joint geometry | Acceptance condition | Failure mode | Primary method | Supplemental method |
|---|---|---|---|---|
| Plated through-hole | 75% minimum vertical fill; wetting; lead position; land condition; clearance | Insufficient fill; non-wetting; barrel/land separation; clearance conflict | Visual/optical at barrel and solder-side land; fill assessed to the applicable view | Electrical or functional verification; destructive analysis for qualification or failure analysis |
| Chip termination | Contact; wetting; alignment; polarity; package-specific overhang | Open; skew; tombstone; insufficient wetting; bridge | Visual + AOI using component-specific criteria | Electrical or functional verification |
| Gull-wing / J-lead | Heel/side/toe contact per package geometry | Open; non-wetting; insufficient fillet; lifted lead; bridge | Visual + AOI using joint-specific views | Electrical continuity verification |
| BGA / QFN / LGA | Alignment; solder distribution; void condition; connection integrity | Hidden open; head-in-pillow; bridge; process void; non-wet connection | Package-selected X-ray views + visible-package inspection | ICT; flying probe; electrical test; FCT for accessible nodes and defined coverage |
| Connector / high-mass component | Solder volume; thermal response; PTH condition; retention; product loading | Insufficient fill; cold/cracked joint; connector fracture; load fatigue | Visual/AOI; X-ray when the critical region is obscured | Functional/load verification; independent mechanical-support evidence |
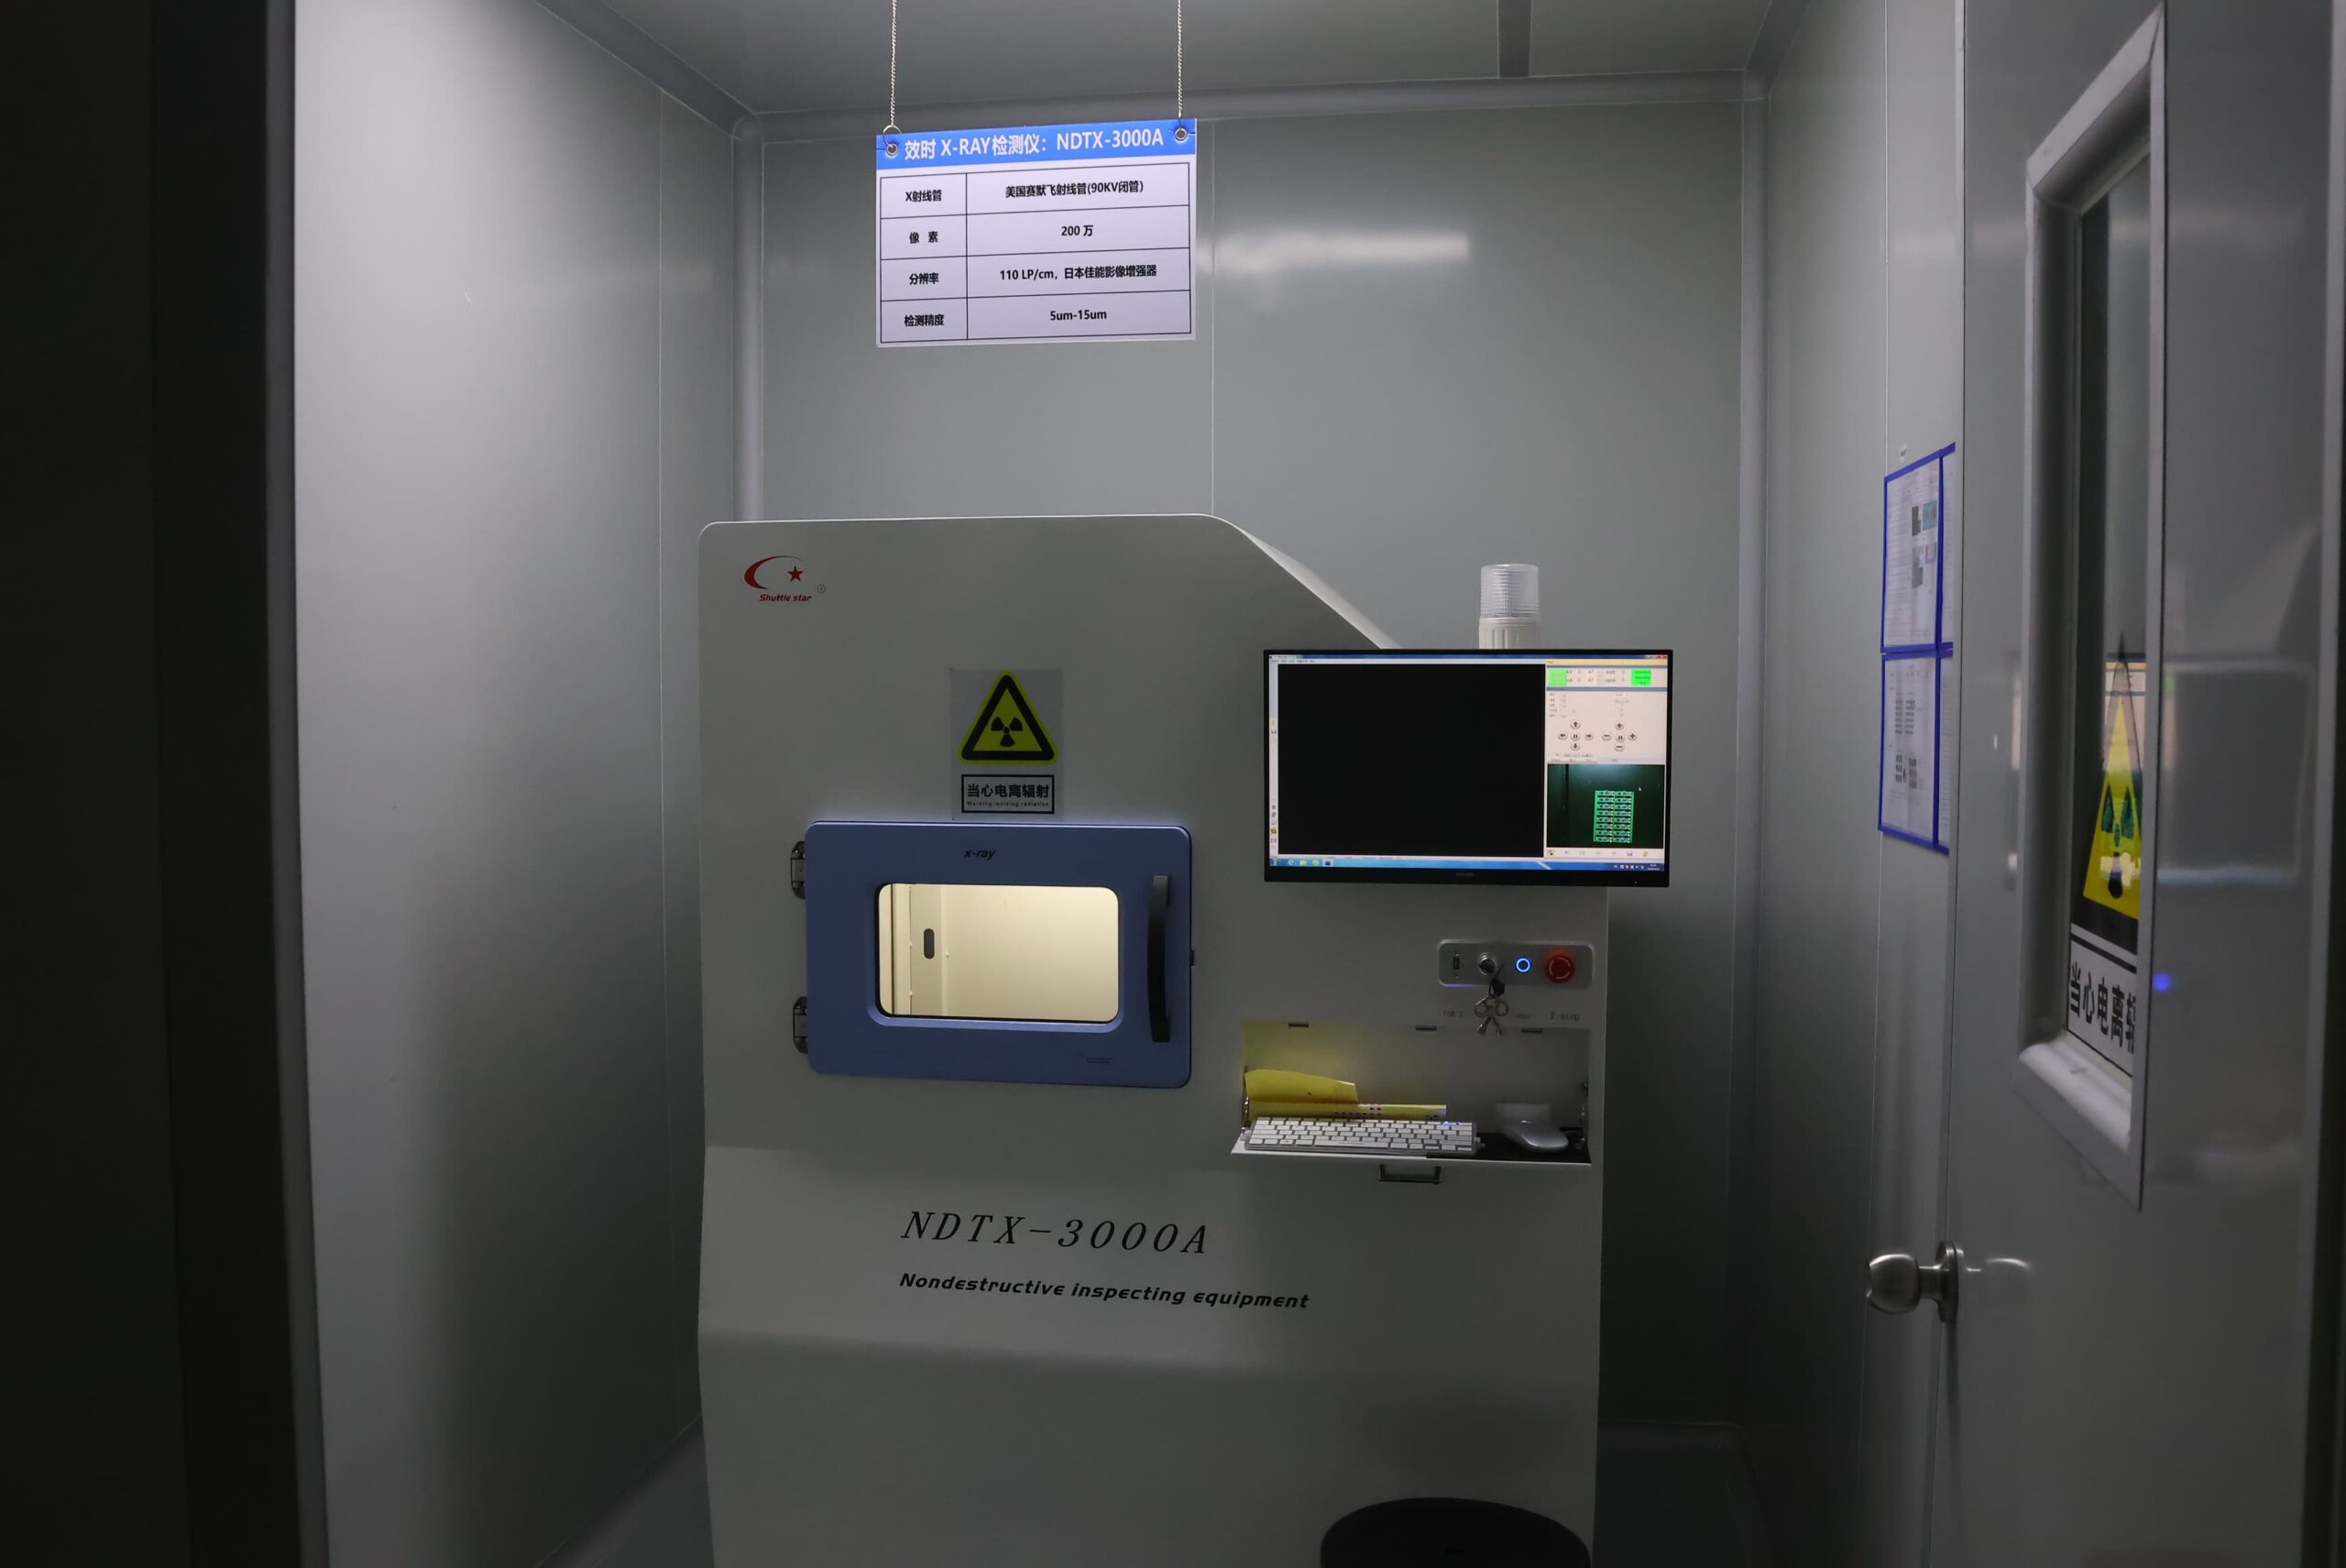
Neither AOI nor X-Ray is sufficient to inspect every package type effectively, as neither method is completely capable of verifying all geometries and interfaces. While X-Ray is used to identify solder distribution, bridges, and void patterns, it cannot determine all metallurgical interfaces in a soldered connection. The inspection definition must include the package, view, node, programmed function, coverage, test limits, and archived performance records.

Through-Hole Acceptance
The minimum vertical fill requirement for the applicable Class 3 PTH solder-joint criterion is 75%. The requirement for 25 µm of copper applies to bare-board hole-wall copper, while the 75% requirement applies to solder inside the assembled joint. Visible solder on the solder-side land does not provide sufficient evidence that the barrel fill, wetting, land condition, or clearance requirements have been met. Large copper areas and high thermal mass may dissipate heat from the solder connection barrel; therefore, the soldering profile or selective-soldering method must address the actual connection, not just the nominal component type.
SMT Package Inspection
Chip terminations, gull-wing leads, and J-leads have different contact surfaces exposed to solder. BGAs, QFNs, and LGAs have contact surfaces that are either partially or completely hidden from view; thus, the dividing line for inspection is defined by the part's pitch and standoff distance, not by the package family. A QFN with a 0.5 mm pitch and a full ground-pad array behaves more like a BGA than a visible-leaded part. Both require similar X-Ray coverage, although the QFN is not designated as a BGA. Below about 0.4 mm pitch, AOI resolution on visible-lead parts deteriorates to the point where bridge and skew callouts require X-Ray confirmation rather than optical confirmation alone. Package-selected X-Ray provides additional evidence of hidden solder distribution, head-in-pillow defects, and process voids, while electrical or functional testing confirms accessible connectivity but does not confirm latent interface cracks that have not yet appeared under load or thermal cycling.
High-Mass Solder Joints
High-mass components such as connectors, relays, transformers, and similar items create both a thermal-balance and load-path issue at the solder joint. Large copper areas can draw heat away from the barrel, while insertion force, cable pull, and vibration can transfer stress into the solder connection. Therefore, the connections need adequate solder volume and wetting, a soldering process compatible with the local thermal mass of the joint, and mechanical retention that carries the product load away from the solder fillet.
Wave soldering, selective soldering, or manual soldering is selected based on local thermal mass, joint accessibility, adjacent-component constraints, and the likelihood of thermal shadowing. While visible inspection provides evidence for accessible solder joints, X-Ray inspection can supplement visible inspection for critical areas that are obscured from view. Load verification and mechanical-support evidence also address risks that cannot be confirmed by visual inspection alone.
How Is Class 3 Acceptance Documented?
Inspection results are valid only when they specifically identify the released product revision, affected lot, panel, assembly, or serial number and provide sufficient detail to define the object inspected, inspection method, coverage, acceptance limits, and disposition.
| Process node | Control variable | Failure mode | Verification | Record | Coverage |
|---|---|---|---|---|---|
| Product data | Gerber/ODB++; BOM; placement; drawing; program; test-limit revision | Wrong revision; uncontrolled change | DFM/DFT review; released-data cross-check; FAI configuration correlation | Engineering review; released-data list; FAI link | Gerber/ODB++; BOM; placement; drawing; program; test-limit consistency |
| Material / traveler | Material identity; lot; storage; production traveler | Wrong material; mixed lot; expired material; missing history | Incoming identity and lot check; storage-status review; traveler audit | Material record; lot record; traveler | Identity; lot; shelf life; storage; process history |
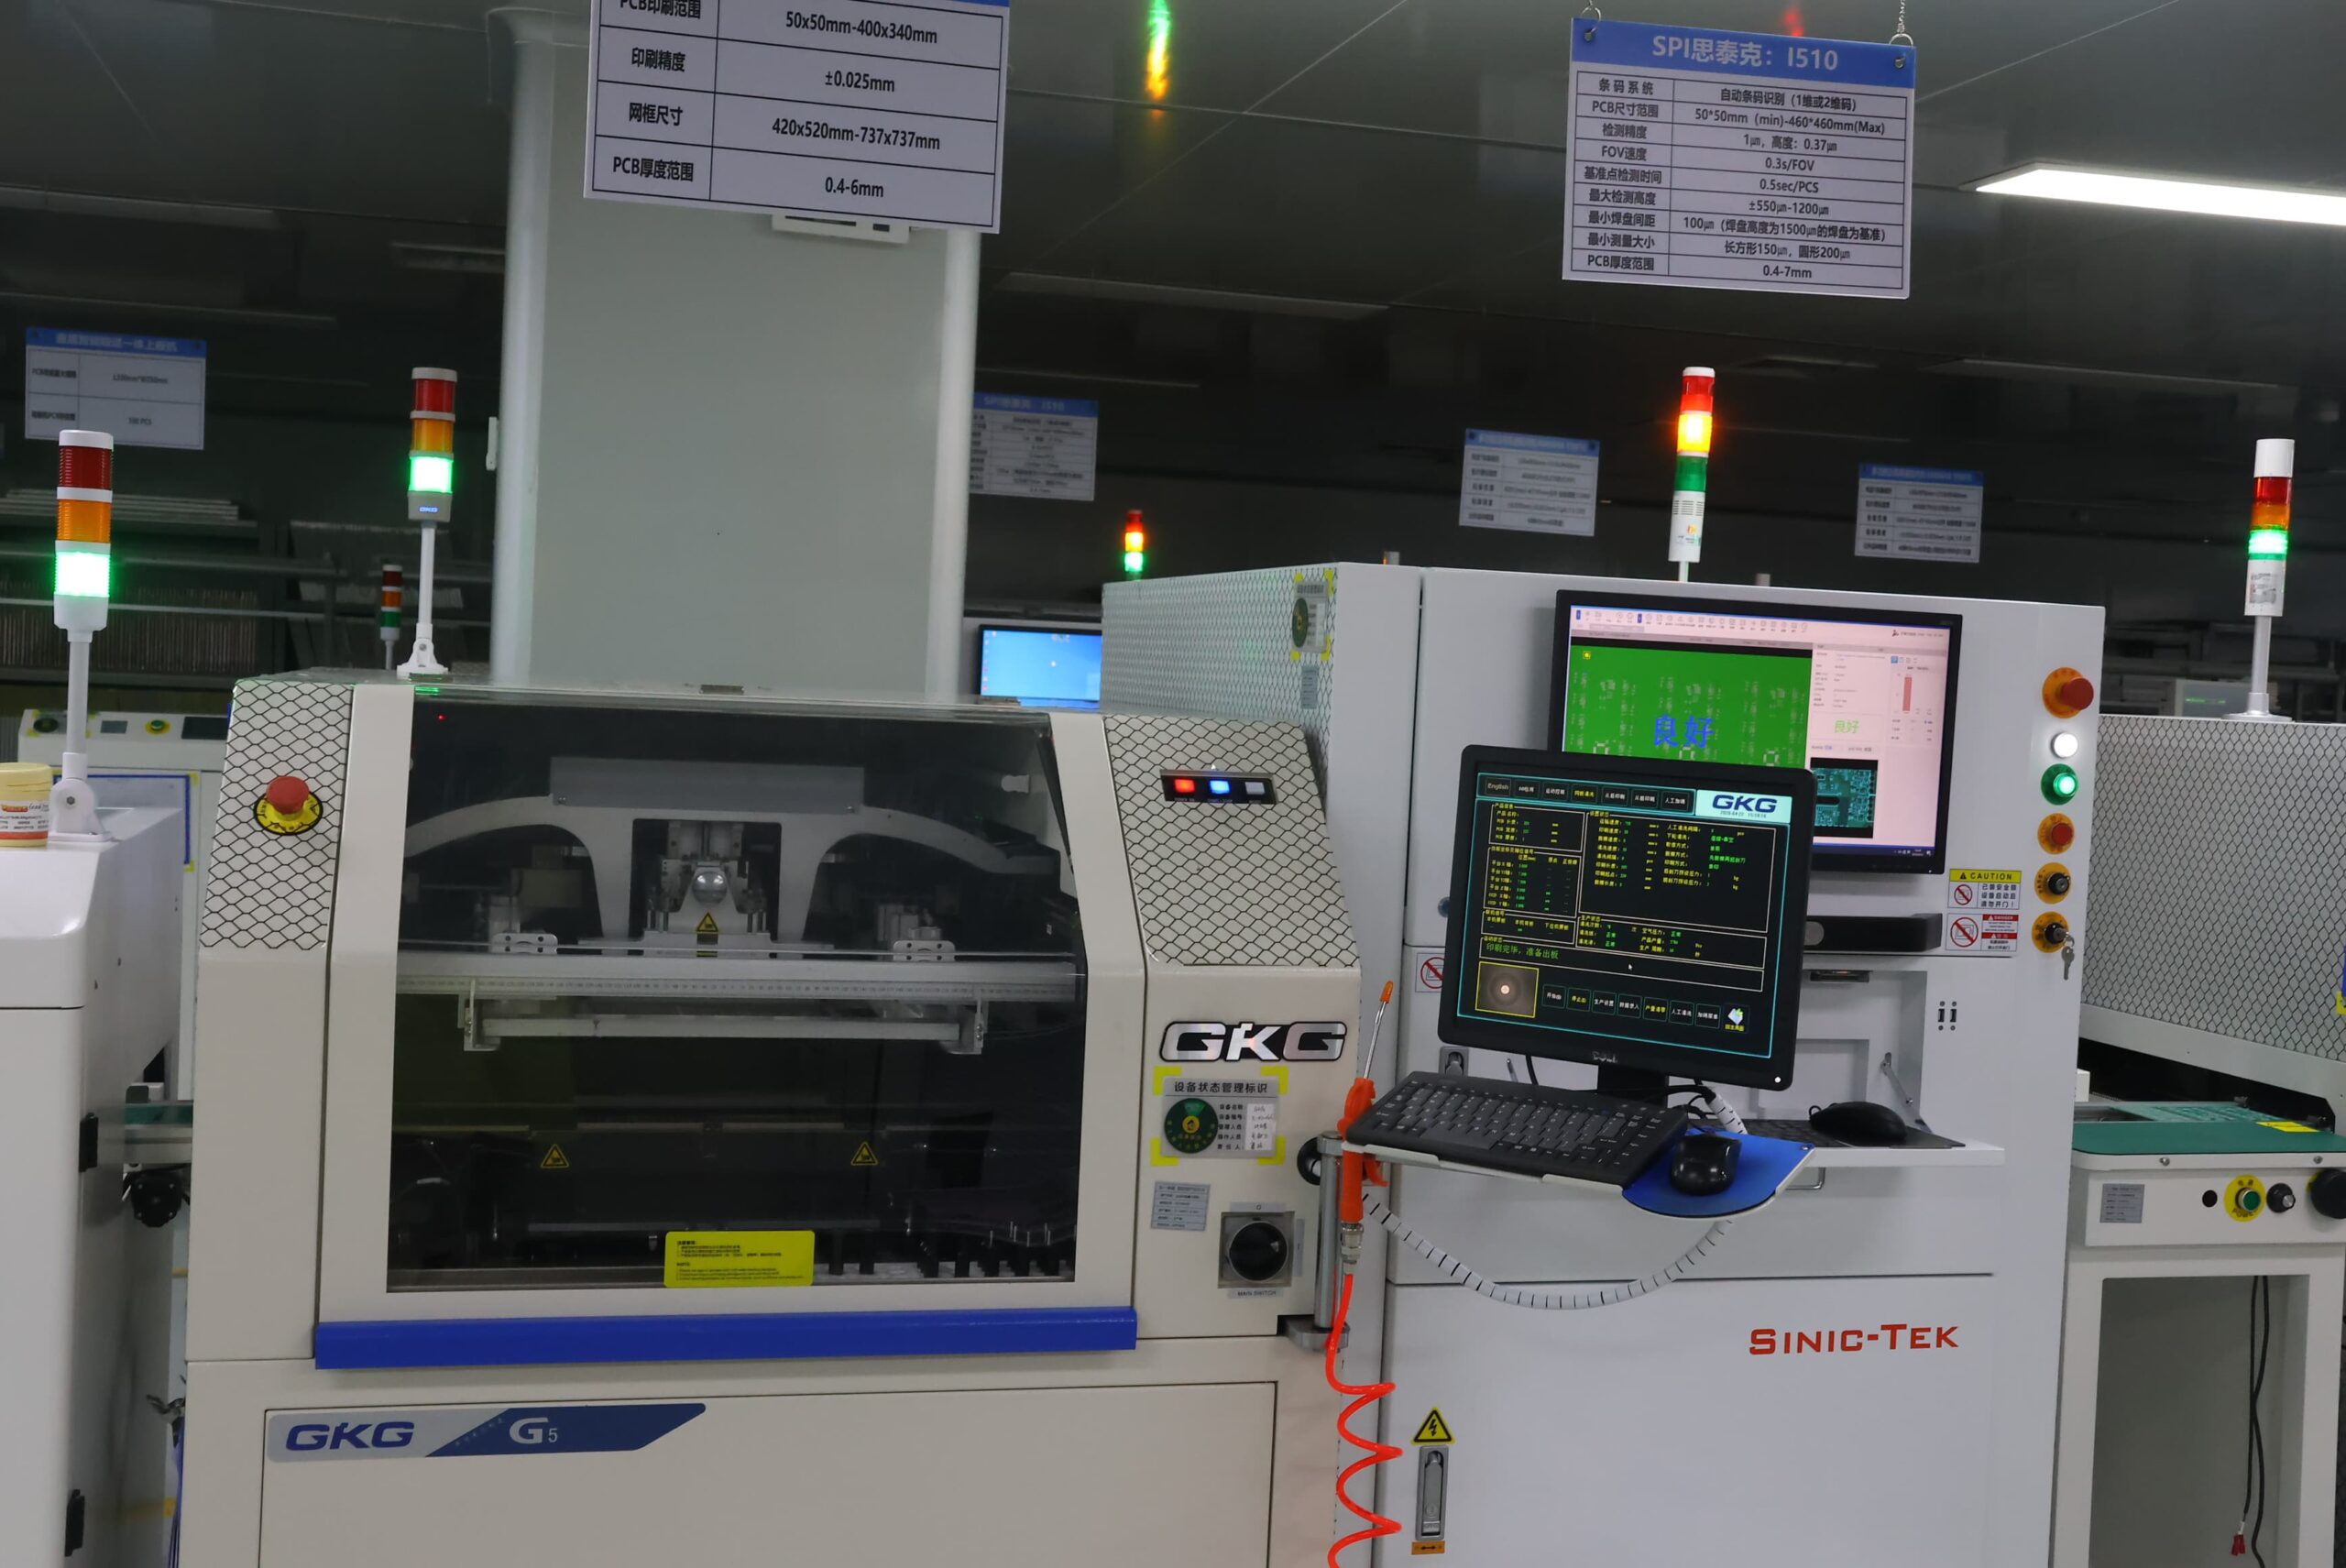
| Paste print | Stencil; paste deposit; print condition | Low/high paste; bridge precursor; inconsistent deposit | SPI volume, area, and height measurement; print-process checks | SPI data; trend/exception record | Defined pad/features; deposit consistency; exception status |
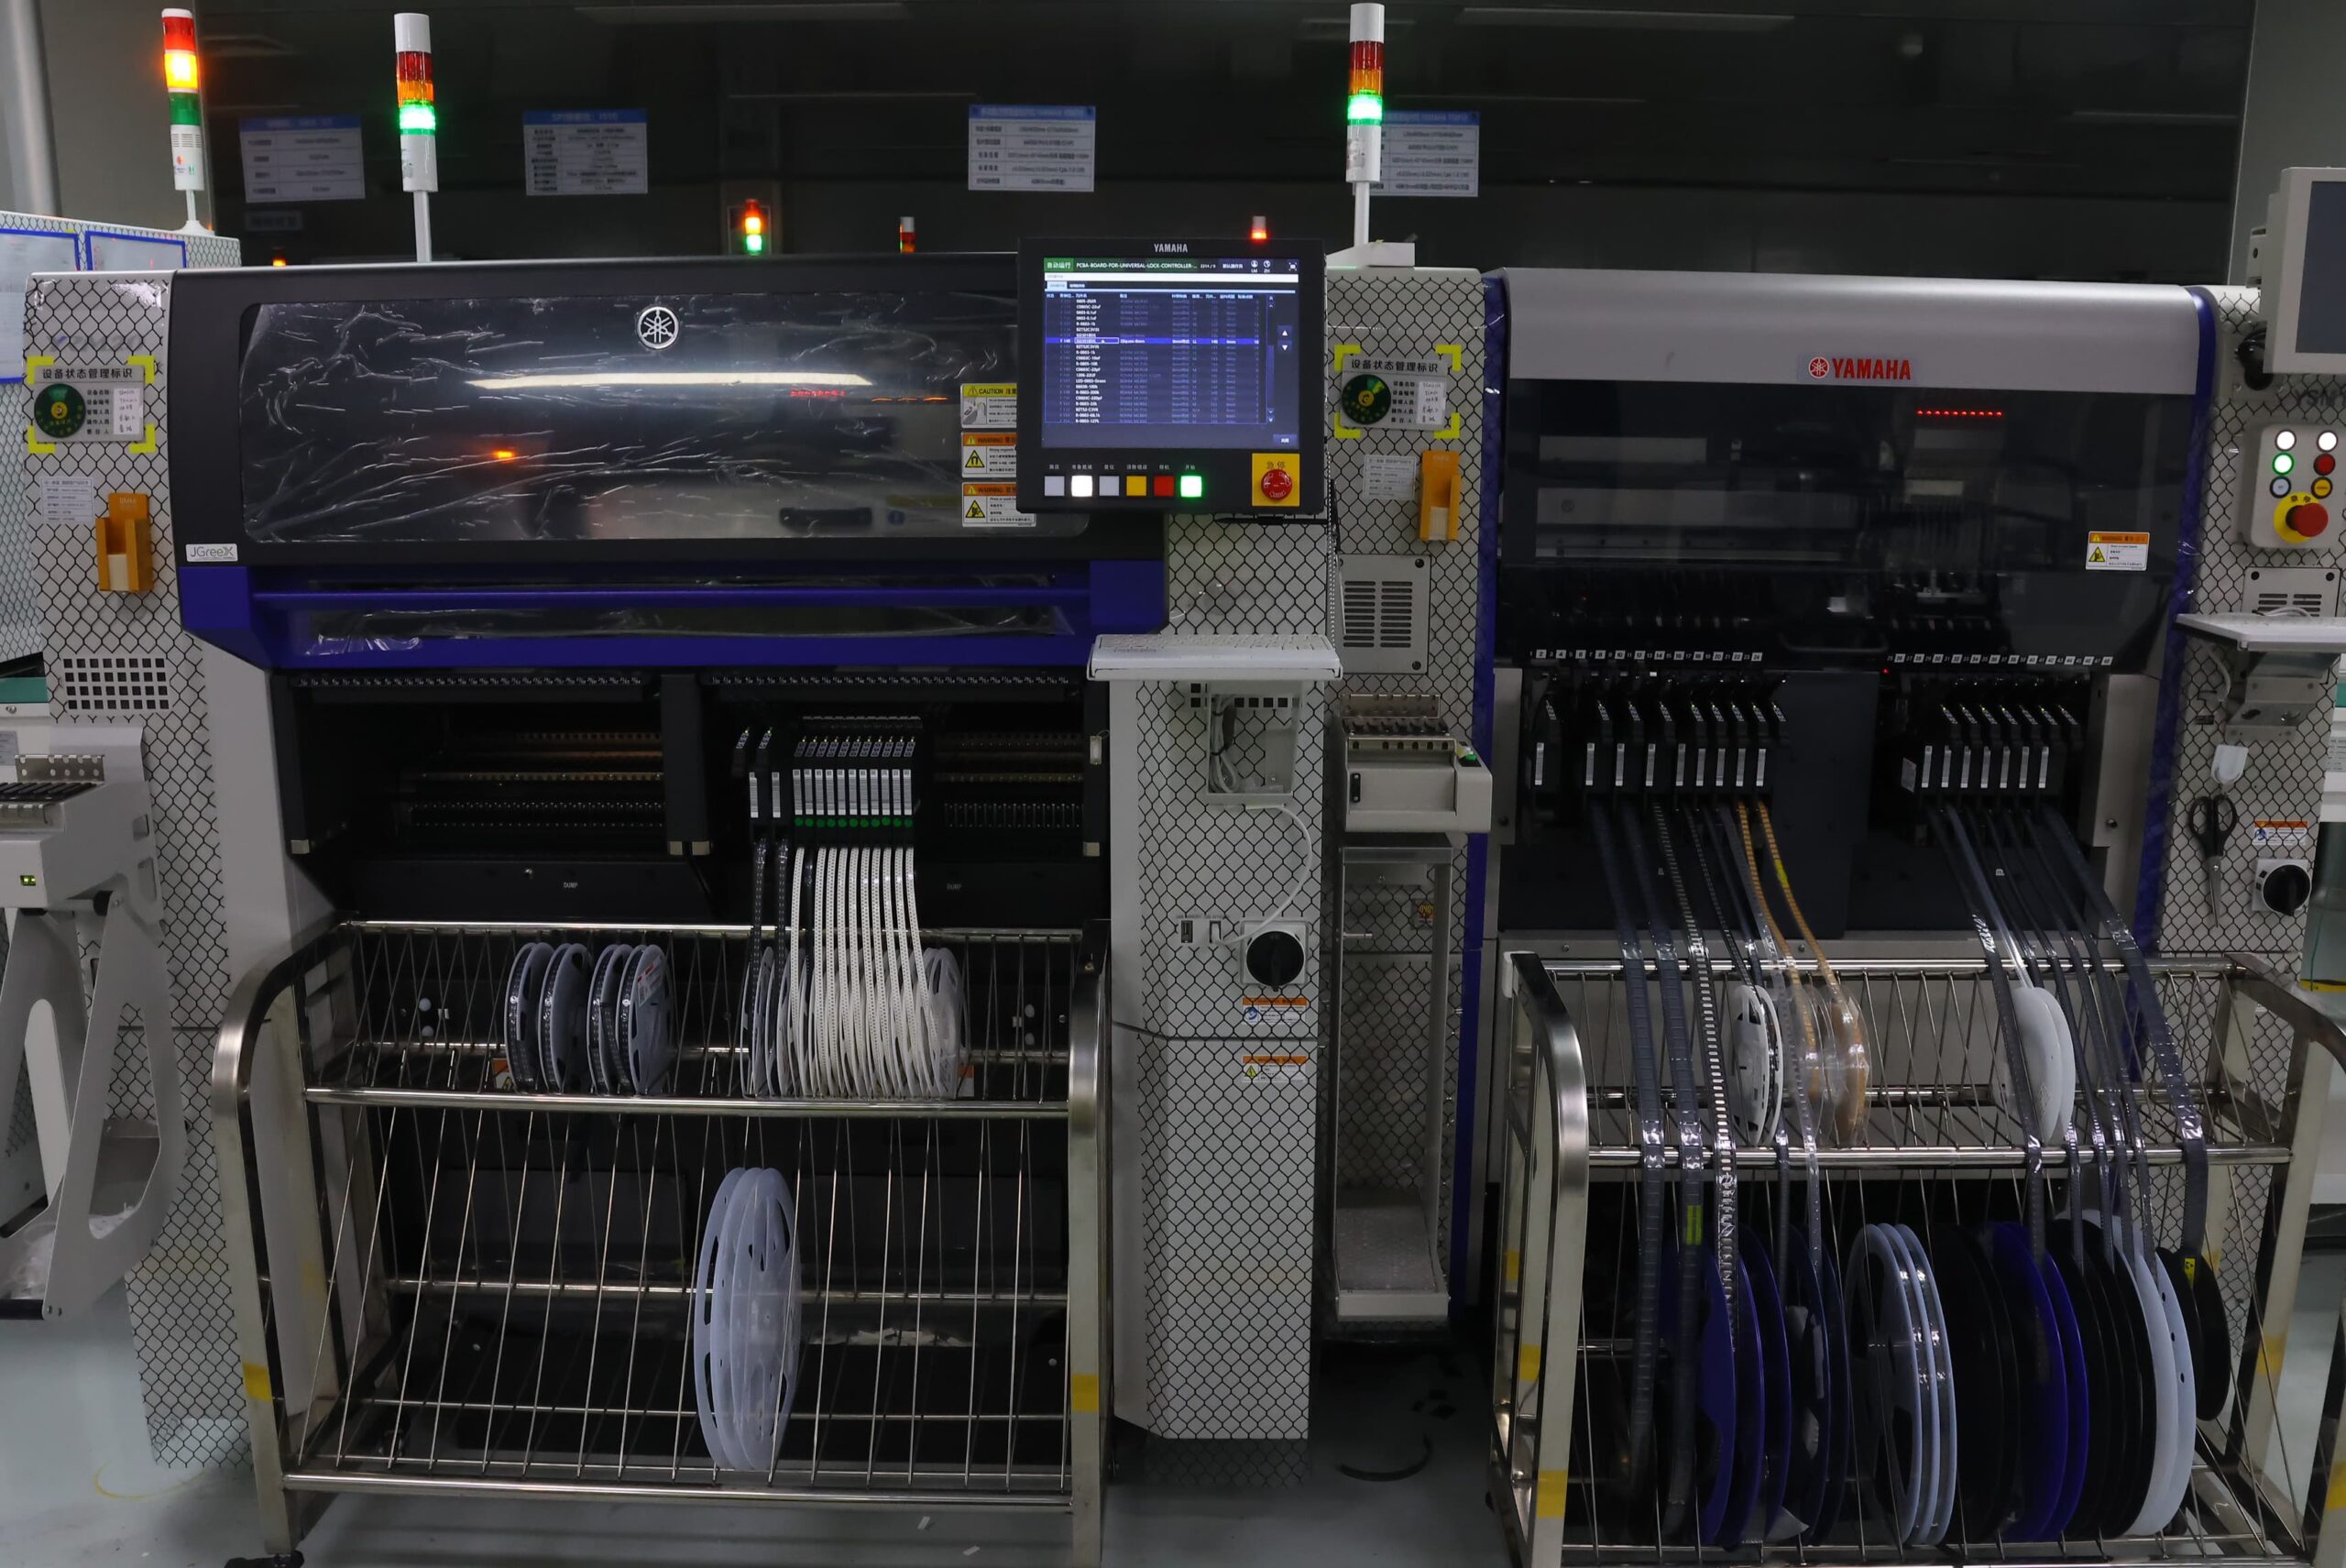
| Placement / reflow | Part identity; polarity; placement; thermal profile; process condition | Misplacement; wrong part; non-wetting; head-in-pillow; thermal damage | Placement-data comparison; thermal-profile record; post-reflow AOI | Placement record; profile; AOI result | Part identity; polarity; placement; profile; visible solder condition |
| Bare-board structure | Hole-wall copper; wrap plating; via interface; annular ring; void; registration | Crack; void; registration loss; interface separation; latent open | Microsection; representative coupon; dimensional/optical inspection; bare-board electrical test | Microsection/coupon report; dimensional result; electrical-test log | Sampled internal structure and dimensions; tested continuity and isolation |
| Visible / array joints | Visible terminations; BGA/QFN/LGA connections | Open; bridge; head-in-pillow; void; alignment defect | Visual/AOI; package-selected X-ray views | Inspection image/report; disposition | Accessible workmanship and specified hidden-array views |
| Electrical / functional test | Continuity; isolation; accessible nodes; programmed state; defined functions | Short; open; wrong value; programming failure; functional failure | Bare-board E-test; ICT; flying probe; programming verification; function-specific FCT | Test log linked to part, revision, lot, or serial | Tested nets/nodes; component condition; programmed state; named functions and limits |
| First article | Approved configuration; first unit; process results; deviations; lot/serial identity | Wrong configuration; missing record; incomplete retest; uncontrolled disposition | FAI configuration correlation; deviation and record-completeness review | FAI; disposition; reinspection/retest; traceability index | First-unit configuration; listed deviations; completed reinspection/retest; record completeness |
What Happens After a Defect?
A quality issue (defect) is documented in the records for material that has not met specifications. This includes the type of defect observed, the affected panel, lot, assembly, serial number, other information relevant to the product revision, and the process associated with the defect. The corrective action remains associated with this issue record throughout the product's life.
Reinspection confirms the physical repair or workmanship result. An electrical retest checks the applicable continuity, isolation, programmed state, and operational condition of the product. A reinspection cannot be used as a substitute for an electrical retest if the defect affected electrical performance. A passed FCT cannot replace a structural recheck if the repair affected a plated-through hole or interconnect.
When additional investigation is necessary to prevent recurrence, the additional requirements are documented within the closure of the defect record. Those requirements identify whether the investigation expands to the panel, lot, stencil, program, material batch, or released configuration. This prevents a local correction from hiding a wider process or configuration problem.
IPC Class 3 Applications

Flight Control Computer
Flight control computers require uninterrupted command, sensor, and actuator paths through redundant channels. The unique risk is mismatched boards between channel A and channel B. Without a comparison between channel A and channel B, either board could pass FCT while containing a different FPGA image, BOM revision, or placement variant. The escape occurs only when both channels are used simultaneously, often after deployment. Thus, the control plan includes a cross-channel configuration check to verify that both channels use the same programmed image, BOM, and hardware revision before shipment, alongside high-layer microsection evidence, BGA X-Ray, loaded-connector acceptance, channel-level FCT, FAI, and serial identity.

Radar Control Module
The radar control module carries mission data, timing, and power through high-I/O packages, high-current paths, and loaded connectors. Its unique failure risk occurs when an interconnection appears acceptable under low-duty-cycle FCT but fails under the combined electrical and thermal stresses created when RF transmit power and duty cycle raise local temperature. A marginal BGA interface, inadequate PTH fill, or high-mass thermal imbalance can remain dormant during acceptance testing and fail intermittently when the module operates at full duty cycle. The verification process should therefore include operation at full duty cycle, not only a low-power pass, alongside joint-specific acceptance, geometry-selected X-Ray, and lot traceability.

Implantable Cardiac Pulse Generator
An implantable cardiac pulse generator contains miniature interconnects in hardware that will ultimately be inaccessible for repair. Microvia interface cracks, latent opens, leakage paths, fine-pitch solder defects, or a material mismatch can compromise the defined service function. The coupon and microsection used for quality control must represent the actual microvia stack rather than a generic test structure, while cleanliness, leakage, functional, material-lot, and serial records maintain traceability for the accepted configuration.

Surgical Navigation Controller
In addition to providing real-time positioning, a surgical navigation controller must provide communication with precision sensors and control channels. Disruptions can occur because of an open under a 0.4 mm pitch BGA, damage at a rigid-flex transition, residue-related leakage, a mixed-assembly defect, or the wrong program revision. A boot test should not be the only verification method. A full verification plan should exercise positioning input, sensor communication, control output, calibration or programmed state, and the released hardware revision through DFM/DFA, controlled reflow, X-Ray imaging, electrical testing, FCT, and FAI.

ADAS Control Unit
The ADAS control unit routes safety-related sensor, processing, power, and actuator signals through high-I/O packages and power joints. Thermal cycling and vibration can expose a BGA crack, PTH fatigue, connector movement, or an intermittent sensor path. The percentage of voids does not fully establish joint reliability; acceptance must consider the combined data from SPI, AOI, package-selected X-Ray, electrical testing, function-specific FCT, first-article correlation, material-lot control, and serial-to-program traceability.

Industrial Robot Controller
The primary failure risk is fatigue, which is not visible during acceptance testing and can affect the joint at a high-mass connector or relay. A joint can pass one clean FCT cycle and then crack after the thousands of repetitive-motion and cable-flex cycles the robot performs in service, especially when it lacks independent mechanical support. Thermal shadows produced by selective soldering add to the risk at these same high-mass locations. Verification should pair single-cycle FCT with cycling or vibration testing of high-mass and cable-loaded joints, alongside PTH acceptance, visibility-selected X-Ray, and failure traceability.

Grid Protection Relay
When a fault occurs, a grid protection relay must operate through trip functions, protection I/O, isolated interfaces, and power paths. A simple continuity test does not confirm trip-response time, isolated-channel operation, residue-related leakage, or the integrity of a loaded relay joint. To confirm the relay's integrity, acceptance testing includes bare-board electrical testing, PTH and visible-joint acceptance, cleanliness evidence when required, channel-specific functional limits, FAI, and serial-to-configuration traceability connecting the relay to its protection functions.

Optical Transport Module
An optical transport module provides optical-link control, high-speed data transmission, power distribution, and connector paths. Several conditions can cause intermittent optical-link failure, including a latent BGA open, via discontinuity, connector fracture, power interruption, or an incorrect revision. The physical construction of the module can be verified through structure-specific via evidence and package-selected optical or X-Ray inspection, with electrical testing and loopback or link-level FCT verifying the operating link. When an order requires controlled-impedance or TDR records, they are added to the evidence; however, a completed loopback test does not replace evidence of internal via integrity.
What Defines an IPC Class 3 Order?
| Order element | Required data | SUGA control | Deliverable record |
|---|---|---|---|
| Class / product range | Drawing and quality clause: Class 3 for bare PCB, PCBA, or both | Apply the corresponding fabrication, assembly, and acceptance controls to the stated deliverable | Production, inspection, and test records linked to the stated product range |
| Standard / revision / addendum | Purchase order; controlled drawing; governing standard; revision; addendum | Reconcile bare-board, assembly, inspection, base-standard, and addendum requirements | Controlled document list; revision/addendum index; CoC callout |
| Manufacturing data | Approved Gerber/ODB++; BOM; placement; drawing; program; test limits | Maintain data identity through engineering review, traveler, programming, FAI, and change control | Released-data list; FAI; revision and program trace |
| Inspection / test definition | Object; method; coverage; acceptance limit; sampling/feature coverage; required image/report/log | Define verification from product geometry, node accessibility, function, coverage, limits, and record requirements | AOI/X-ray report; electrical/ICT/flying-probe/FCT log; microsection/coupon report |
| Traceability / retention | Material; lot; panel; traveler; assembly; serial; configuration; retention period | Link material, production, inspection, test, repair, and disposition identities | Traceability record; retained-record index; repair/retest link |
| Materials / substitutions | Approved parts; substitutions; material restrictions | Match controlled parts; document approved substitutions | Material record; approved deviation |
| First article / deviations | FAI format; approved sample; deviation authority; reinspection; retest | Correlate the first unit; control deviation authority; close reinspection and retest before shipment | FAI; approved disposition; reinspection/retest result |
| Shipment records | CoC; report/image/log set; sample/coupon return; file format; delivery method | Compile records and correlate to shipped part, revision, lot, or serial | CoC; specified supporting records |
Quality-system certificates address the applicable management system used for production. Order-specific records provide documented evidence of the identified product, manufacturing configuration, inspection coverage, test results, deviation status, and shipment identity required under the Class 3 requirements.
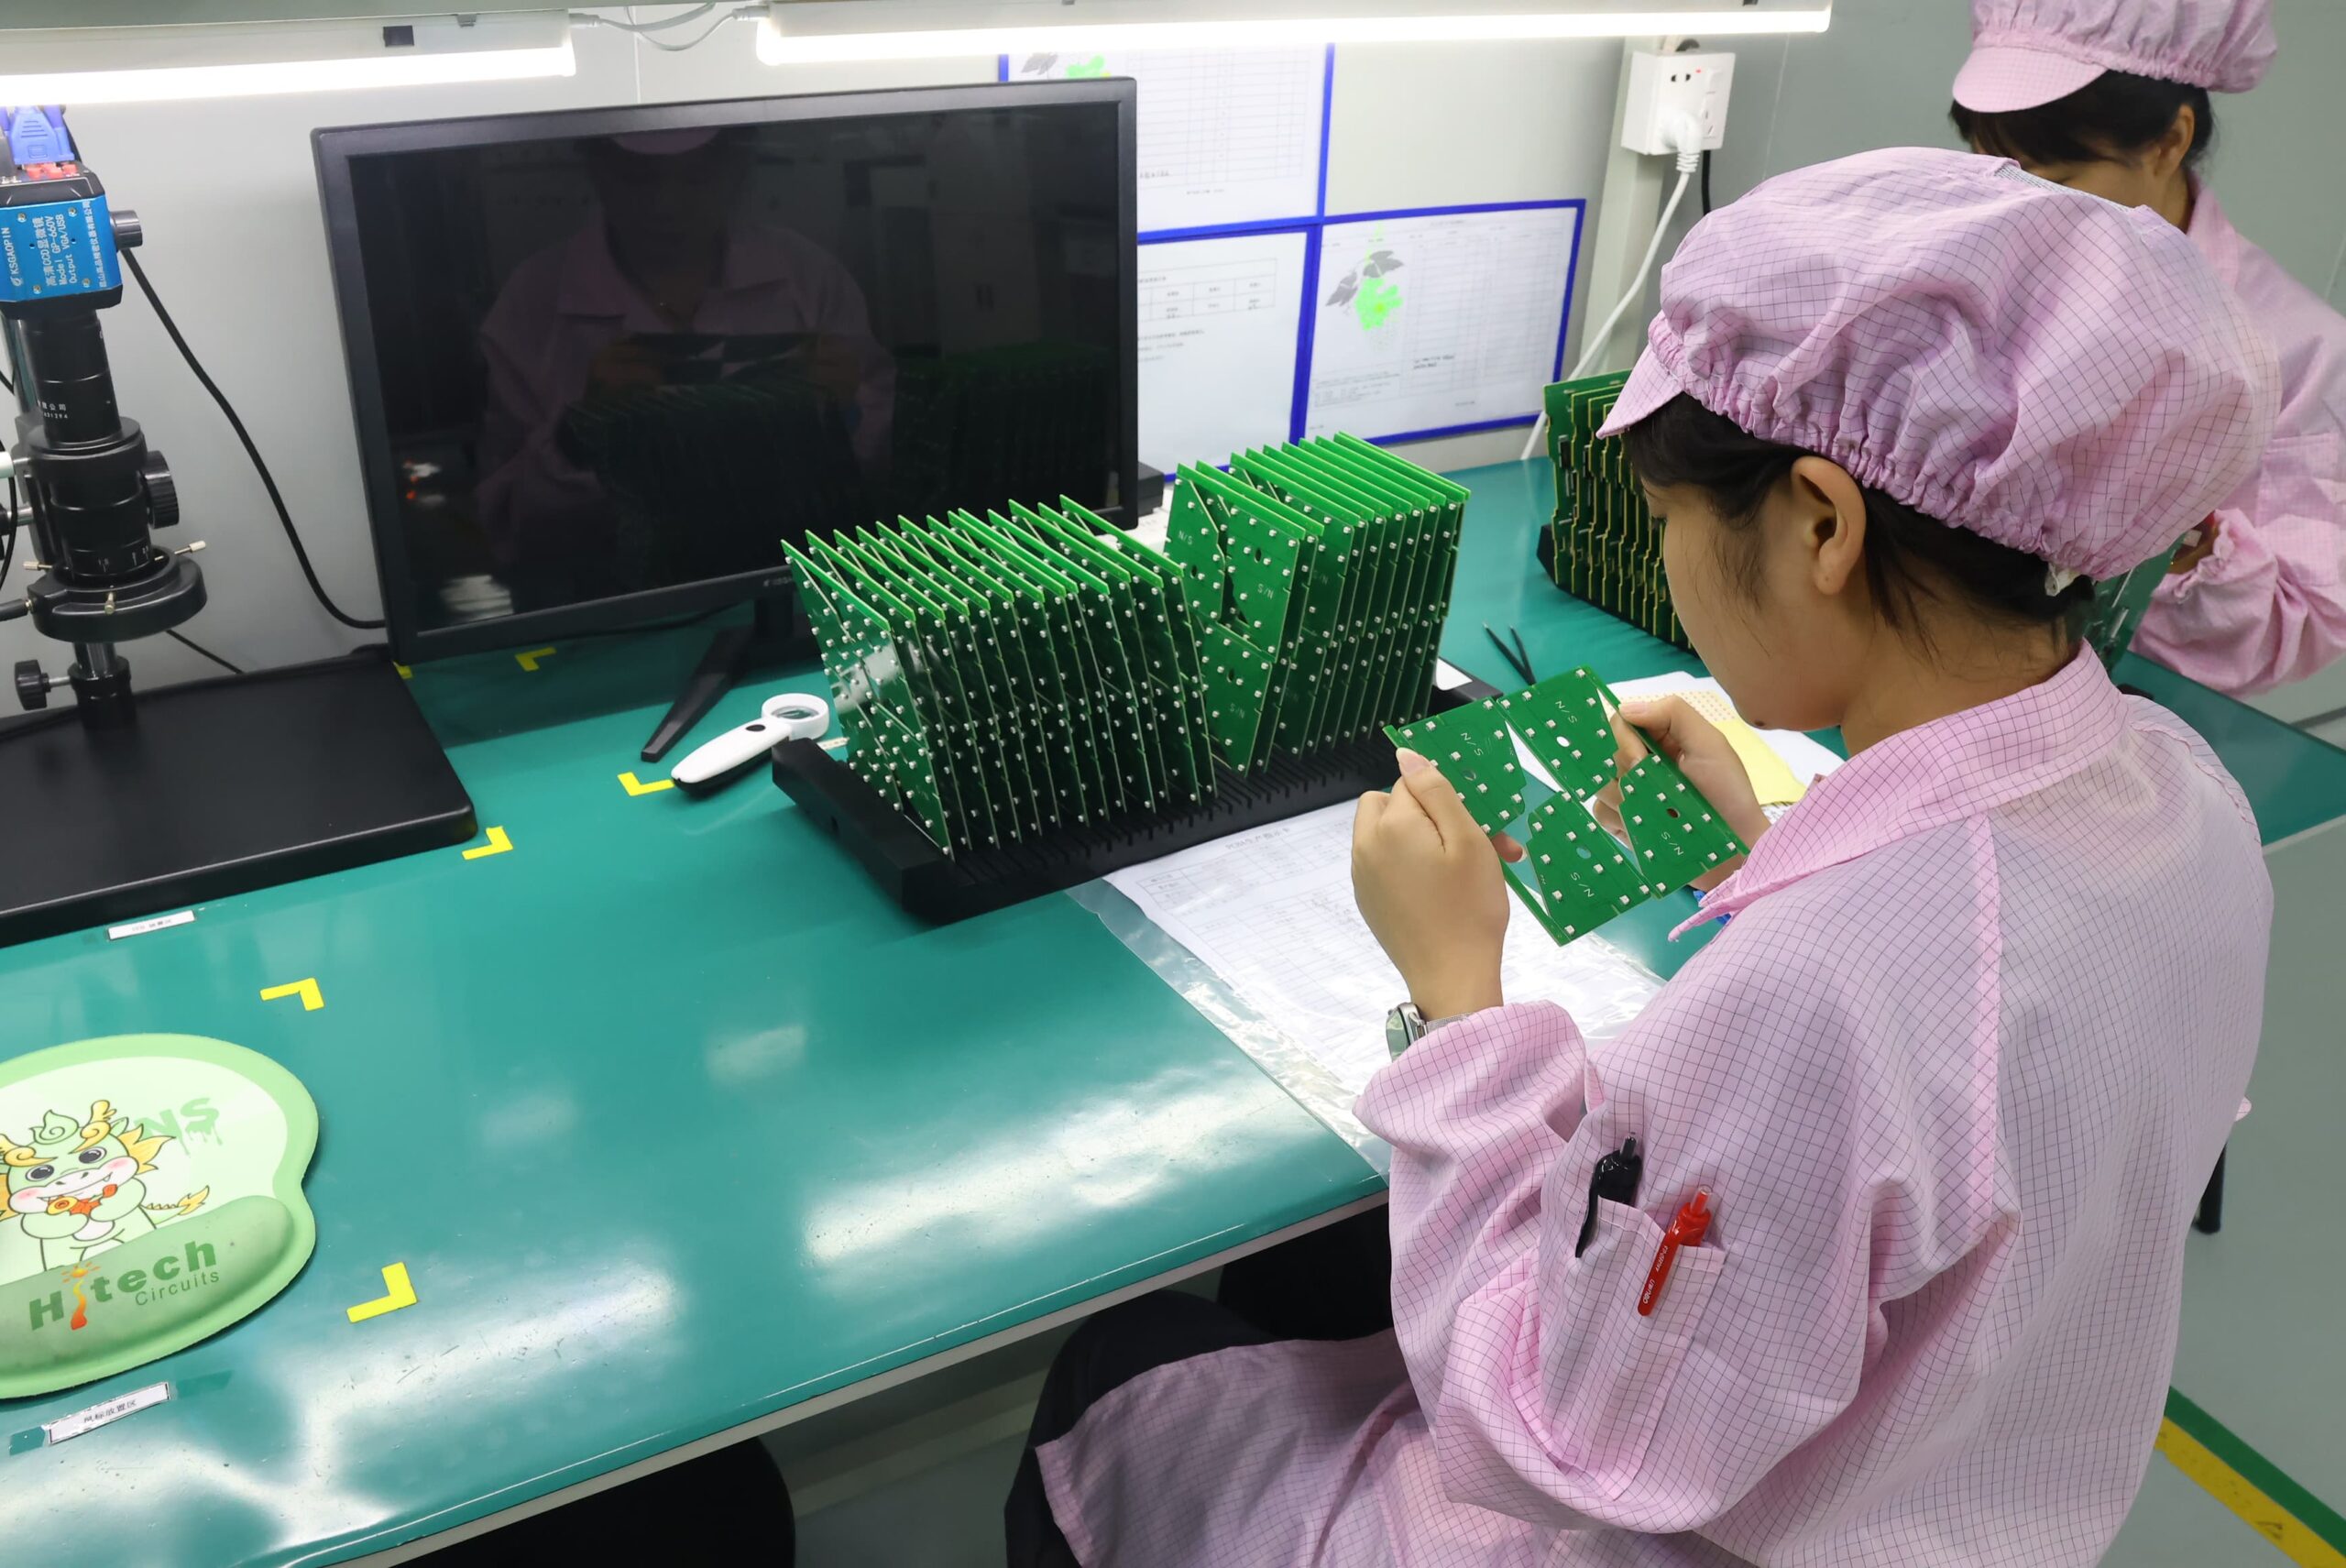
Our PCBA Production Lines












FAQ
The product owner or design authority defines the class in the controlled drawings, purchase orders, and quality requirements. The callout should specify the applicable class and whether it applies to the completed PCBA, the bare PCB, or both. The controlled documents should also identify the governing Class 3 standards, revisions, applicable addenda, and the records required for the bare PCB and completed PCBA.
Yes. The PCB and completed assembly are two separate deliverables governed by different documents. However, the intended combination must be explicitly stated and technically justified. The PCB drawing may reference IPC-6012F Class 3 while the assembly documentation uses a different class. The purchase order and quality plan should specify this difference to prevent it from becoming an accidental conflict.
IPC-A-610J alone does not provide all the information necessary to define the manufacturing requirements for a Class 3 PCBA. IPC-A-610J provides acceptability criteria for completed assemblies but is used with other documents, such as J-STD-001J process requirements, product drawings, approved materials, and customer- or industry-specific documentation. A Class 3 order must also contain the applicable revision, class, evidence, and traceability requirements.
Class 3 is a performance and acceptance level and does not indicate that the product is aerospace-grade. Aerospace hardware may also rely on J-STD-001JS, applicable IPC-6012 addenda, AS9100D quality-system controls, environmental qualification, DO-254 activities, customer approvals, and specified order evidence. The Class 3 order must contain the applicable base standard and corresponding addenda, qualification activities, and record package.
Yes. A rigid-flex PCB can meet Class 3 when manufactured according to IPC-6013E. The Class 3 order states the revision and stack-up, including bend regions, rigid-to-flex transitions, materials, coverlays, and interconnect structures. Coupons, microsection reports, bend-region inspection, electrical testing, and retained records should reflect the actual rigid-flex construction, not only the rigid sections.
Class 3 does not require every feature of the part to be inspected or tested by every available method. The minimum acceptance, inspection, test, and sampling requirements are defined in the invoked standards. The Class 3 order adds product-specific inspection and testing requirements based on the structure, joint, net, function, lot, or serial number. Custom inspection and testing cannot reduce the mandatory requirements stated in the governing standards.
The type and coverage of X-Ray inspection are determined by package geometry, joint visibility, applicable acceptance criteria, node accessibility, and the approved inspection definition. Customer-specific requirements may include full-array, lot-based, first-article, or package-specific coverage after the minimum requirements of the invoked standards have been established. Electrical and functional test results provide evidence of accessible connectivity and specified functions; however, they do not replace the required image views.
The Class 3 order may specify a CoC, FAI documentation, material, lot, panel, and serial traceability records, microsection or coupon reports, AOI reports, X-Ray reports, electrical and functional test logs, approved deviations, reinspection or re-test documentation, and retention requirements. Each document must identify the delivered part, revision, lot or serial number, inspection or test coverage, and disposition status.