Upload BOM & Gerber
-
Mobile: +86 13312967631
-
Email: sales@sugaintl.com

Heavy Copper PCB
Heavy Copper PCB Manufacturer in China for Compatible Copper Weight, Layer Count and Board Size
SUGA provides custom heavy copper PCB manufacturing across compatible copper-weight and layer combinations, material options, inspection coverage, and application requirements.
2–40 oz Copper
1–12 LayersHigher-Layer Heavy Copper
6 oz Outer / 4 oz Inner24×48 in PCB
0.5–10.0 mmWhat Does Copper Weight Mean in PCB?
Copper weight refers to the quantity of copper on a circuit board layer, typically expressed in ounces per square foot (oz/ft²) using “oz.” Copper weight is calculated based on the amount of copper present on a circuit board layer, including any additional thickness added during the manufacturing process, called “finished copper.”
Finished copper on a PCB includes the copper deposited during fabrication and the base foil from the manufacturer. A fabrication drawing will include a list of all circuit board layers containing finished copper, distinguish between base copper and finished copper, and identify the thickness tolerance and measurement location.

PCB Copper Weight and Thickness Chart
Copper weight conversions are approximated by thickness for various copper weights before fabrication variables are taken into account: 0.5 oz, 1 oz, 2 oz, 3 oz, and heavier copper. Finished-copper acceptance remains tied to the layer-specific drawing requirement.
| Copper weight | Approximate nominal thickness (mil) | Approximate nominal thickness (μm) |
|---|---|---|
| 0.5 oz | ≈0.7 | ≈17.5 |
| 1 oz | ≈1.4 | ≈35 |
| 2 oz | ≈2.8 | ≈70 |
| 3 oz | ≈4.2 | ≈105 |
| 4 oz | ≈5.6 | ≈140 |
| 6 oz | ≈8.4 | ≈210 |
| 8 oz | ≈11.2 | ≈280 |
| 10 oz | ≈14.0 | ≈350 |
| 20 oz | ≈28.0 | ≈700 |
What Is Considered Heavy Copper?
Heavy copper is defined using the following general ranges based on copper weight in ounces: 2 oz, 3 oz, or any level exceeding 4 oz. A category of “ultra-heavy copper” often begins above 10 oz and may be characterized as “extreme copper” within the 20–200 oz range.
While these ranges may provide an initial indication for copper-weight comparison, the exact copper value must be specified on all applicable drawings for each respective copper layer, together with a base or finished copper description, tolerance, and measurement location.
When Is Heavy Copper the Better Choice?
Heavy copper PCB construction should be used when high or continuous electrical currents, limited routing space for copper conductors, voltage-drop limitations, concentrated thermal loads, or repeated power cycling require a greater cross-sectional area for copper conductors than standard PCB copper thickness would allow.
When comparing a 1 oz copper PCB with a 2 oz copper PCB, there are several other design considerations beyond copper thickness, including finished trace widths, total copper thickness in relation to PCB layer positions, the permitted temperature rise, and the available board area. Hence, the narrowest neck-down, via transition, or local heat-transfer point could still restrict the complete current path, even if surrounding planes were made of heavy copper.

When Standard Copper Is Enough
Standard copper construction is sufficient when the current level is moderate and sufficient layout space exists, making it possible to widen copper traces or distribute current across multiple layers.
Additionally, PCBs may distribute current across multiple layers while avoiding heavy copper conductors in signal-dense regions. Some PCB assemblies use external conductors as their primary current conductors, while the PCB handles control and monitoring functions.
Using standard copper preserves fine geometries and creates less copper topography that can interfere with proper solder-mask coverage or lamination. The final conductor design should address the electrical or thermal bottleneck instead of increasing copper thickness throughout the entire PCB.
When Heavy Copper Justifies the Added Manufacturing Load
Heavy copper can provide advantages in dense, compact, efficient circuit designs. Some continuous high-current or short-duration pulse requirements, low-voltage-drop requirements, and repetitive power cycling may warrant a greater conductor cross-section embedded in the PCB.
Heavy copper conductors also provide increased structural integrity in local conductor regions and terminals, while the laminate system, plating, and stack construction determine the overall structural reliability of the PCB.
Adding a heavy copper conductor to a PCB requires deeper etching, higher resin-fill quantities, a more demanding lamination profile, and more difficult solder-mask coverage than standard copper construction.
The costs associated with heavy copper printed circuit boards depend on board area, interconnect count, materials, inspection, and any external hardware avoided by integrating the conductor into the board.
Alternatives to Increasing Copper Weight
| Design condition | Preferred construction | Engineering effect |
|---|---|---|
| Moderate current with available routing area | Standard copper with wider traces | Adds conductor area without increasing copper across the stack |
| Distributed current across several layers | Parallel copper layers | Shares current while preserving local geometry |
| Local hot spot or concentrated power pad | Selective copper plating or copper coin | Adds copper only where electrical or thermal density requires it |
| Compact continuous or pulsed high-current path | Heavy copper PCB | Increases conductor cross-section within limited board area |
| Very high concentrated current or terminal interface | Embedded copper or integrated busbar | Provides a dedicated low-resistance conductor structure |
Routing area is consumed when wider traces are used. Parallel trace layers rely on the even distribution of supply and return currents across via arrays and terminal circuit connections. Uneven feeding of the vias leads to an overload condition on a small portion of the vias in a parallel configuration due to an asymmetric transition. The use of selective plating and copper coins in a limited area provides localized conductor or heat-spreading surfaces. However, selective plating and copper coins also require additional interface, lamination, and planarity controls. Embedded copper and busbars reduce the resistance of concentrated electrical connections but create additional machining, creepage-distance, attachment, and assembly-clearance requirements.
Failure Points Copper Weight Alone Does Not Solve
The use of a large copper area on a PCB does not eliminate narrow conductors within the PCB, meaning that a large copper area does nothing to eliminate narrow traces used for fuse pads, connector pins, switching-device pads, thermal reliefs, and layer transitions. If any of these local structural features reach the voltage-drop or temperature limit before the main copper area, then the additional benefits of the large copper area have not solved the original problem.
If an additional copper area is to be added, the via array must be symmetrically fed, the holes should have an adequate finished-hole size, the copper on the via walls must be properly plated, and the receiving plane must distribute the current evenly across the copper area rather than concentrating it near the first row of holes. Copper used in multiple layers of a PCB will distribute the heat produced in those layers; however, thermal and mechanical loads applied to the PCB, such as those produced during thermal shock, must be considered when determining whether the entire multilayer PCB construction will survive these loads.
Heavy Copper PCB Manufacturing Capabilities
| Capability group | Capability window | Compatible construction |
|---|---|---|
| Special high-copper production | 2–40 oz copper; 1–12 layers; finished PCB up to 24×48 in; board thickness 0.5–10.0 mm | Rigid FR-4, polyimide, aluminum-base, copper-base, cavity and countersink constructions; the selected stack determines which limits coexist |
| High finished-copper multilayer production | Up to 15 oz finished outer copper; up to 12 oz inner copper; board thickness 0.6–6.0 mm; minimum finished hole 10 mil | FR-4 with standard- or high-Tg options; tented, plugged or open vias; fly-probe and AOI availability |
| Higher-layer-count special production | 1–40 layers; up to 6 oz outer copper and 4 oz inner copper | Multilayer, flex, rigid-flex, Kapton and FR-4/Teflon hybrid structures; layer count and copper weight are selected as one stack |
| Panel and special-structure options | Panel size up to 580×480 mm; 5–7 mil trace; 6 mil air gap from 2 oz; vacuum or sequential lamination; conductive or non-conductive via fill; plated edges, castellations and plated cutouts | Panel and special-structure values are paired with the copper, layer, material, thickness, and finished-size production group used for the board |
| Hole, outline and finish options | 6 mil trace/space and 8 mil drill in the associated capability group; blind/buried vias; routing with mouse bites, V-cut or punching; lead-free HASL, ENIG, immersion silver, immersion tin, ENEPIG, OSP, hard gold and soft bondable gold | Hole, outline, and finish options are paired with the same copper, layer, material, thickness, and finished-size production group |
Stack Limits by Process Group
As a manufacturer of heavy copper PCBs in Shenzhen, China, SUGA applies advanced PCB manufacturing controls and groups copper weight, board layer count, board format, and finished PCB thickness into construction parameters for rigid and multilayer heavy copper PCBs. As copper thickness increases, etch depth and resin demand also increase; higher layer counts require stricter registration and drilling control, while larger formats increase copper-balance, dimensional, and flatness effects.
The production group is chosen from the complete stack: copper distribution, dielectric structure, hole geometry, material system, finished size, and outline method; for large high-copper boards, controlled press loading, copper symmetry, drilling stability, and dimensional control must be maintained throughout the entire panel.

Hole, Trace, and Spacing Limits
| Copper weight | Approximate nominal thickness | External trace / spacing (mil) | Internal trace / spacing (mil) | Alternate-process trace / spacing (mil) |
|---|---|---|---|---|
| 3 oz | ≈105 μm | — | — | 12 / 13 mil |
| 4 oz | ≈140 μm | 9 / 9 mil | 8 / 12 mil | 14 / 15 mil |
| 5 oz | ≈175 μm | 11 / 11 mil | 10 / 14 mil | 18 / 20 mil |
| 6 oz | ≈210 μm | 13 / 13 mil | 12 / 16 mil | 25 / 27 mil |
| 12 oz | ≈420 μm | 20 / 32 mil | 20 / 32 mil | — |
The columns for external, internal, and alternate processes represent independent manufacturing groups instead of interchangeable limitations. The applicable range follows the copper-formation method, layer position, material used, and finished geometry stated for the board.
Etching removes copper laterally while cutting downward. Artwork compensation ensures that the required finished conductor bottom width is present, so finished conductor measurement occurs at the drawing-defined location after etching. Therefore, trace and spacing requirements should be expressed as finished geometry with the applicable layer and process group.
Surface Finish on Heavy-Copper Pads
For heavy-copper pads, the surface finish needs the desired soldering characteristics: proper wetting, flatness, storage life, and the ability to withstand thermal exposure; hard gold works well for wear contacts, while ENEPIG or soft bondable gold works well for bondable surfaces. The selection remains related to the function the pad will serve in the downstream assembly process.
The topography of heavy copper creates localized height differences between pads, conductor edges, and the surrounding area. All aspects of surface preparation, plating coverage, opening geometry, and pad flatness must be considered in conjunction with the copper, via, and outline construction to ensure that a high copper edge does not create a thin coating region or an uneven assembly surface.
Heavy Copper PCB Prototype
A prototype of a heavy copper PCB uses the intended stack and acceptance definitions to validate the etched conductor bottom width, resin-fill behavior, solder-mask edge coverage, and layer transitions before volume production.
The verification of the prototype should center on finished-copper measurements defined on the drawing, microsections of the conductor and plated holes, via-wall geometry, visible mask coverage, electrical continuity, and electrical isolation. With this information, it can be determined whether the selected heavy copper PCB construction can transition into mass production without altering the critical current path.
Heavy Copper PCB Design
Legacy IPC-2221A External-Trace Current Comparison
The Legacy IPC-2221A External-Trace Current Comparison contains current values in amperes calculated for external copper traces at a 20°C temperature rise. It can therefore be used as a reference for external copper traces at a fixed temperature rise. Internal copper traces require their own layer and thermal conditions.

| Copper weight | Approximate thickness (in) | 0.125 in width | 0.250 in width | 0.500 in width | 1.000 in width | 2.000 in width |
|---|---|---|---|---|---|---|
| 1 oz | 0.0014 | 7.6 A | 12.5 A | 20.7 A | 34.2 A | 56.6 A |
| 2 oz | 0.0028 | 12.5 A | 20.7 A | 34.2 A | 56.6 A | 93.6 A |
| 4 oz | 0.0056 | 20.7 A | 34.2 A | 56.6 A | 93.6 A | 154.7 A |
| 6 oz | 0.0084 | 27.8 A | 46.0 A | 76.0 A | 125.5 A | 207.5 A |
| 8 oz | 0.0112 | 34.2 A | 56.6 A | 93.6 A | 154.7 A | 255.6 A |
| 10 oz | 0.0140 | 40.3 A | 66.5 A | 110.0 A | 181.8 A | 300.5 A |
| 12 oz | 0.0168 | 46.0 A | 76.0 A | 125.5 A | 207.5 A | 343.0 A |
| 20 oz | 0.0280 | 66.5 A | 110.0 A | 181.8 A | 300.5 A | 496.7 A |
| 40 oz | 0.0560 | 110.0 A | 181.8 A | 300.5 A | 496.7 A | 821.1 A |
Production sizing is based on numerous factors, such as ambient temperature, finished geometry, heat path, copper plane configuration, mechanical mounting conditions, operational duty cycle, terminal geometry, and via transitions. Data, calculations, or simulations associated with IPC-2152 conductor sizing should also be applied to the above-mentioned project requirements rather than using the legacy table as a finished-board current rating.
Mixed Copper Weights and Fine-Pitch Zones
A printed circuit board can contain 2 oz and 20 oz copper features on a single layer, provided that the selected mixed-copper construction supports both types of features. Power paths receive added copper, while standard-copper control areas retain the dimensional requirements around fine-pitch components. Copper thickness can be confined through localized plating rather than increasing copper across the entire layer.
The critical area is the junction between the two regions. Copper weight, spacing, via configuration, etch compensation, pad planarity, and solder-mask profile must be coordinated within one stack to ensure that heavy-copper features do not reduce clearance or coating coverage around fine-pitch pads.
Plated Vias, Layer Transitions and Thermal Paths
Plated vias conduct current from one layer to another and can also transfer heat between copper areas. The parameters that determine whether the transition matches the surface conductor include finished-hole diameter, via-wall copper, via count, land connection, pitch, and the receiving plane.
A wide heavy-copper path should enter the via array without a narrow thermal relief or a one-sided neck-down. The symmetrical geometry of the entry and exit paths assists in equal current distribution across the via array so that the first row of holes is not overloaded. Microsection verifies via-wall thickness and interfaces, while electrical and thermal evaluation determines how well the PCB performs under the specified load.
Heavy Copper Flex PCB Constraints
When designing a heavy copper flex PCB, both polyimide and Kapton structures can be incorporated into a rigid-flex PCB design, but as copper thickness increases, bending stiffness also increases. Thus, areas or zones that will be bent repeatedly should use a larger radius and lighter copper, while heavy copper can remain in static or rigid areas of the PCB.
Static installation bends should be identified separately from dynamic bending or cycling. Copper terminations, local stack thickness in the bend area, bend direction, rigid-to-flex transition geometry, and any copper line that crosses the bend axis must be coordinated with the expected movement of the design.

Heavy Copper Materials and Stack Construction
FR-4 and High-Tg Material Conditions
Both FR-4 and high-Tg FR-4 support a heavy copper circuit board if the selected FR-4 grade matches the thermal and lamination requirements. The Tg values provide two points of comparison between material families: 140°C and 170°C. The maximum operating temperature, Td, T260/T288, CTE, moisture behavior, and thermal-cycling data provide a range of material properties and define the conditions for continuous use.
The material must also provide enough resin content and controlled flow for the copper map while maintaining the required dielectric separation between adjacent high-copper features.

Polyimide and High-Temperature Laminate Options
Polyimide is a material of choice for demanding thermal cycles in flex or rigid-flex construction. Kapton is also available for use in static forming and flexible areas. A specific grade of polyimide should be selected based on the maximum operating temperature, Td, T260/T288, CTE, moisture behavior, adhesion system, and lamination profile.
The copper foil type and grade must also match the specified conditions for repeated flexing and dynamic movement. Static-forming sections and dynamic-bend zones can use different laminates, copper, and adhesives while still existing in the same rigid-flex assembly.
Metal-Base and Hybrid Constructions
Aluminum-base and copper-base construction methods support thermal management in heavy copper PCBs by conducting heat to a metal substrate through an electrically isolating dielectric. They are also used to create architectures where heat needs to be spread directly beneath power devices or conductor regions. Dielectric isolation, copper transition areas, machining, and plating operations remain part of the same construction.
FR-4/Teflon hybrid stacks can be used to meet different thermal and electrical requirements. The material interfaces require controlled adhesion, CTE matching, dielectric-thickness control, and sequential lamination in the heavy-copper area.
Resin Fill, CTE, and Copper Balance
Thick copper creates tall steps and deep valleys. Therefore, prepreg must completely fill the spaces around adjacent conductors and maintain the specified dielectric separation. The copper map, not copper weight alone, determines the required resin content and lamination behavior.
The distribution of copper changes the pressure on the resin, affects how far the resin moves through the panel, and creates variations in thermal expansion throughout the panel. To balance copper from side to side and through the stack-up, it is important to consider the CTE mismatch between the copper conductor, laminate, and any metal substrate. Poor balance can cause resin to shift, reduce local dielectric thickness, distort registration, or result in warped boards even when the laminate grade is otherwise acceptable.
Heavy Copper PCB Manufacturing Process
Base Copper and Selective Plating
The process of manufacturing printed circuit boards with heavy copper begins with base foil, which is then further augmented through panel plating, pattern plating, step plating, or selective plating; these processes apply additional copper to the PCB so that the required thickness is achieved at the locations depicted on the copper-thickness map.
Current distribution during plating affects thickness across the panel and around dense features. The deposited finished copper is verified at the acceptance locations indicated on the drawings. Therefore, broad planes, pad edges, and local plated zones cannot be assumed to have received the same deposited thickness.

Differential Etching and Sidewall Control
Because the copper is very thick, artwork compensation is necessary for etch removal. This means the photoresist is configured so that etching compensates for the lateral removal of material while cutting through the copper depth. Controlled etch compensation, spray parameters, resist configuration, and the process etch factor determine the degree of thick-copper conductor undercut at the acceptance location.
The finished conductor is measured at the drawing-defined acceptance location, and undercut is checked against the compensated geometry. The copper conductor width must also be controlled through neck-downs and layer-transition features, in addition to being maintained through the widest portion of the copper conductors forming the power path.
How Is Copper Bonded to FR-4?
Copper adheres to FR-4 using heat and pressure through the laminate and prepreg resin system. Vacuum lamination or sequential lamination supports resin fill in deep copper valleys, maintains dielectric separation, and limits the potential for voids trapped in copper pockets during lamination, depending on the stack being used.
The copper map is used to regulate how resin and pressure are distributed during the lamination process. Heavy copper mass, prepreg flow, press loading, and CTE behavior are coordinated so that the required dielectric thickness is maintained around the high-copper features while the panel remains within the specified dimensional tolerances and required flatness.
Drilling and Via-Wall Plating
In heavy copper and thick-board constructions, the demands on drilling stability, smear removal, metallization, and plating distribution increase with the copper weight and board thickness. Therefore, the selected finished-hole diameter must be compatible with the stack thickness and the required via-wall copper.
Conductive or non-conductive fill will be introduced where the via structure requires it. In addition, checks will be made during microsectioning for wall thickness, wall-thickness uniformity, layer interfaces, and fill condition. The finished-hole and via-wall requirements will be shown on the fabrication drawing and assigned to the appropriate acceptance class.
Solder Mask Over Heavy Copper Topography
Heavy-copper step heights and narrow valleys make it much harder to obtain complete coating coverage than on a flat standard-copper surface. Cleaning and surface preparation remove contaminants before coating, and plasma treatment may also be used when required by the selected process.
The application and curing of the solder mask must ensure coverage over high copper edges while keeping all defined openings clear. Inspection focuses on adhesion and coating coverage at conductor steps as well as broad, flat areas because a thin edge can expose copper even if the surrounding solder mask appears complete.
Embedded Copper and Special Interconnect Structures
The use of embedded copper, integrated busbars, copper coins, filled vias, plated edges, castellations, and plated cutouts provides solutions for current transfer, heat transfer, terminal, and assembly-interface issues. The processing requirements of the individual structures include placement, machining, filling, lamination, plating, and dimensional control; these specific requirements must be followed.
Proper positioning, interface, and planarity controls must be defined for integrated busbars, embedded conductors, and copper coins as part of the manufacturing process. Integrated busbars require additional controls for attachment, creepage, and assembly clearance. Back drilling is conducted on a via stub when necessary. Counterboring or countersinking prepares the mechanical interface. Sectioning, dimensional inspection, and electrical testing verify that the completed geometry and plating comply with the requirements defined for each structure.
Inspection and Reliability Testing
Copper Thickness and Via-Wall Verification
The finished copper will be measured on the designated layer and at the specified location. Copper thickness, including inner-layer thickness and deposited outer-layer copper, will be accepted based on direct measurement and microsection evidence linked to that layer and location.
The microsection provides a view of the conductor and plated-hole structure. It also provides measurements of inner and outer copper, conductor profile, via-wall thickness, distribution, fill condition, and interface quality at the sectioned location. Acceptance is based on comparing the recorded values with the product specifications and drawings.

Optical and Electrical Defect Coverage
Automated Optical Inspection (AOI) identifies visible conductor defects, including pattern, spacing, nicks, and protrusions, and checks solder-mask coverage. Microscopy and microsections confirm the etched conductor profile, bottom width, copper thickness, and plated-hole geometry according to the design specifications. Solder-mask adhesion is evaluated using the specified coating acceptance criteria rather than being inferred solely from the AOI results.
Testing with a flying probe verifies continuity and isolation throughout the complete net structure. Electrical testing identifies open circuits and shorts. The flying probe verifies continuity and isolation, while physical measurement verifies copper thickness, conductor dimensions, and via-wall geometry.
Internal-Structure and Impedance Verification
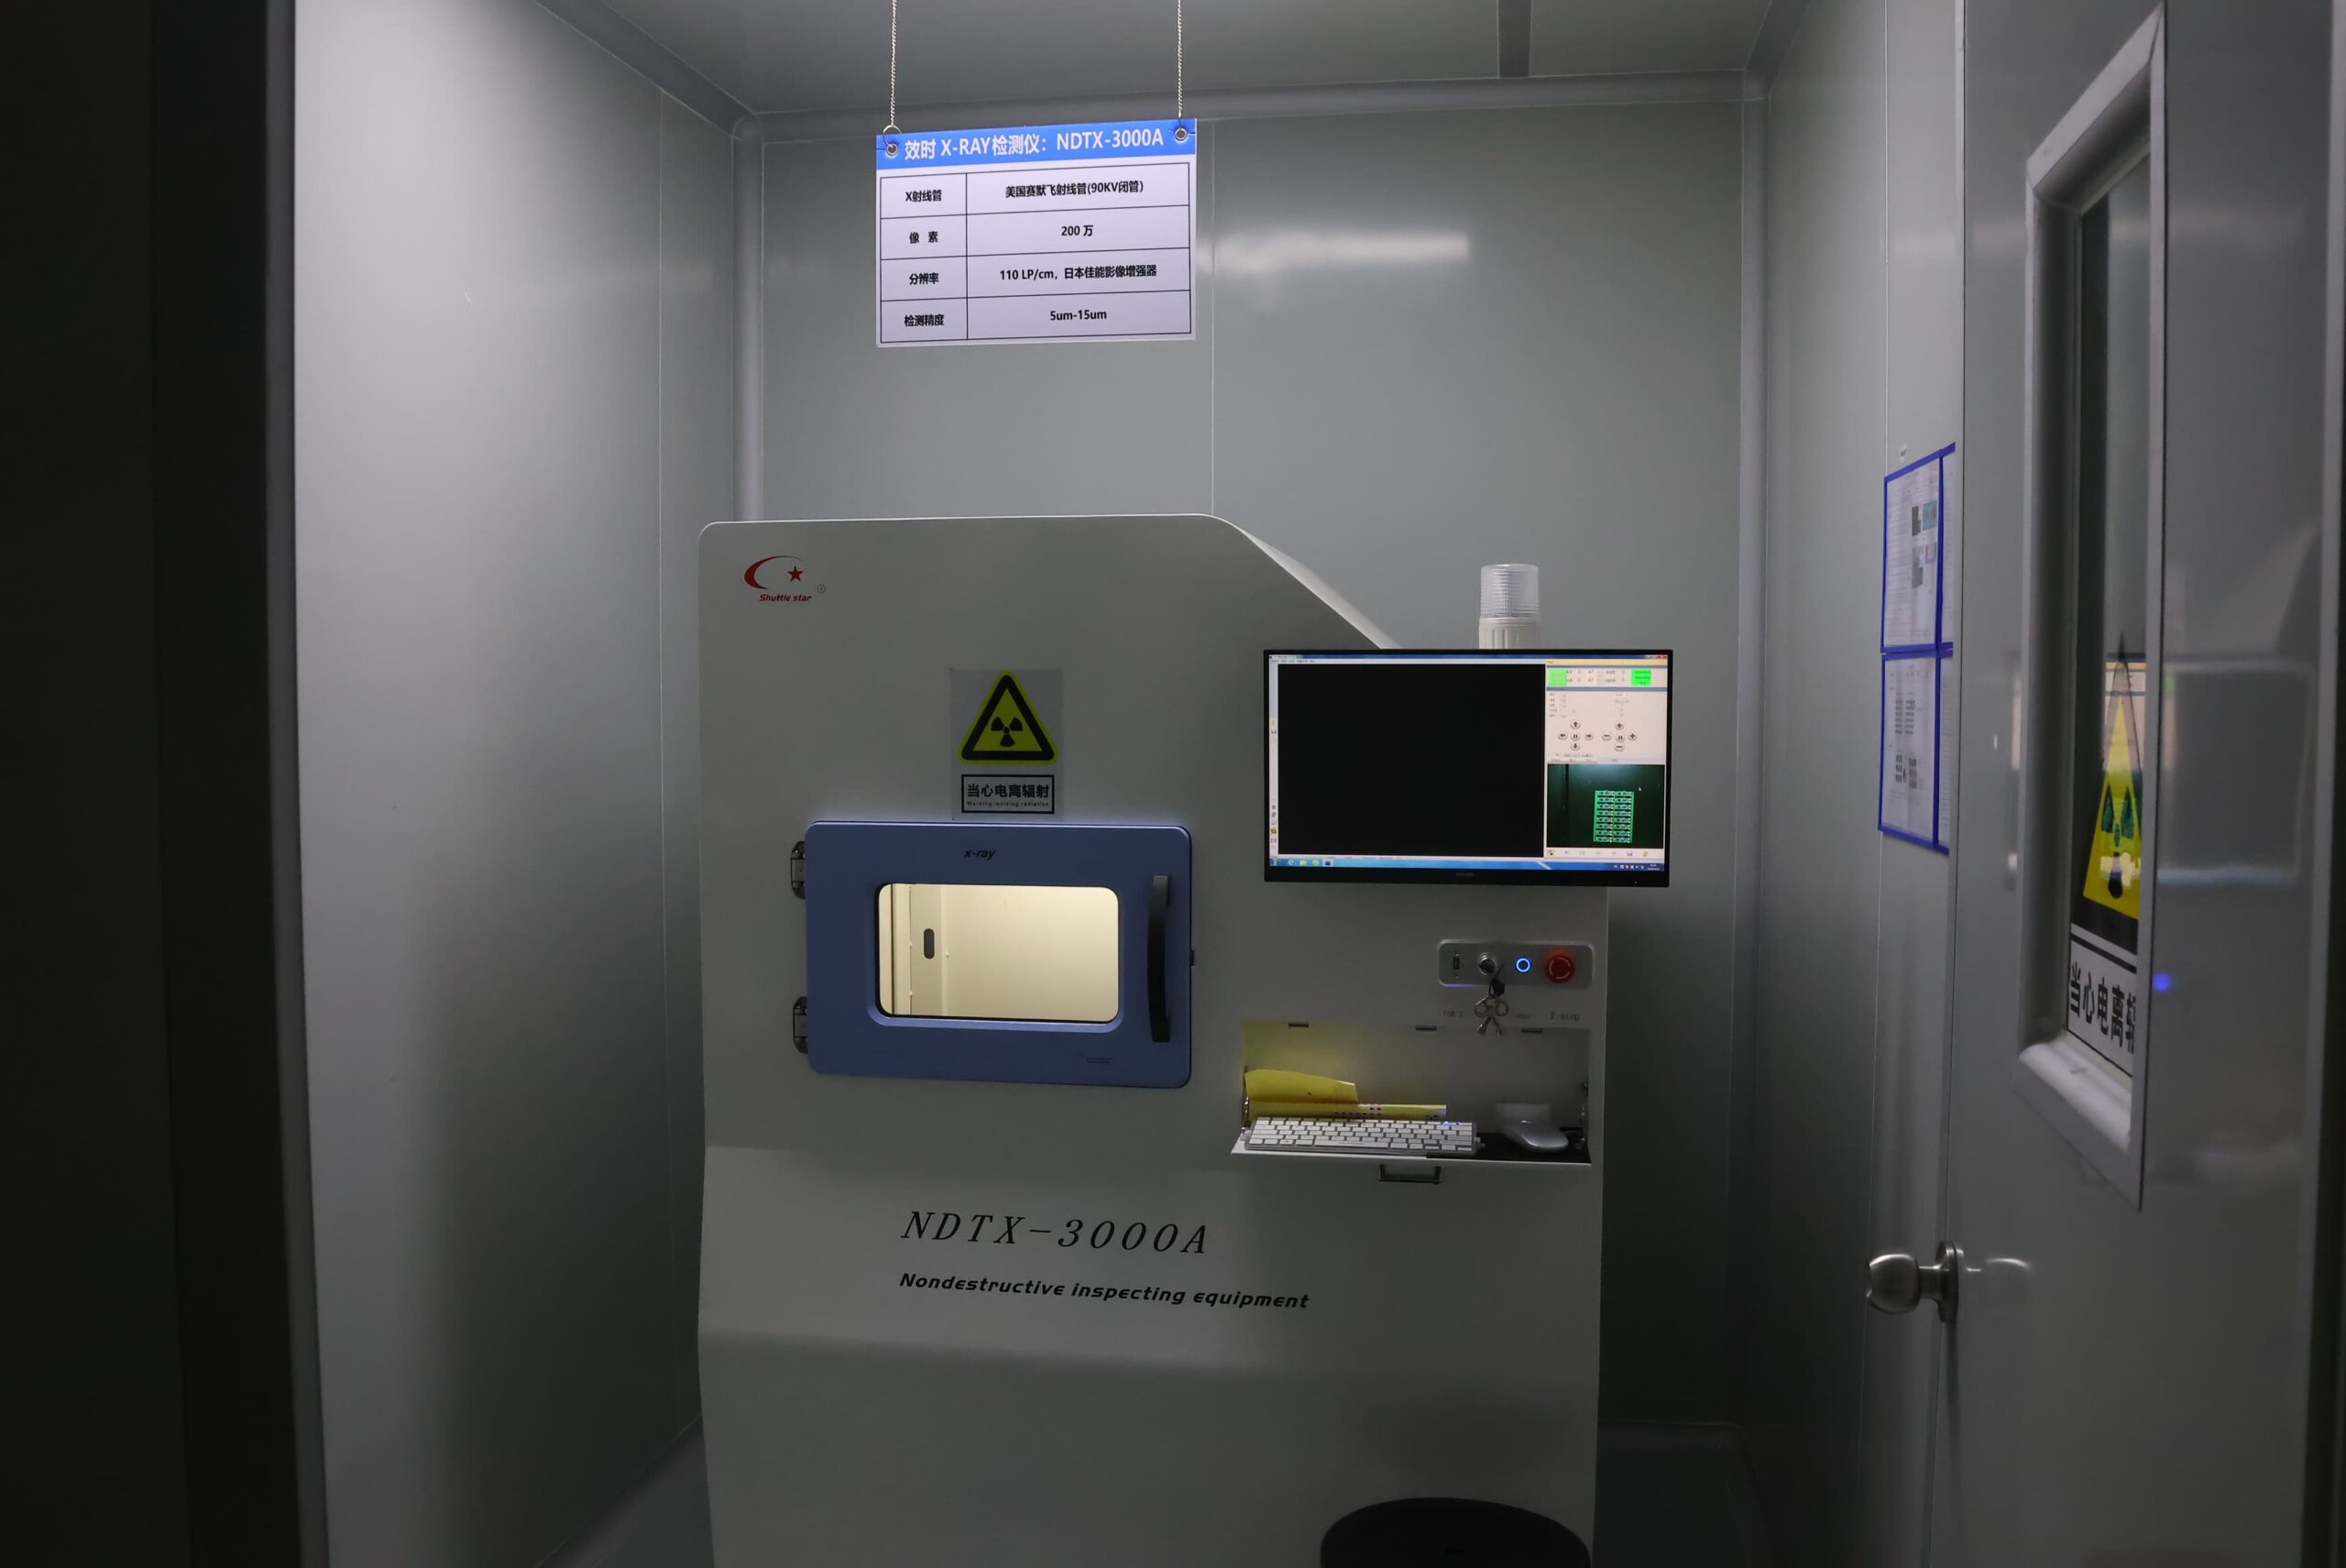
X-ray inspections are limited to the resolution and viewing angles available to the X-ray imaging equipment. Selected internal structures, such as buried features, fill, alignment, and interfaces, can be examined by X-ray within those limits. When a cross-sectional microsection can be made through an internal structure, it provides direct physical measurement at the cut location. These two methods are selected based on the internal structure being validated.
Controlled impedance will be verified using coupons or direct board measurement against the defined target. Approved coupons and stacks should represent the copper and dielectric conditions of the applicable layer. For a mixed-copper board, the coupon or approved stack should represent the applicable signal layer, dielectric thickness, copper-formation method, and adjacent high-copper topography rather than a generalized panel condition.
Thermal and Reflow Reliability Conditions
Reliability testing of heavy copper printed circuit boards examines resistance stability and structural response under the defined reflow or thermal-cycle profile. The test definition includes preconditioning, temperature profile, peak or range, cycle count, dwell time, sample construction, failure criteria, and resistance monitoring.
Reflow testing, thermal cycling, and plated-through-hole thermal stress create different load conditions. By monitoring resistance during the defined profile, structural change can be linked to the current path. Post-test microsection can identify barrel cracking, interface separation, resin condition, or conductor damage at the established location.
IPC-6012F, IPC-A-600M, IPC-2221C, IPC-2222B, and IPC-4101E with Amendment 1 provide relevant requirements and guidance for rigid PCB construction and materials. IPC-4562B applies to metal-base copper-clad laminates, while IPC-2223F and IPC-6013E apply to flex and rigid-flex designs. Relevant IPC-TM-650 methods include 2.2.5A – Dimensional Inspection Using Microsections, 2.6.7.2C – Thermal Shock/Cycling, 2.6.8E – Thermal Stress Testing of Plated-Through Holes, and 2.6.10A – X-Ray Inspection.
Applications

DC Distribution Board
A heavy copper PCB serves as a low-resistance input, output, switching, and branch path in converters and power-supply equipment. Branch asymmetry is often the primary design issue, where one connector, fuse pad, relay pad, or narrow neck-down will reach a higher temperature than a wide, flat distribution plane before the plane reaches its predetermined maximum temperature.
The width, terminal entry, vias supplying the same branch, and their spacing should all be sized as a single current path. The design package should define the current at each branch, the terminal and via-array geometry for each connector and fuse pad, and the maximum allowable temperature rise for each current path, thus ensuring that no single transition is sized independently of the plane it feeds.

Onboard Charger
The onboard charger in an automobile connects battery interfaces with the charging stages, battery management system (BMS) power paths, contactors, and high-current connectors under sustained or bidirectional current. To minimize voltage drop, many areas contain local thick-copper zones, whereas the connector transition, via array, and pad geometry surrounding the switching devices represent the critical zones. As power cycling and heating and cooling cycles occur, hole-wall copper, the local resin condition around mechanically loaded terminals, and plane copper together determine the thermal and electrical suitability of the PCB. The specification should define the via-array symmetry and hole-wall copper required at each connector and switching-device pad, as well as the anticipated power-cycling profile, rather than defining only one copper weight for the entire board.

Motor Drive Inverter
Heavy copper connections are common between the DC link, switching devices, phase terminals, and loads. Current concentration on device pads and the first via row can occur due to starting and braking pulses; therefore, high di/dt paths require compact, symmetrical geometry. The drawing should define the magnitude and duration of each device-pad pulse, as well as the via array supplying the first row, because a rating based only on sustained current would not reflect the characteristics of starting or braking pulses.

Battery Storage Converter
Battery-storage converters and solar inverters regulate continuous bidirectional current across the DC link, conversion stage, and storage interface. Parallel layers will only reduce resistance if current enters them uniformly through properly configured via and terminal structures. The manufacturing package should define the matching of vias and terminals between parallel layers at the bus interface, along with the panel-flatness and copper-balance limits for the finished size; therefore, parallel copper should be verified as a shared current path rather than assumed to distribute current evenly.

Protection Relay Board
Heavy copper is used on protection-relay boards to provide sustained supply current and create low-resistance paths during switching, surges, or faults. The design must maintain spacing between the power and sensing branches and avoid narrow pads for fuses, relays, shunts, and connectors that would restrict the fault-current path. Rail-traction and UPS assemblies create further challenges due to cyclic load changes and vibration at terminal regions. The acceptance plan should define the magnitude and duration of the fault current at each fuse, relay, and shunt pad; the design must also evaluate mechanical support at terminal regions during vibration rather than setting a universal fault rating for the entire protection-relay board.

Planar Transformer
Heavy copper connections are commonly used as windings, local bus structures, or high-current interconnects in planar transformers and integrated power modules. Thick copper has lower DC resistance, but many factors affect AC losses within the windings: skin effect, proximity effect, layer arrangement, and current sharing between parallel turns control the final winding performance. The stack must also coordinate primary-to-secondary insulation, resin fill, copper balance, termination geometry, and thick-edge topography. The stack review should define the layer arrangement and turn sharing at the operating frequency and the primary-to-secondary insulation distance, because selecting copper weight based on conductor DC resistance does not necessarily provide an accurate determination of AC loss or insulation margin.

Industrial Control Backplane
Industrial control backplanes are electrical distribution systems that provide low-voltage, high-current electricity to parallel power modules, relays, and sustained loads. Uneven connector-pin engagement, differences in branch length, or inconsistent placement of via arrays can cause localized hot spots in an electrical distribution system even if the overall copper area appears adequate. The layout review for these types of systems must indicate the pin engagement and branch length at each parallel module connector, along with how and where the via arrays feed each connector, because equal total copper area across all connectors does not ensure equal current sharing when the connectors are unevenly positioned.

High-Reliability Power Control Module
Heavy copper is used in heavy-duty, aerospace, defense, nuclear-power, and medical-device power boards that carry critical power or control paths exposed to thermal cycling, vibration, and other environmental stresses. Specifically, while thicker copper increases the stiffness and weight of the board, terminal fixation, board mounting, hole plating, and laminate behavior remain important in determining board fatigue. Therefore, to verify that the specified electrical, thermal, and mechanical loads at the actual high-current transitions are achievable, a qualification plan must define the thermal-cycle and vibration profiles at the high-current transition locations, along with the acceptance criteria for terminal fixation and hole plating. Fatigue life cannot be determined from electrical margin alone.
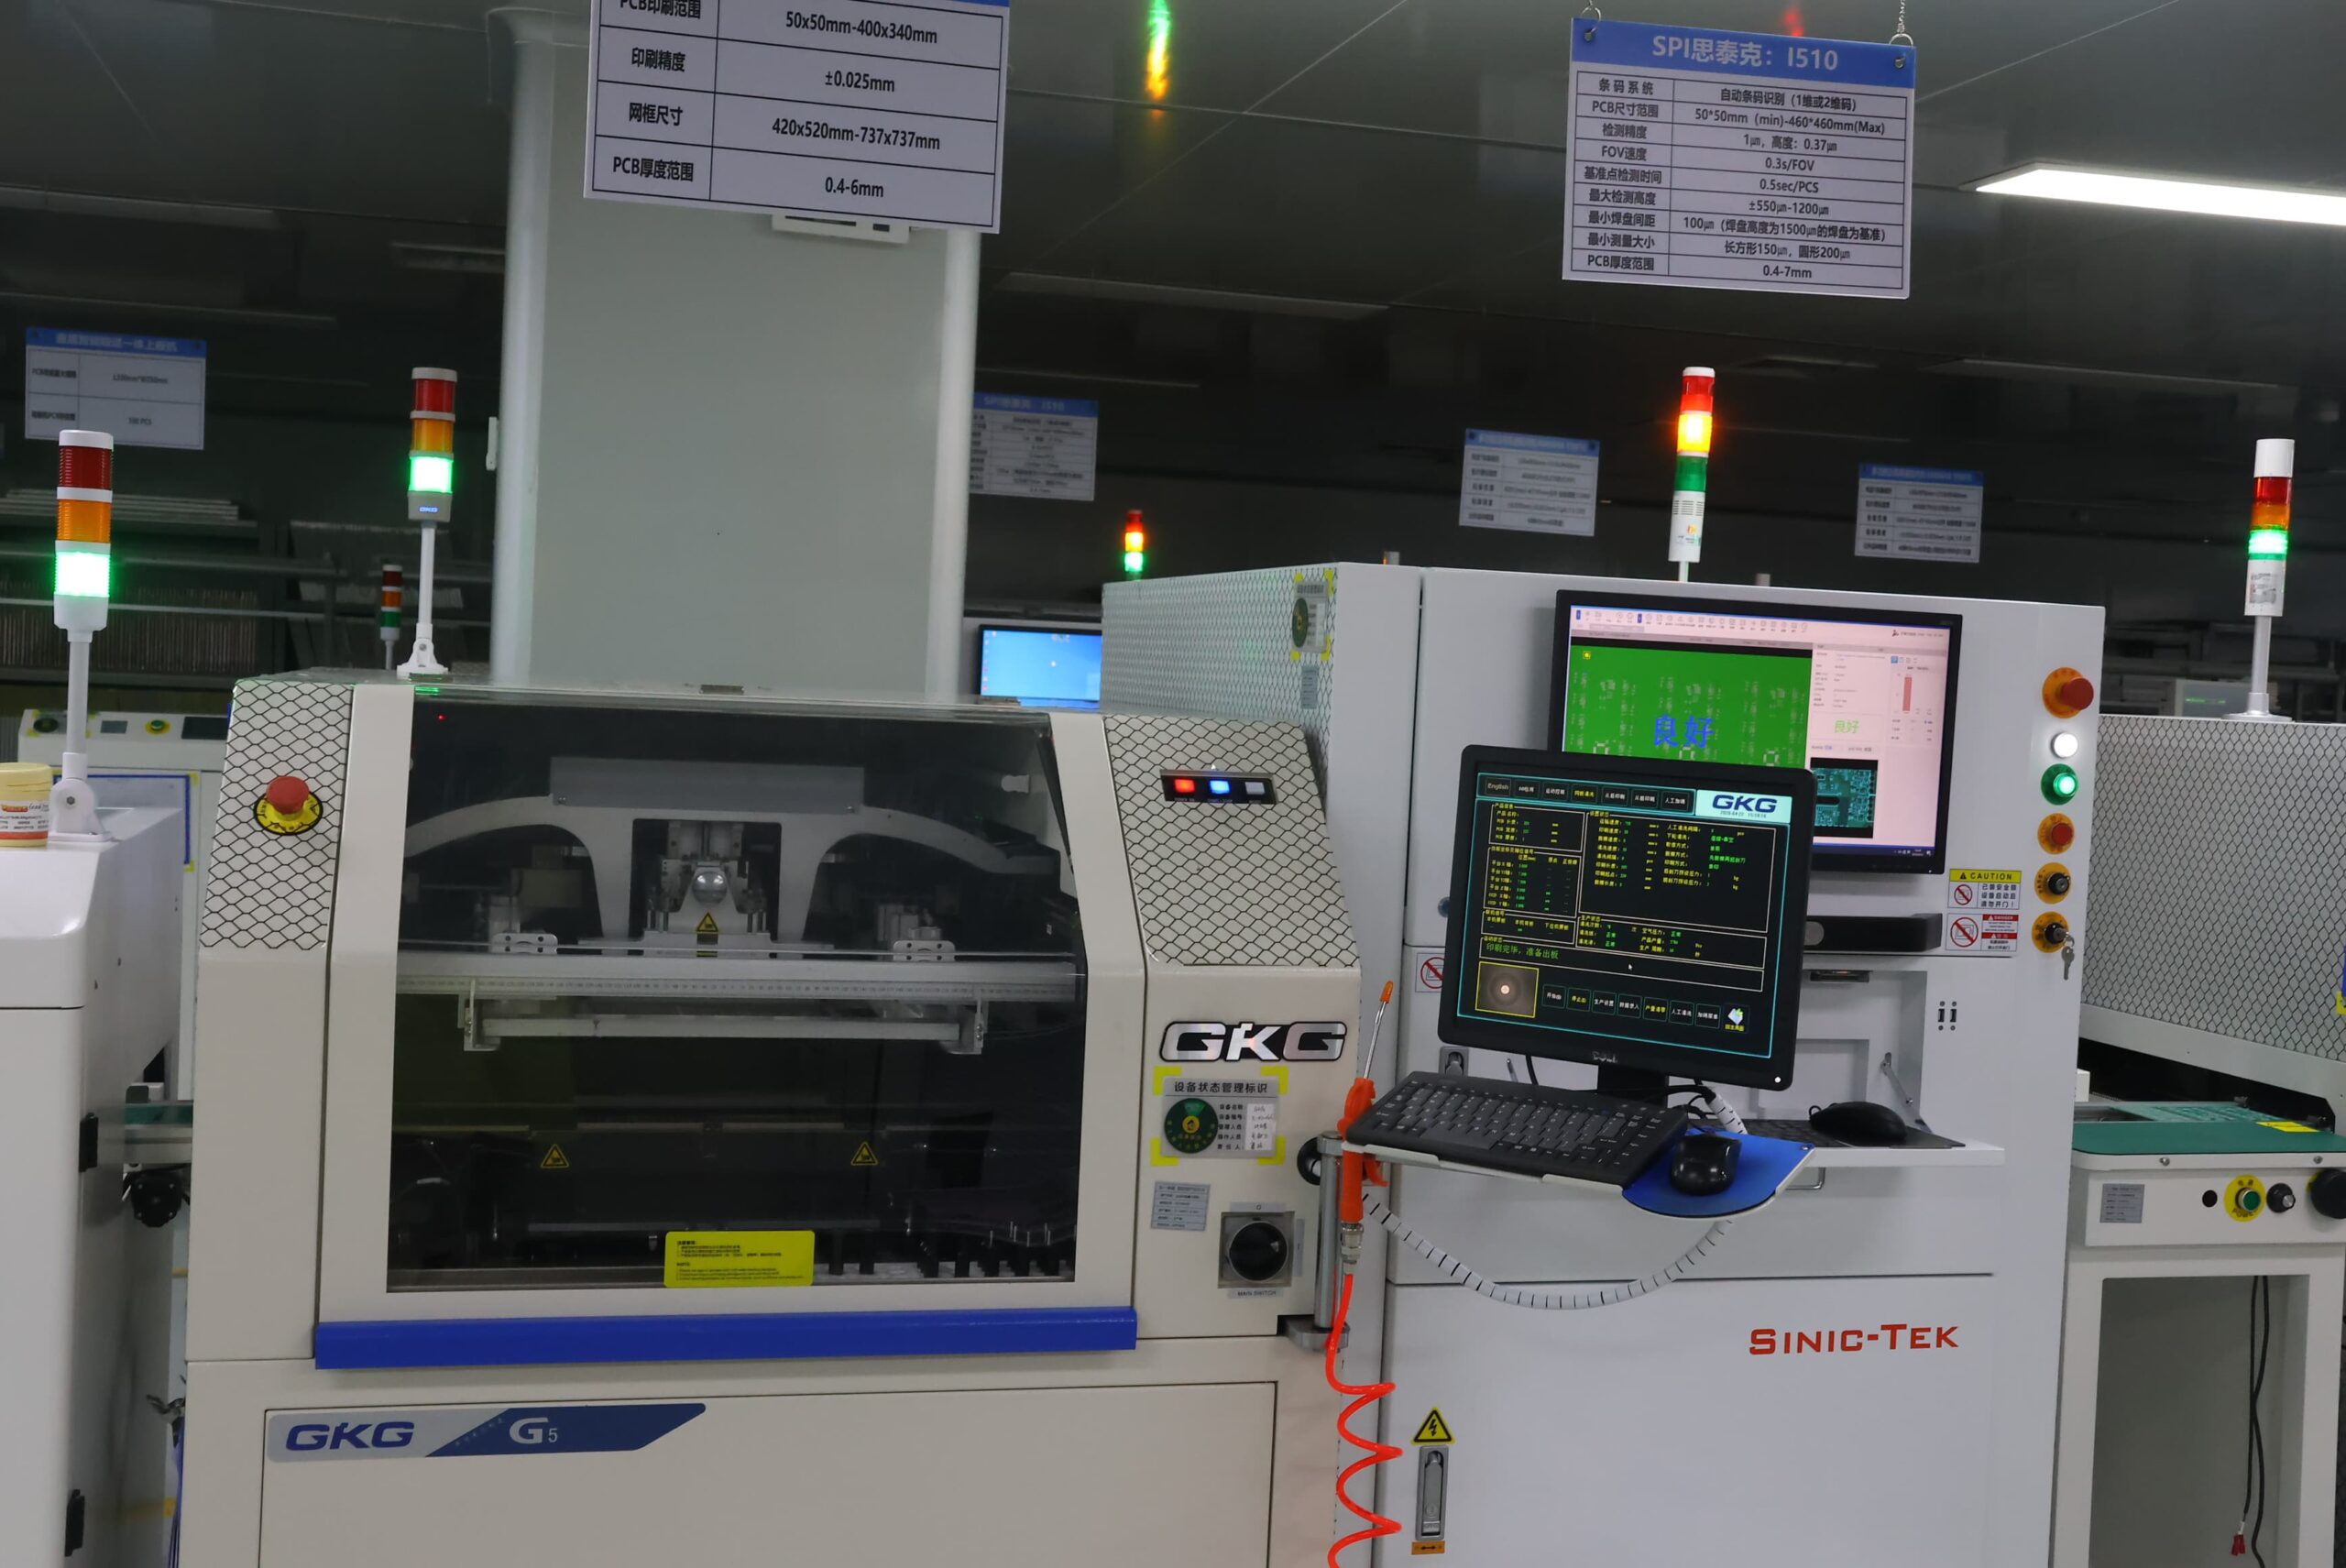
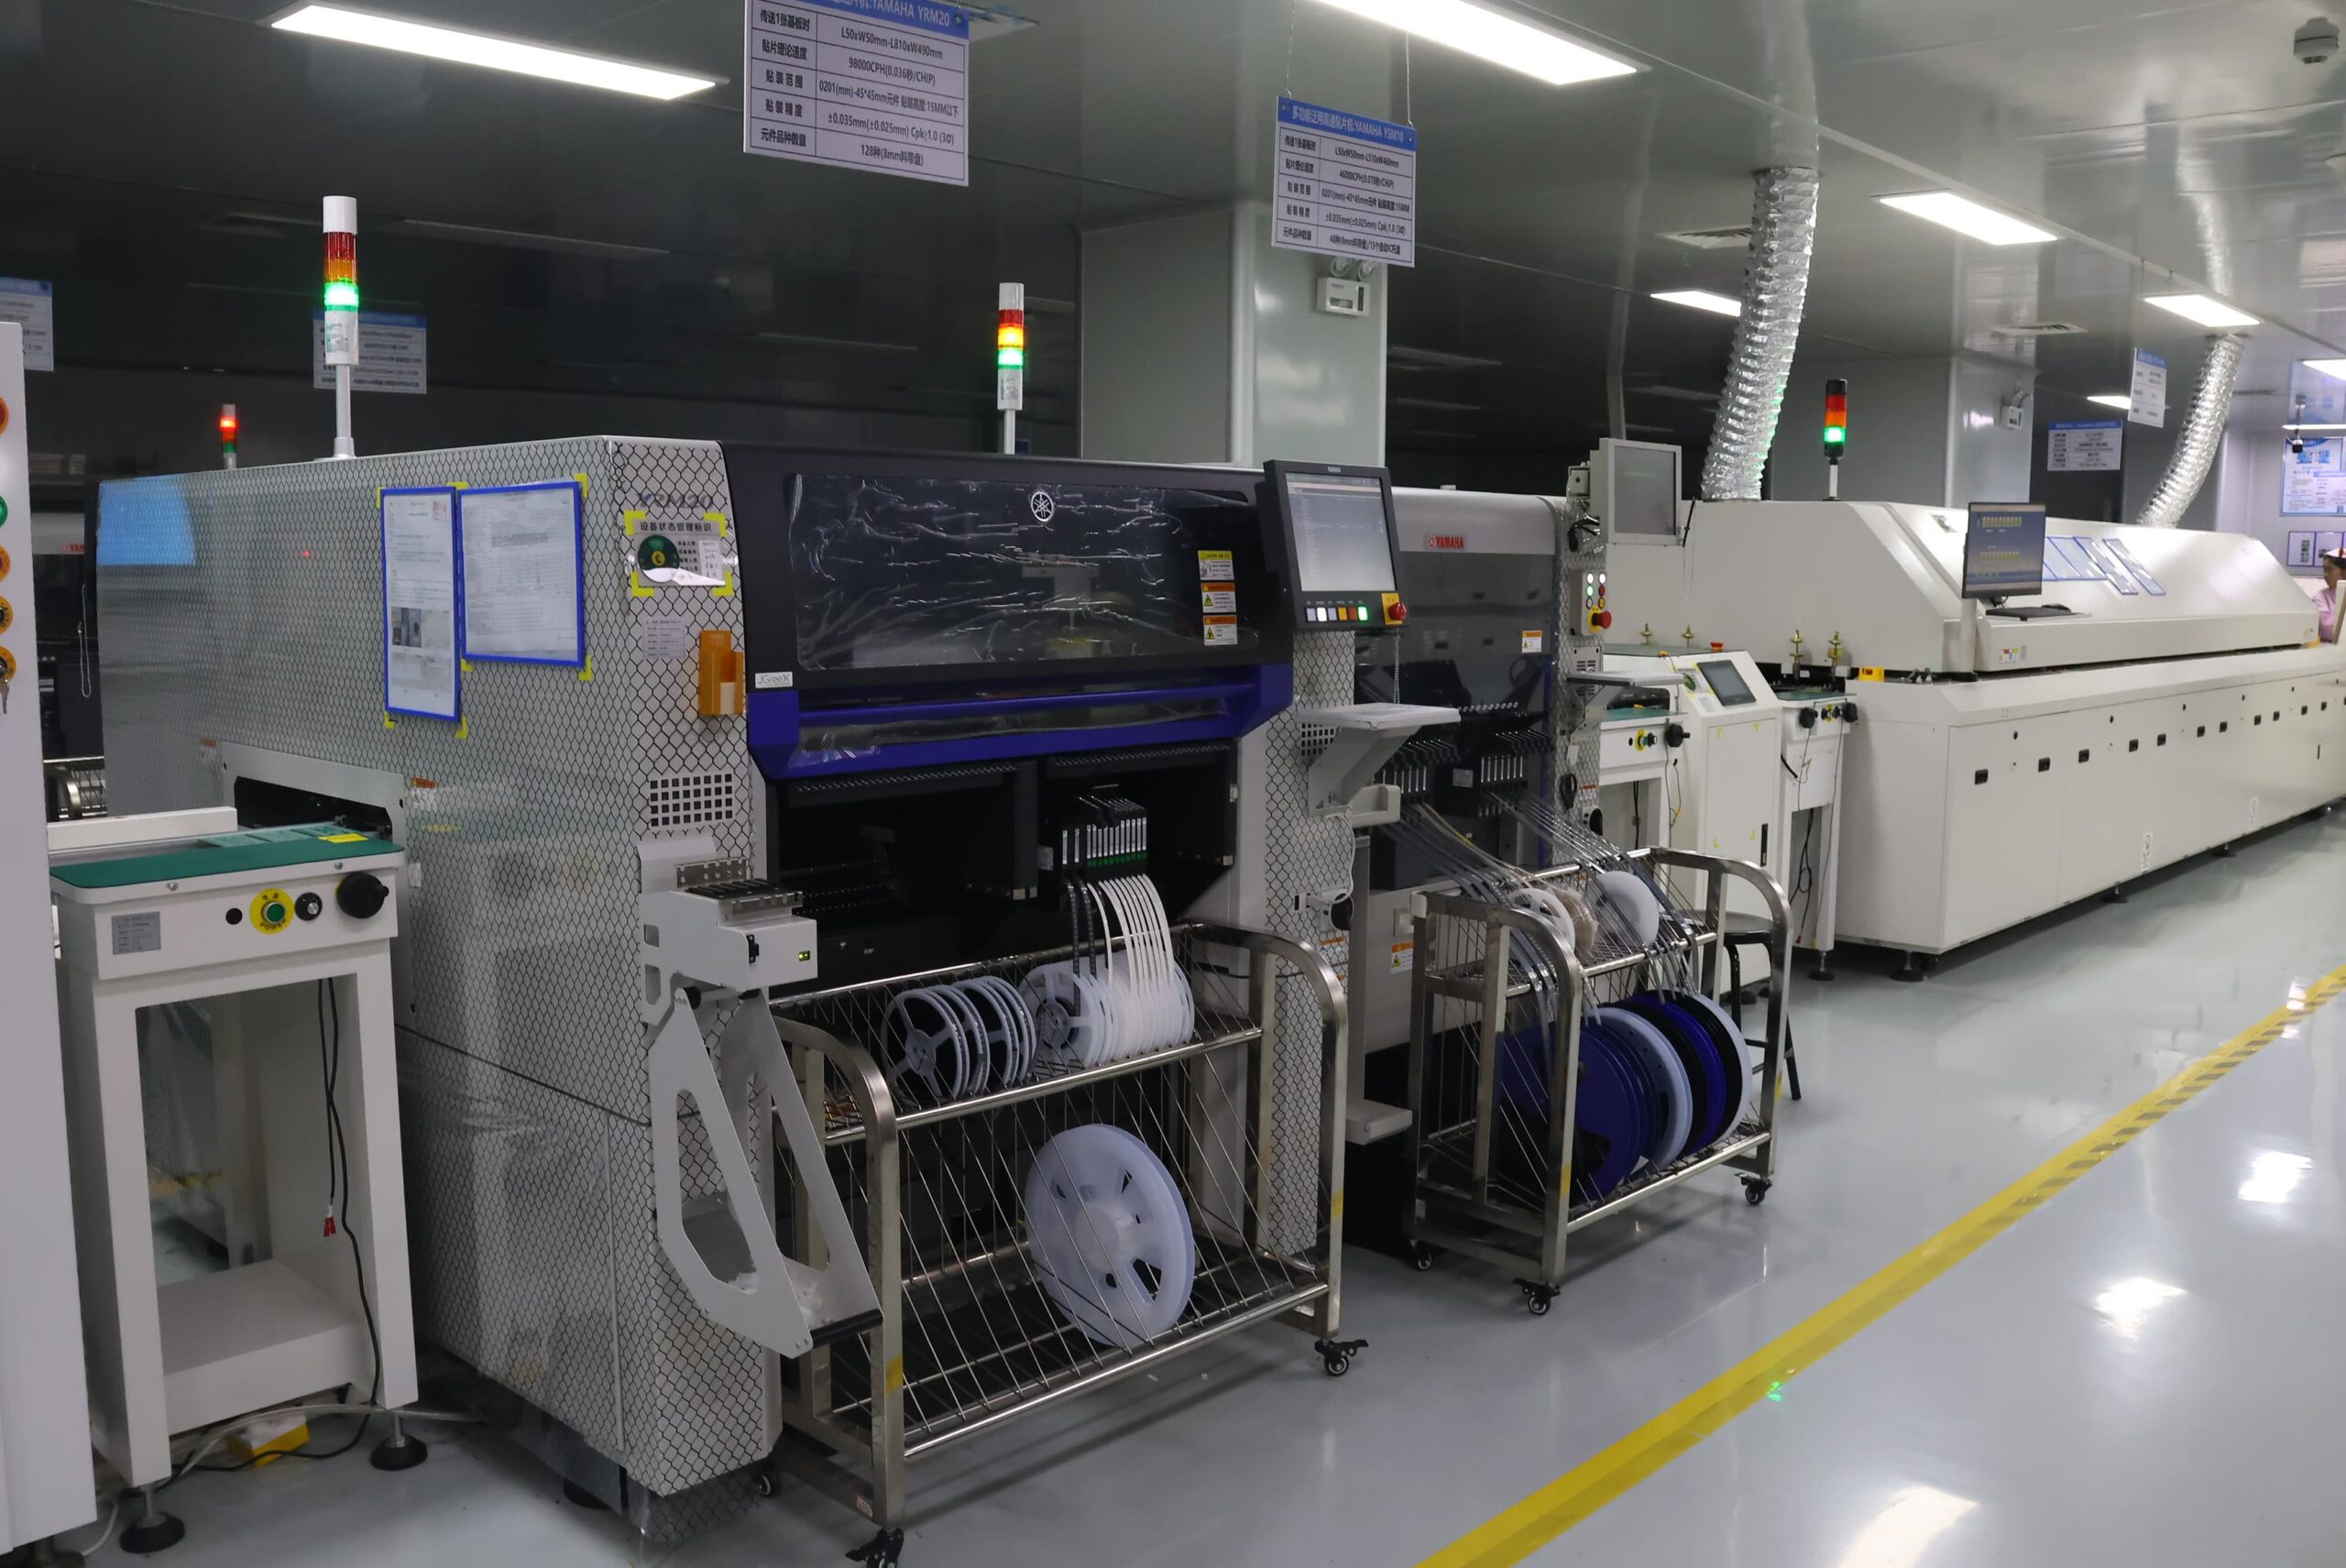
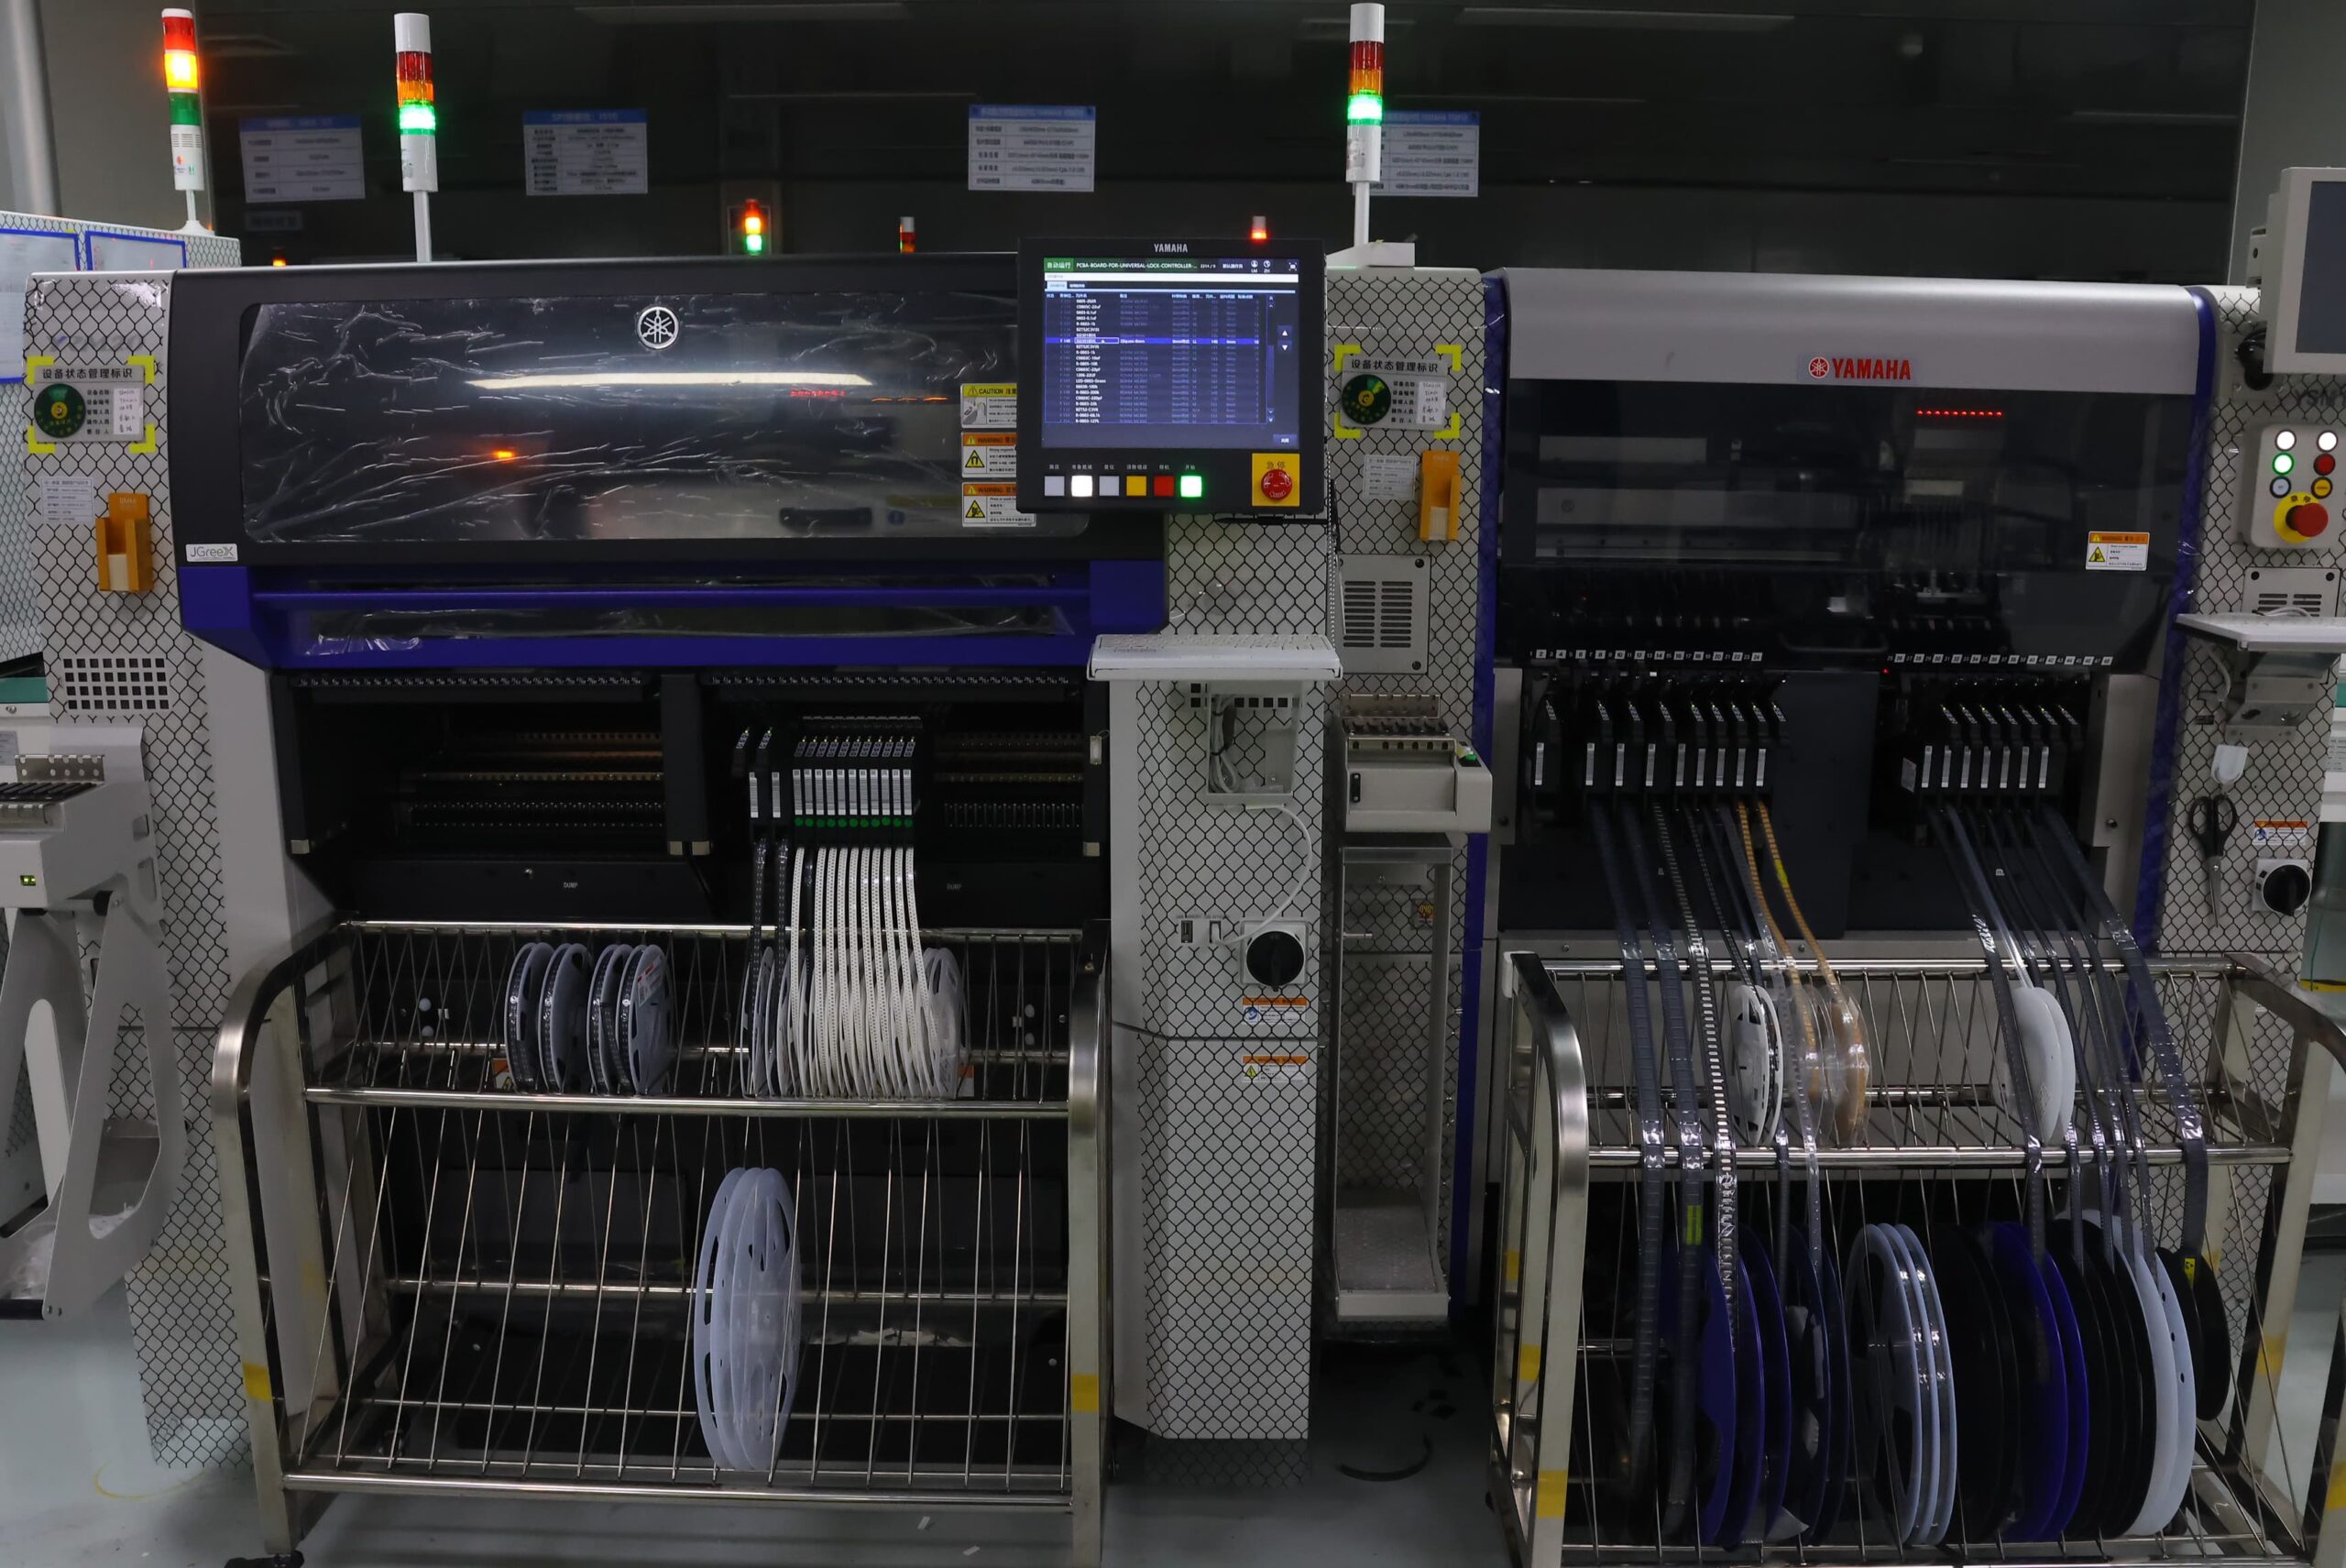
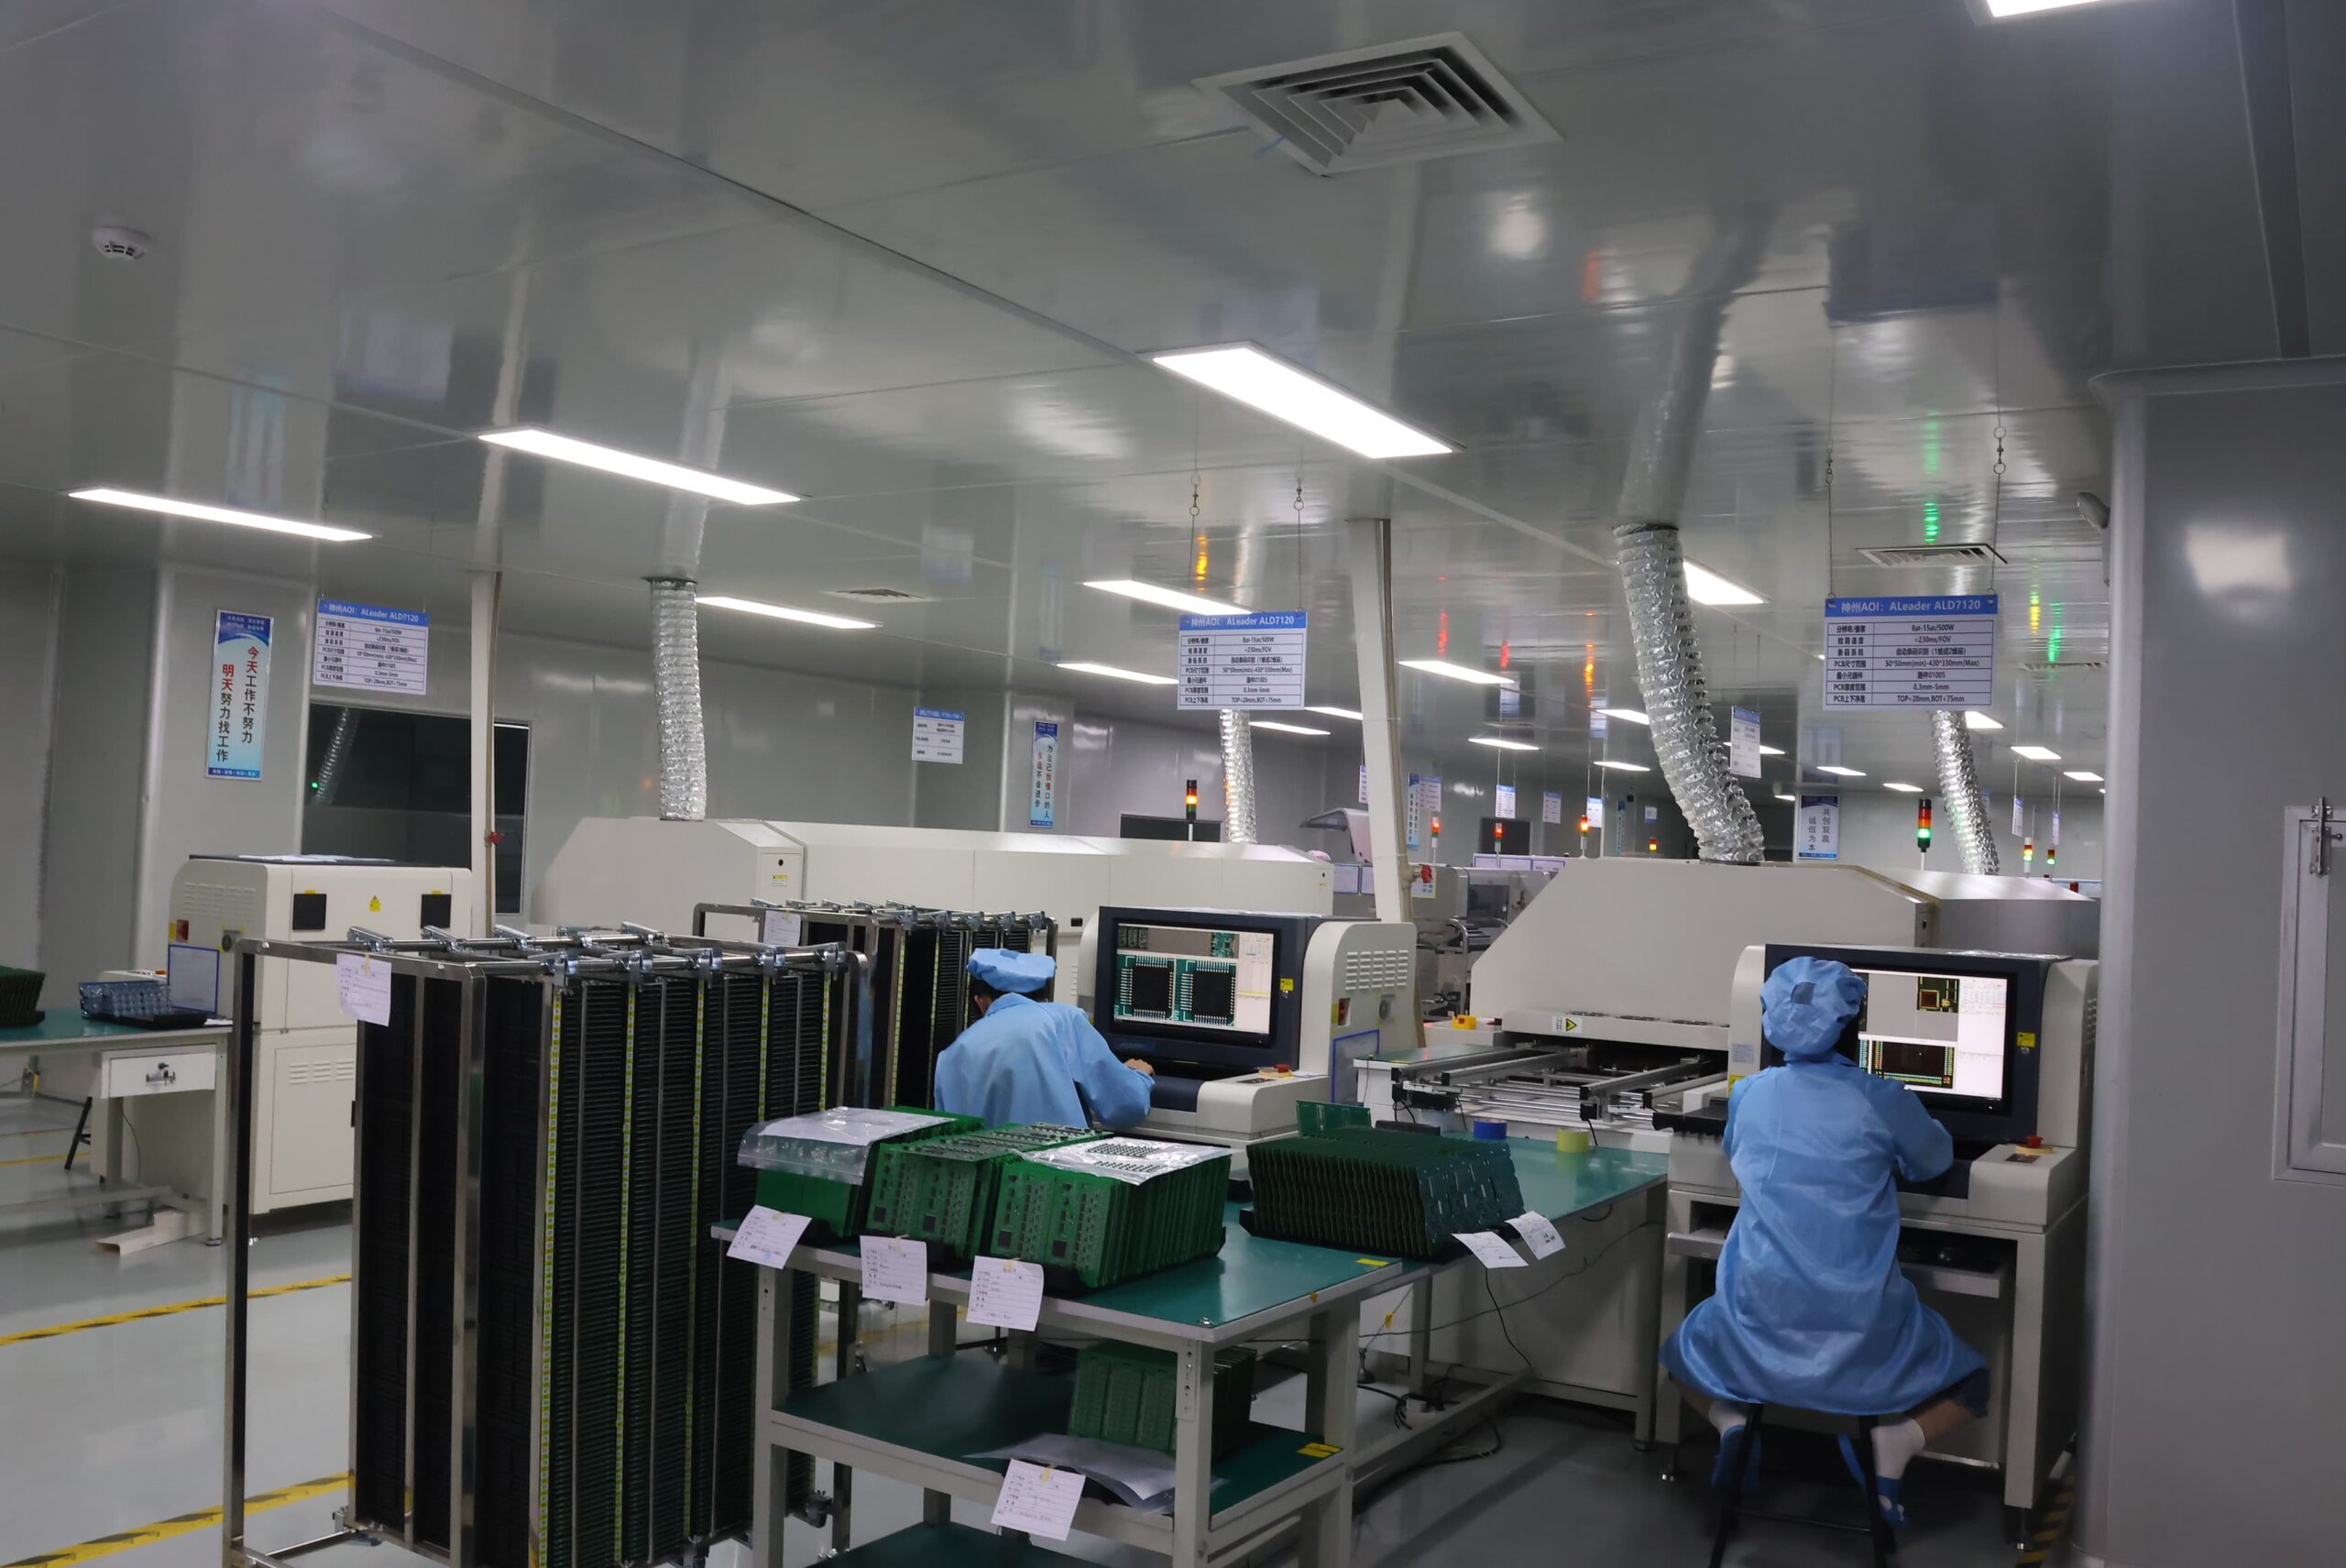
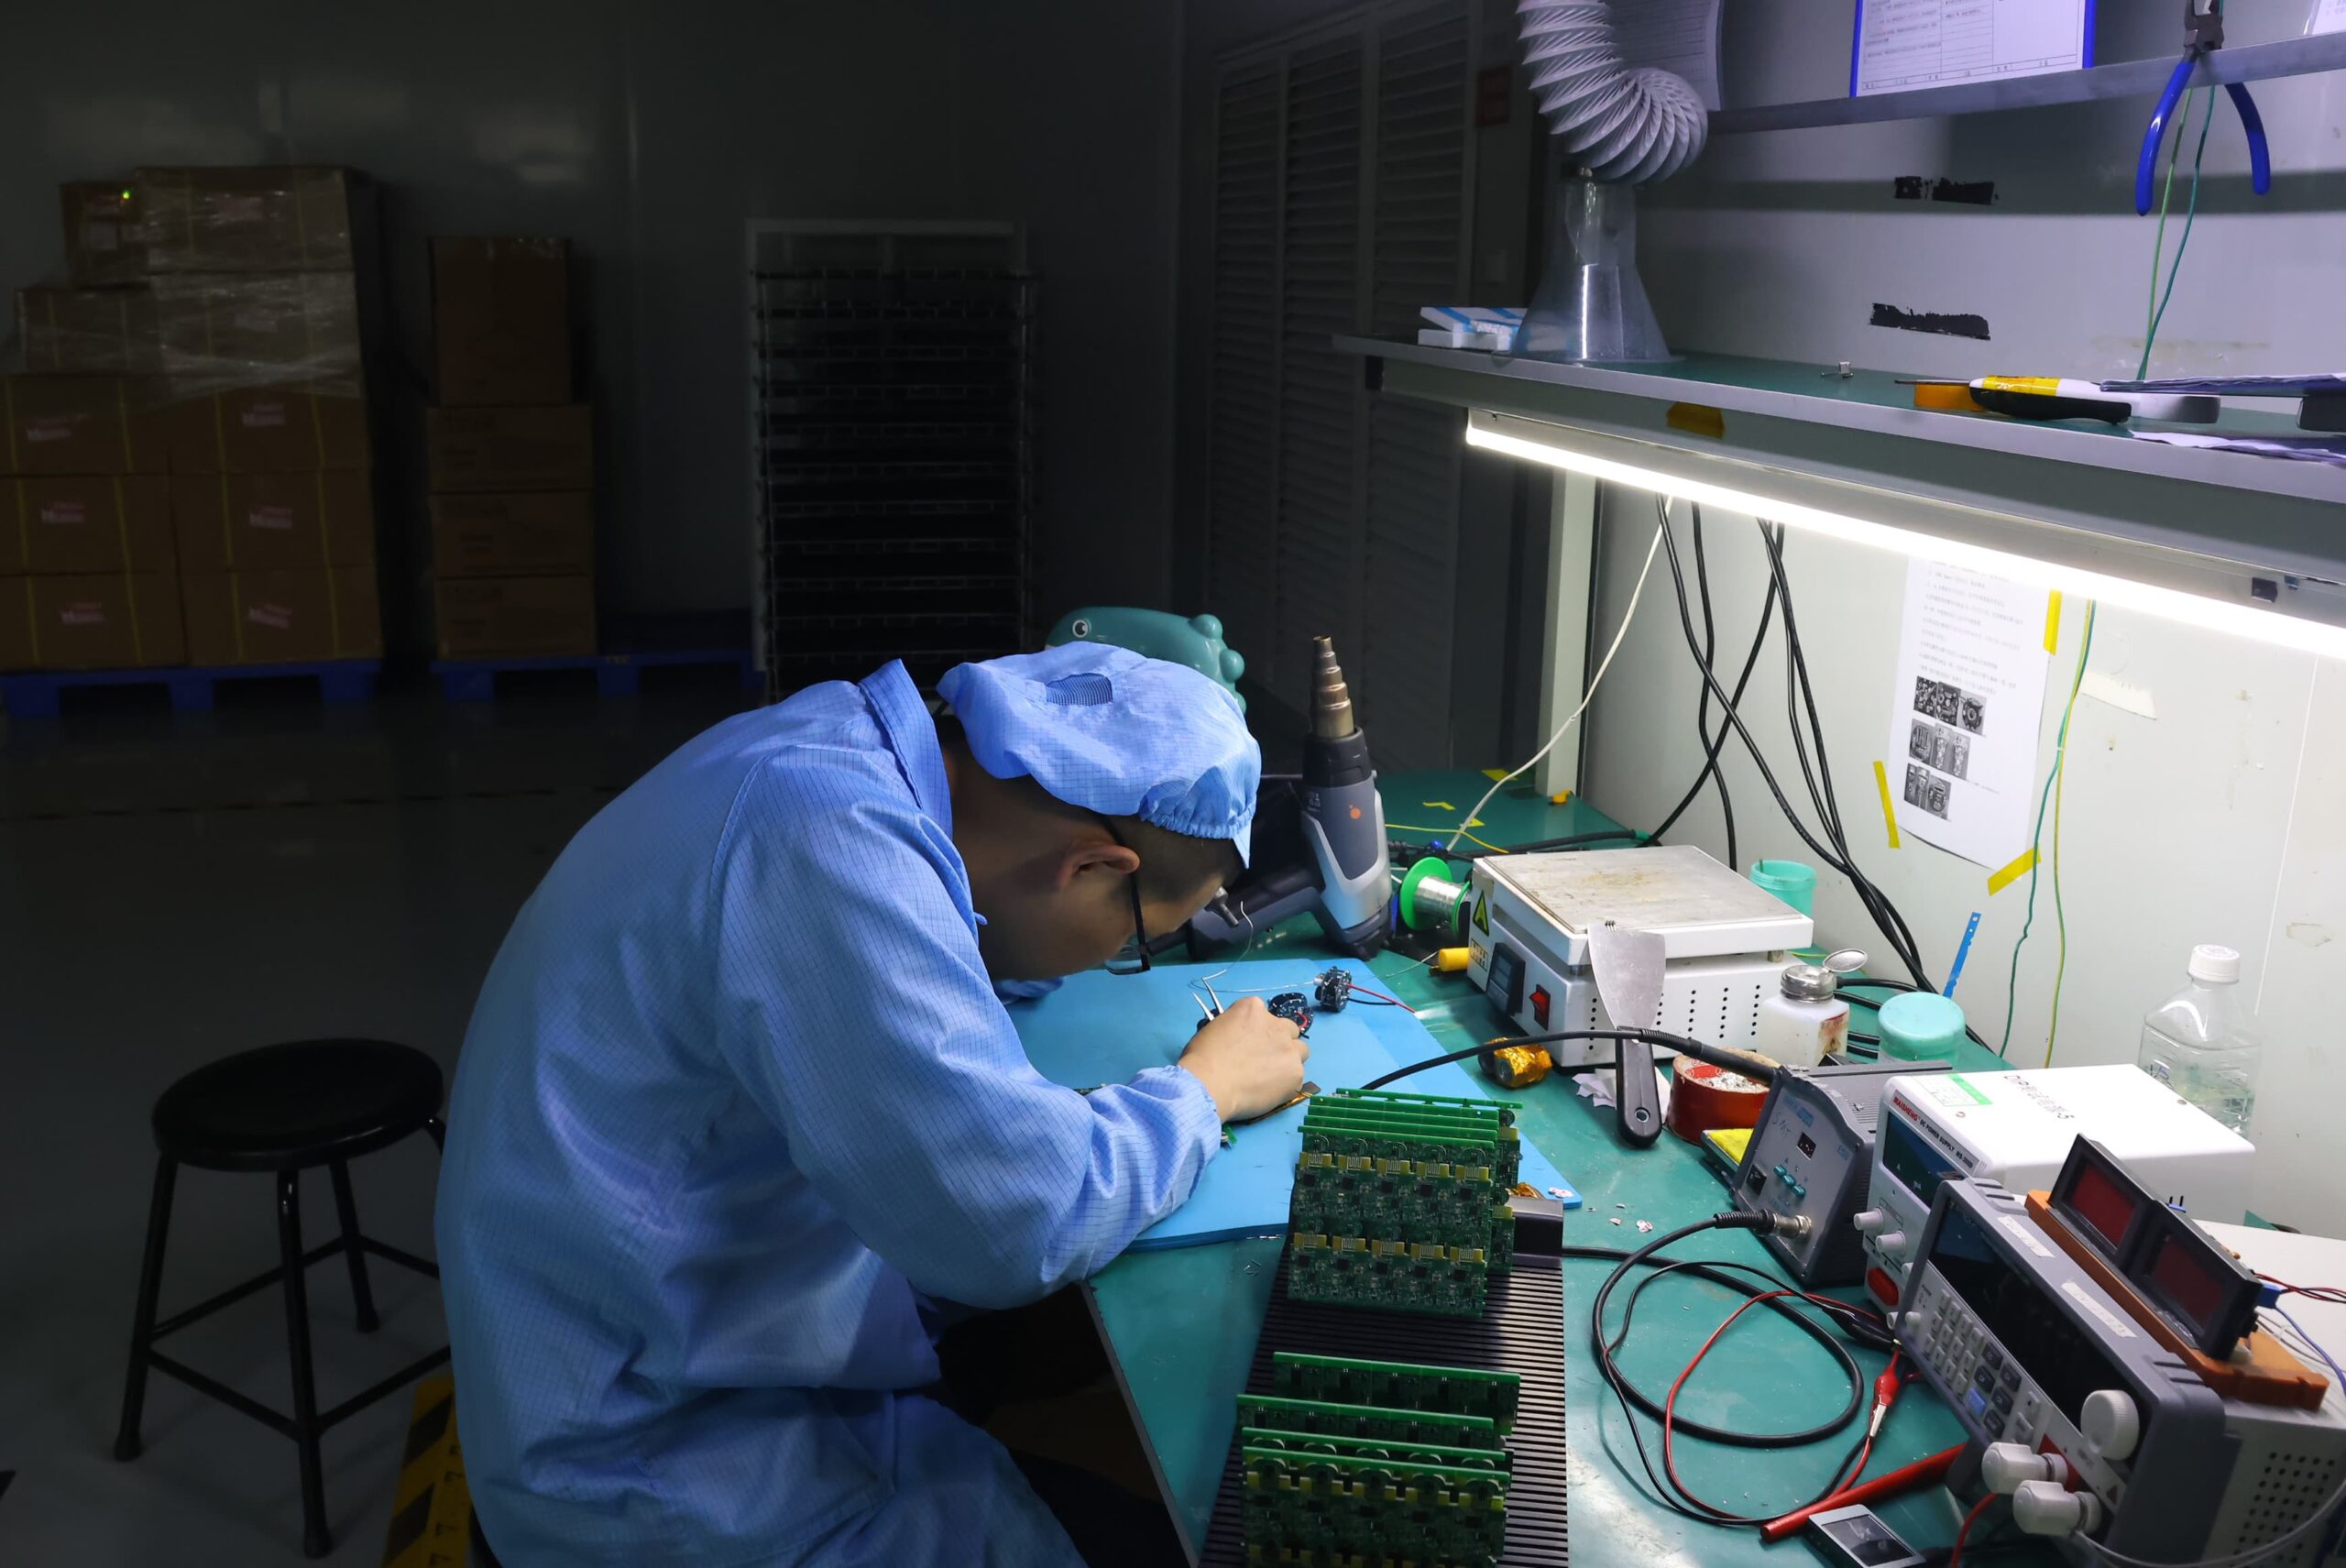
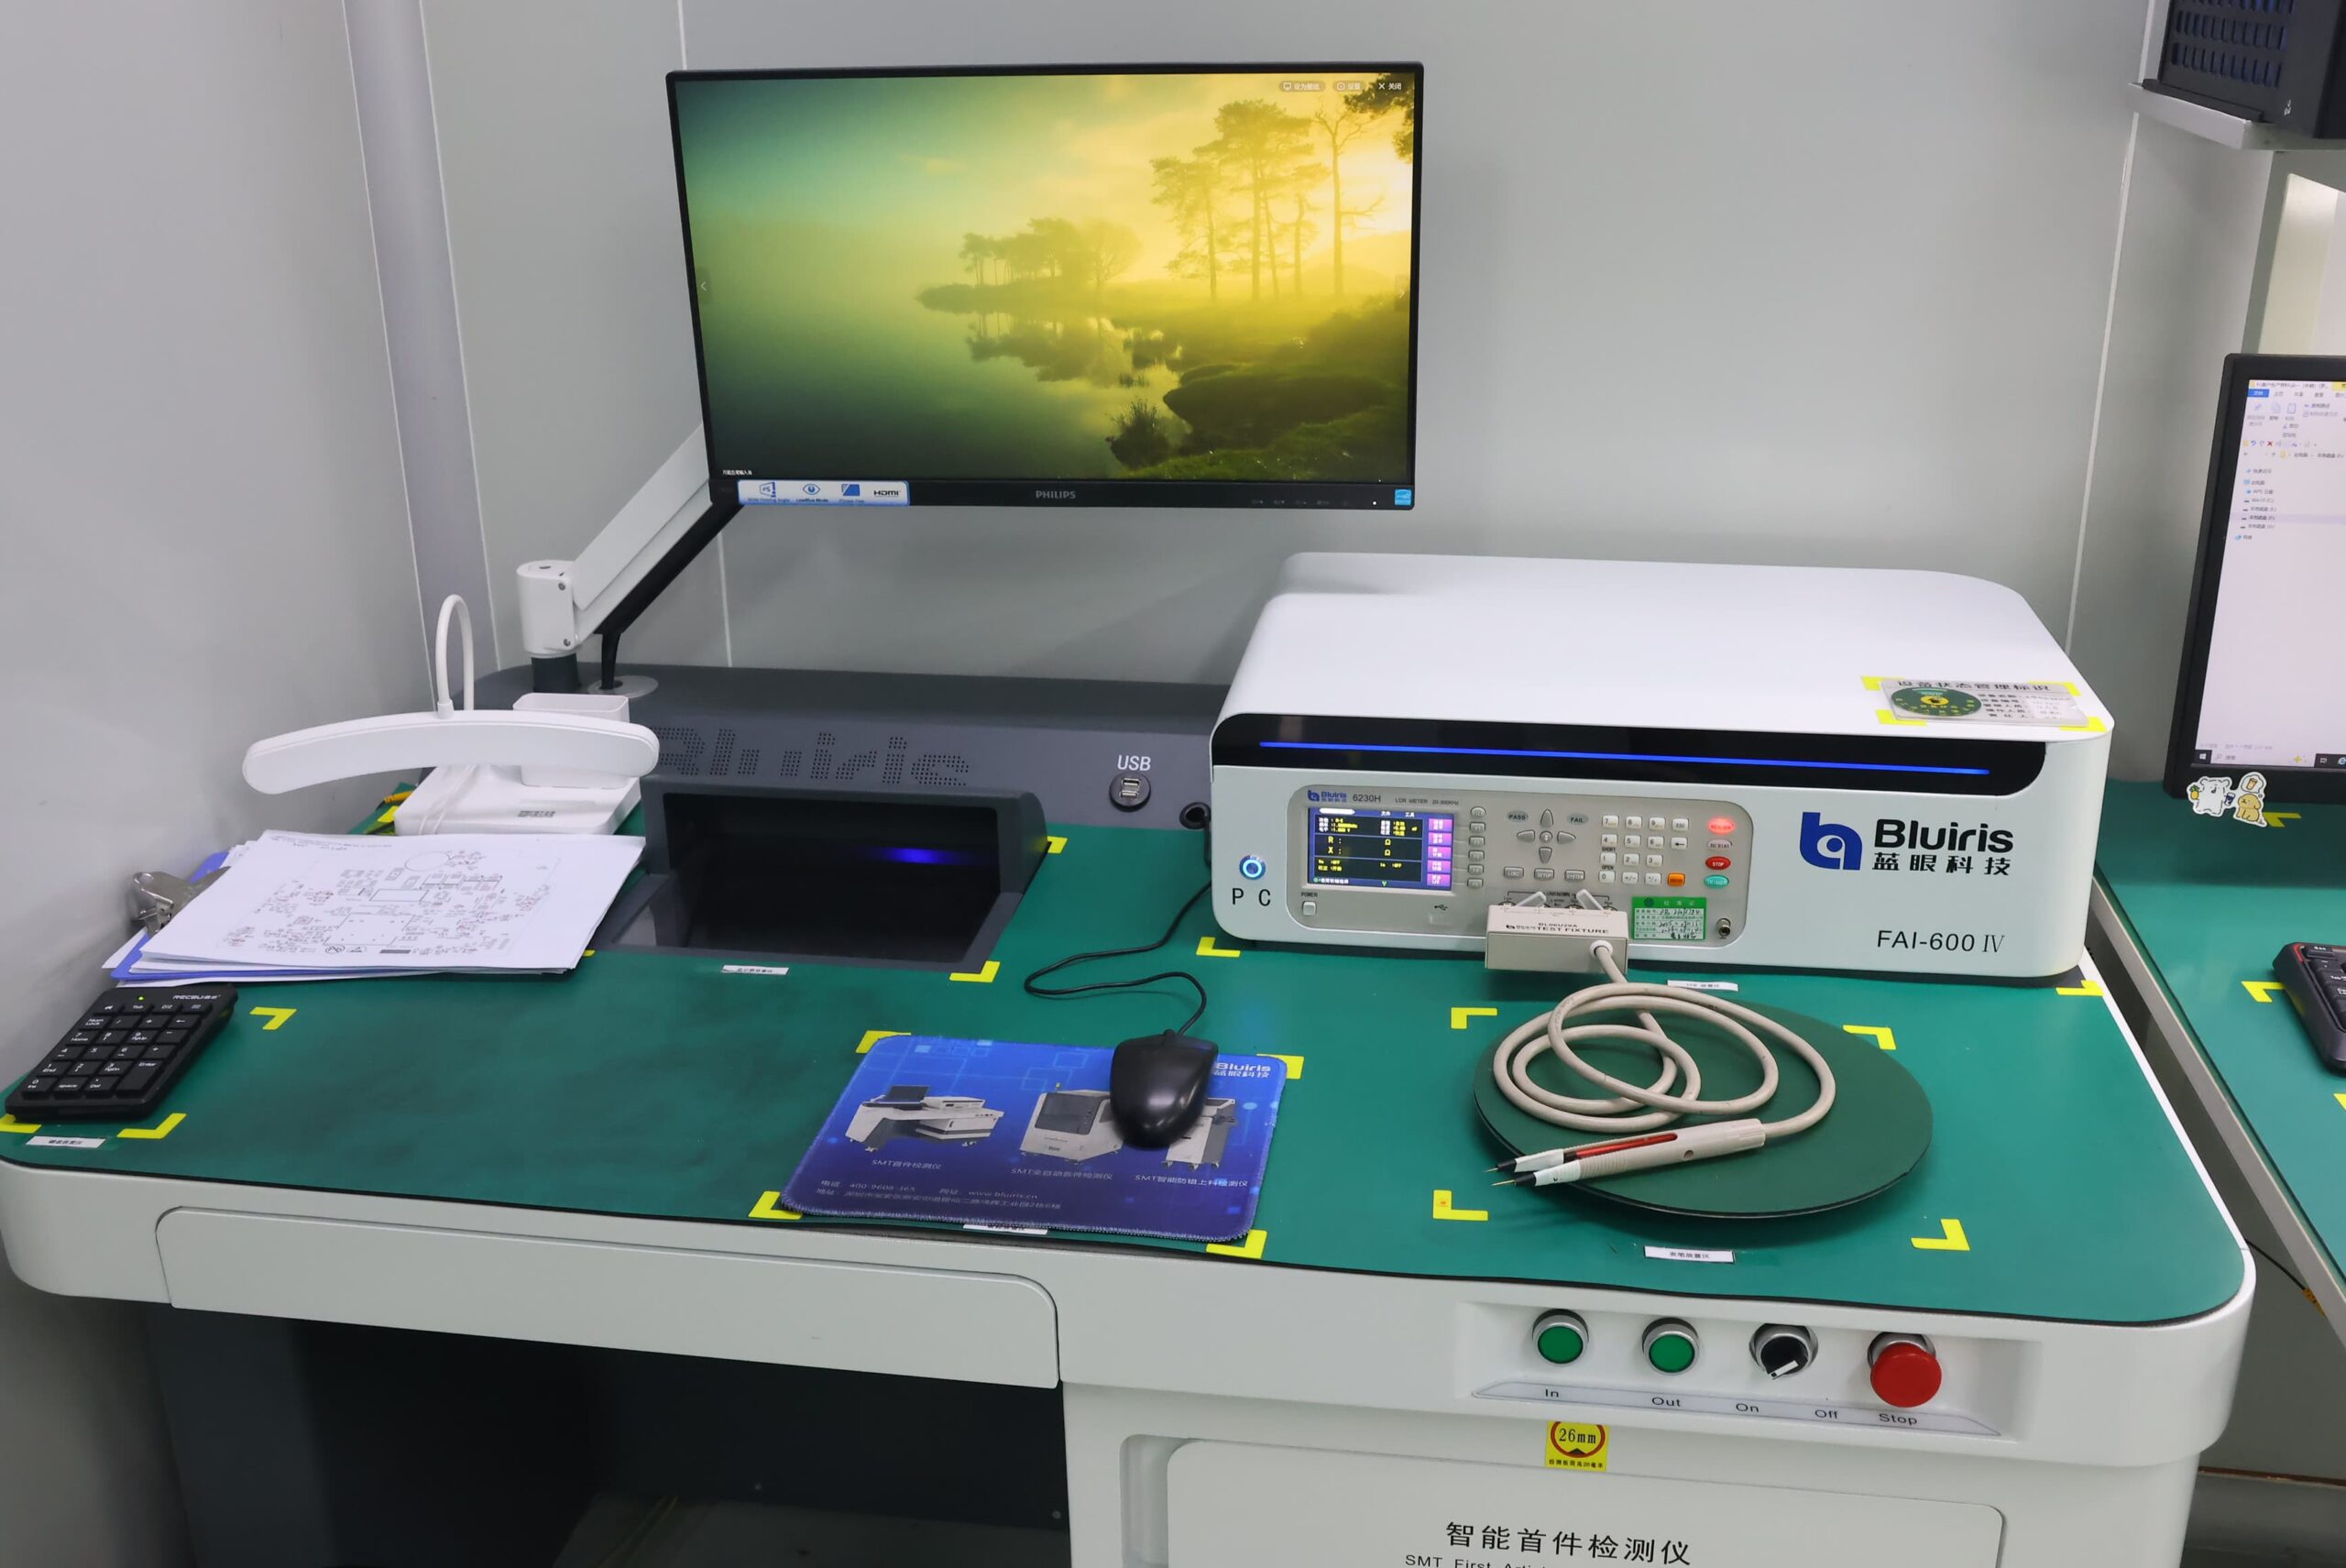
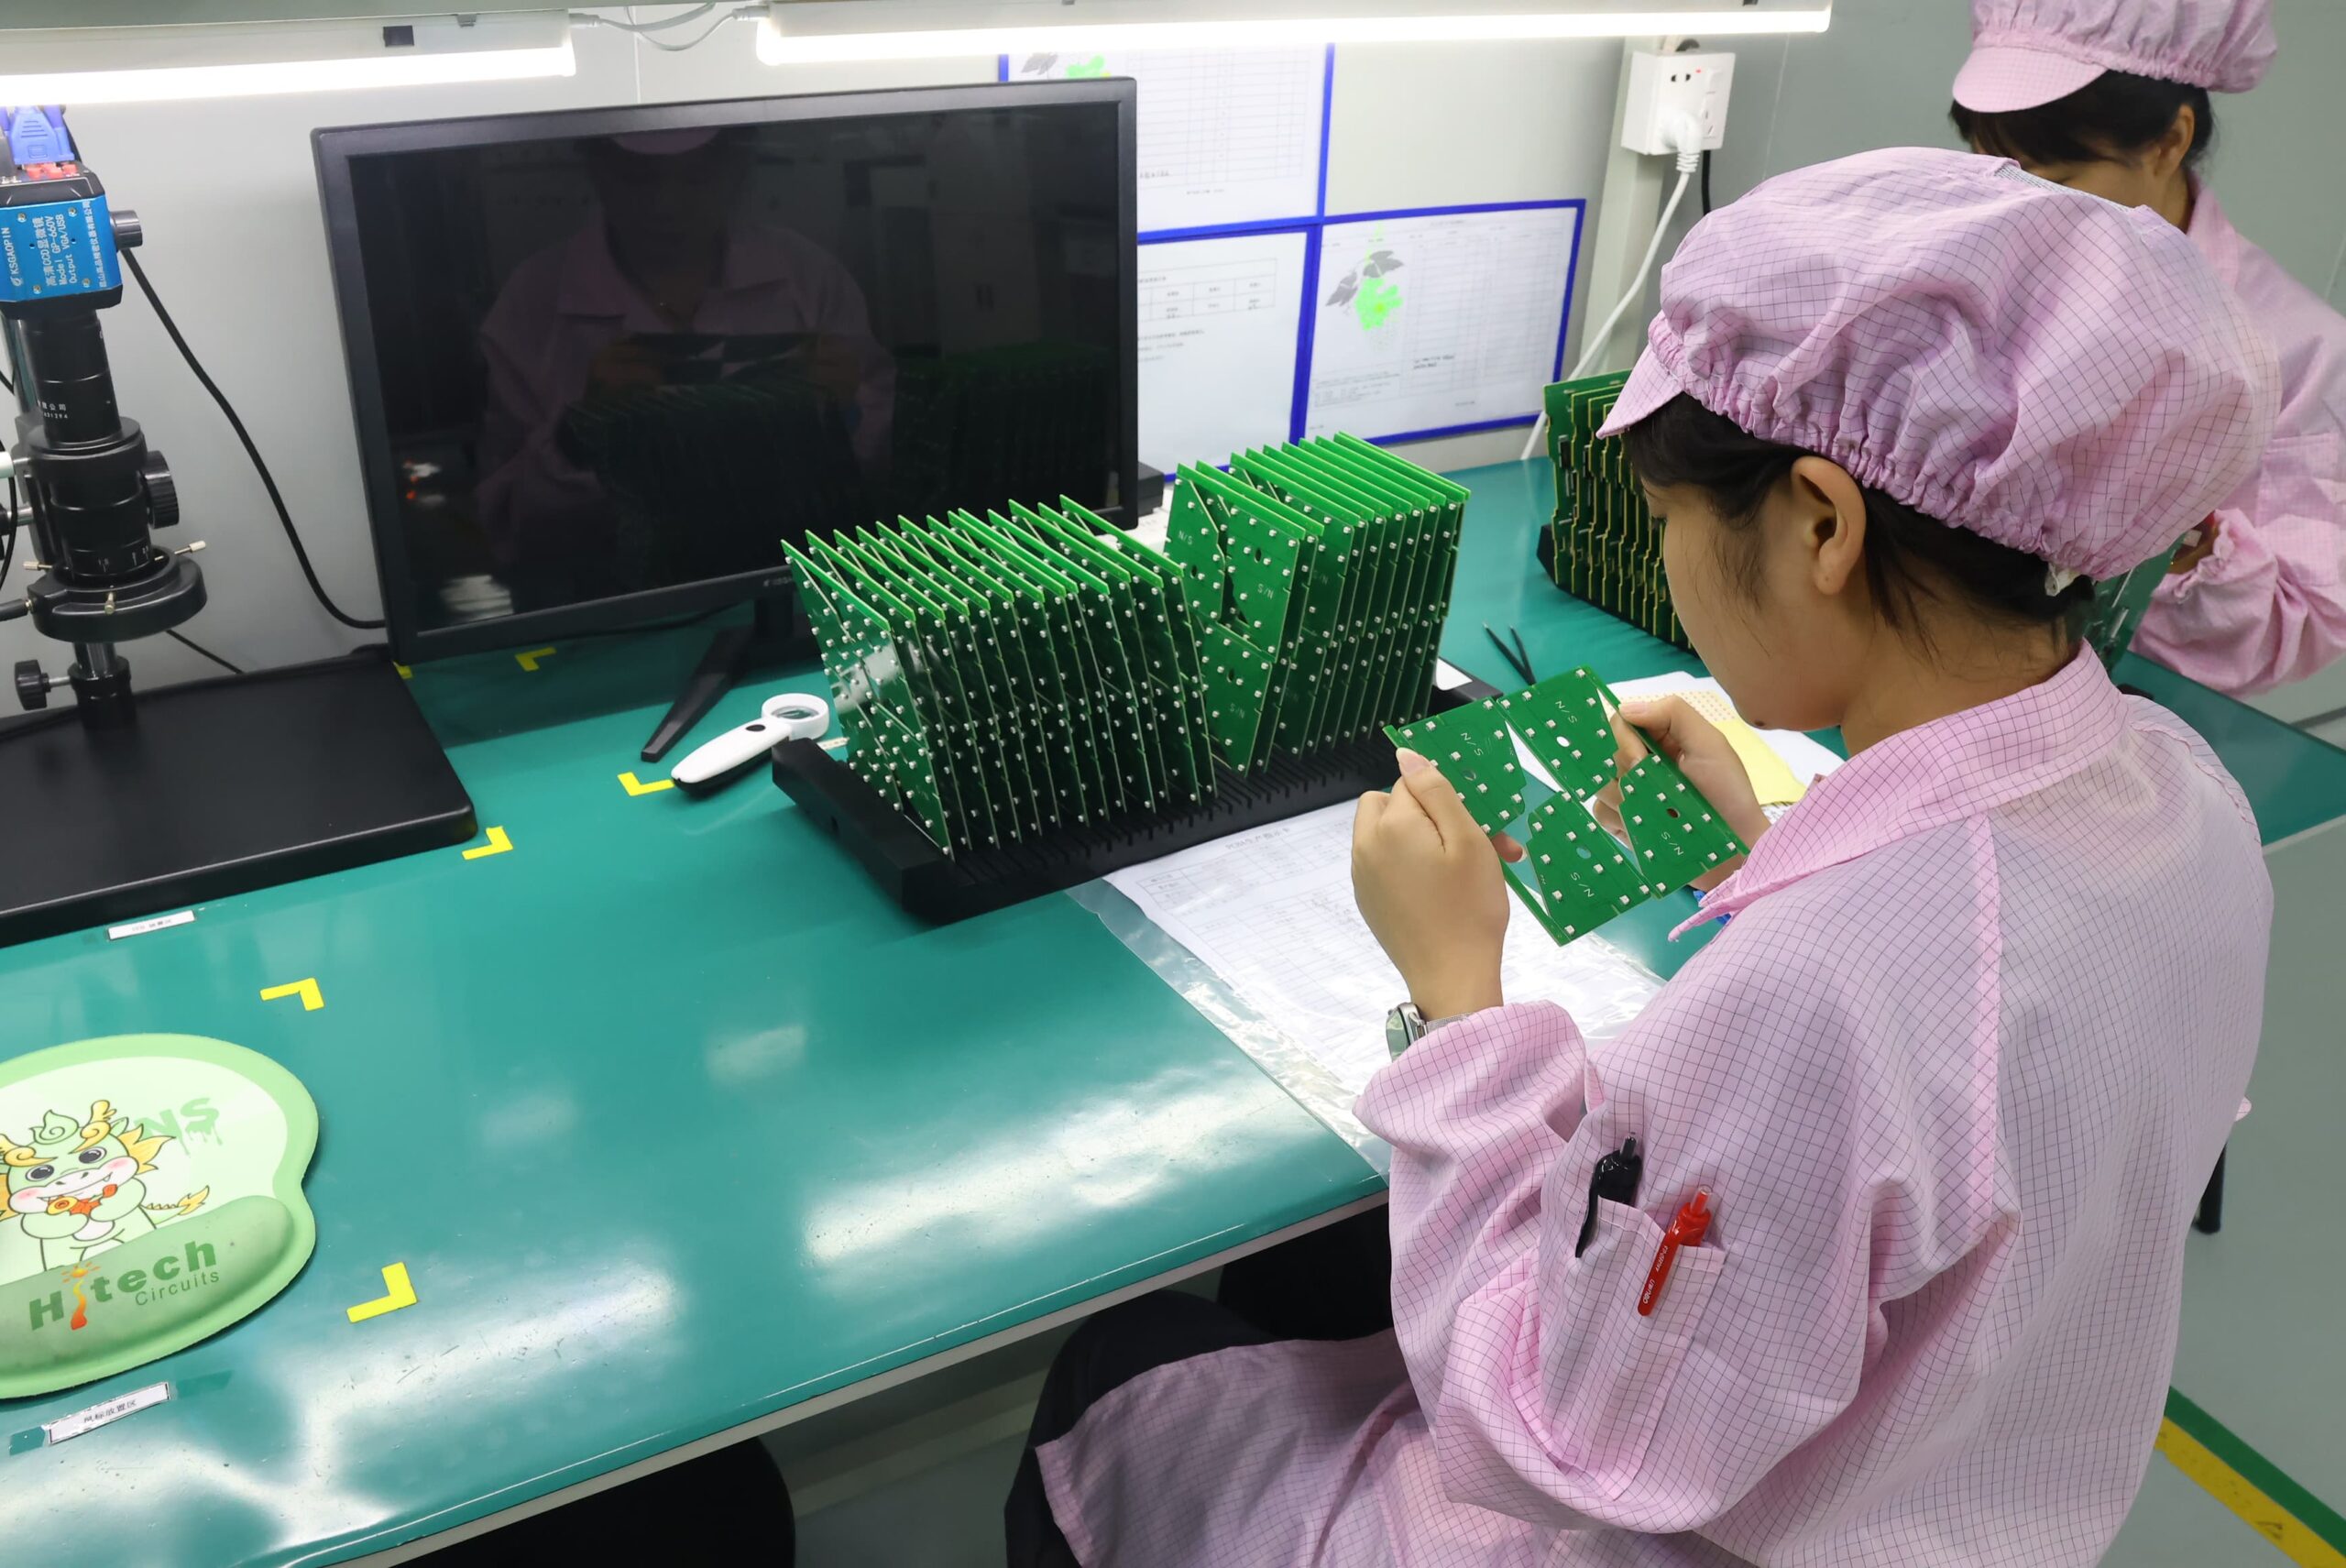
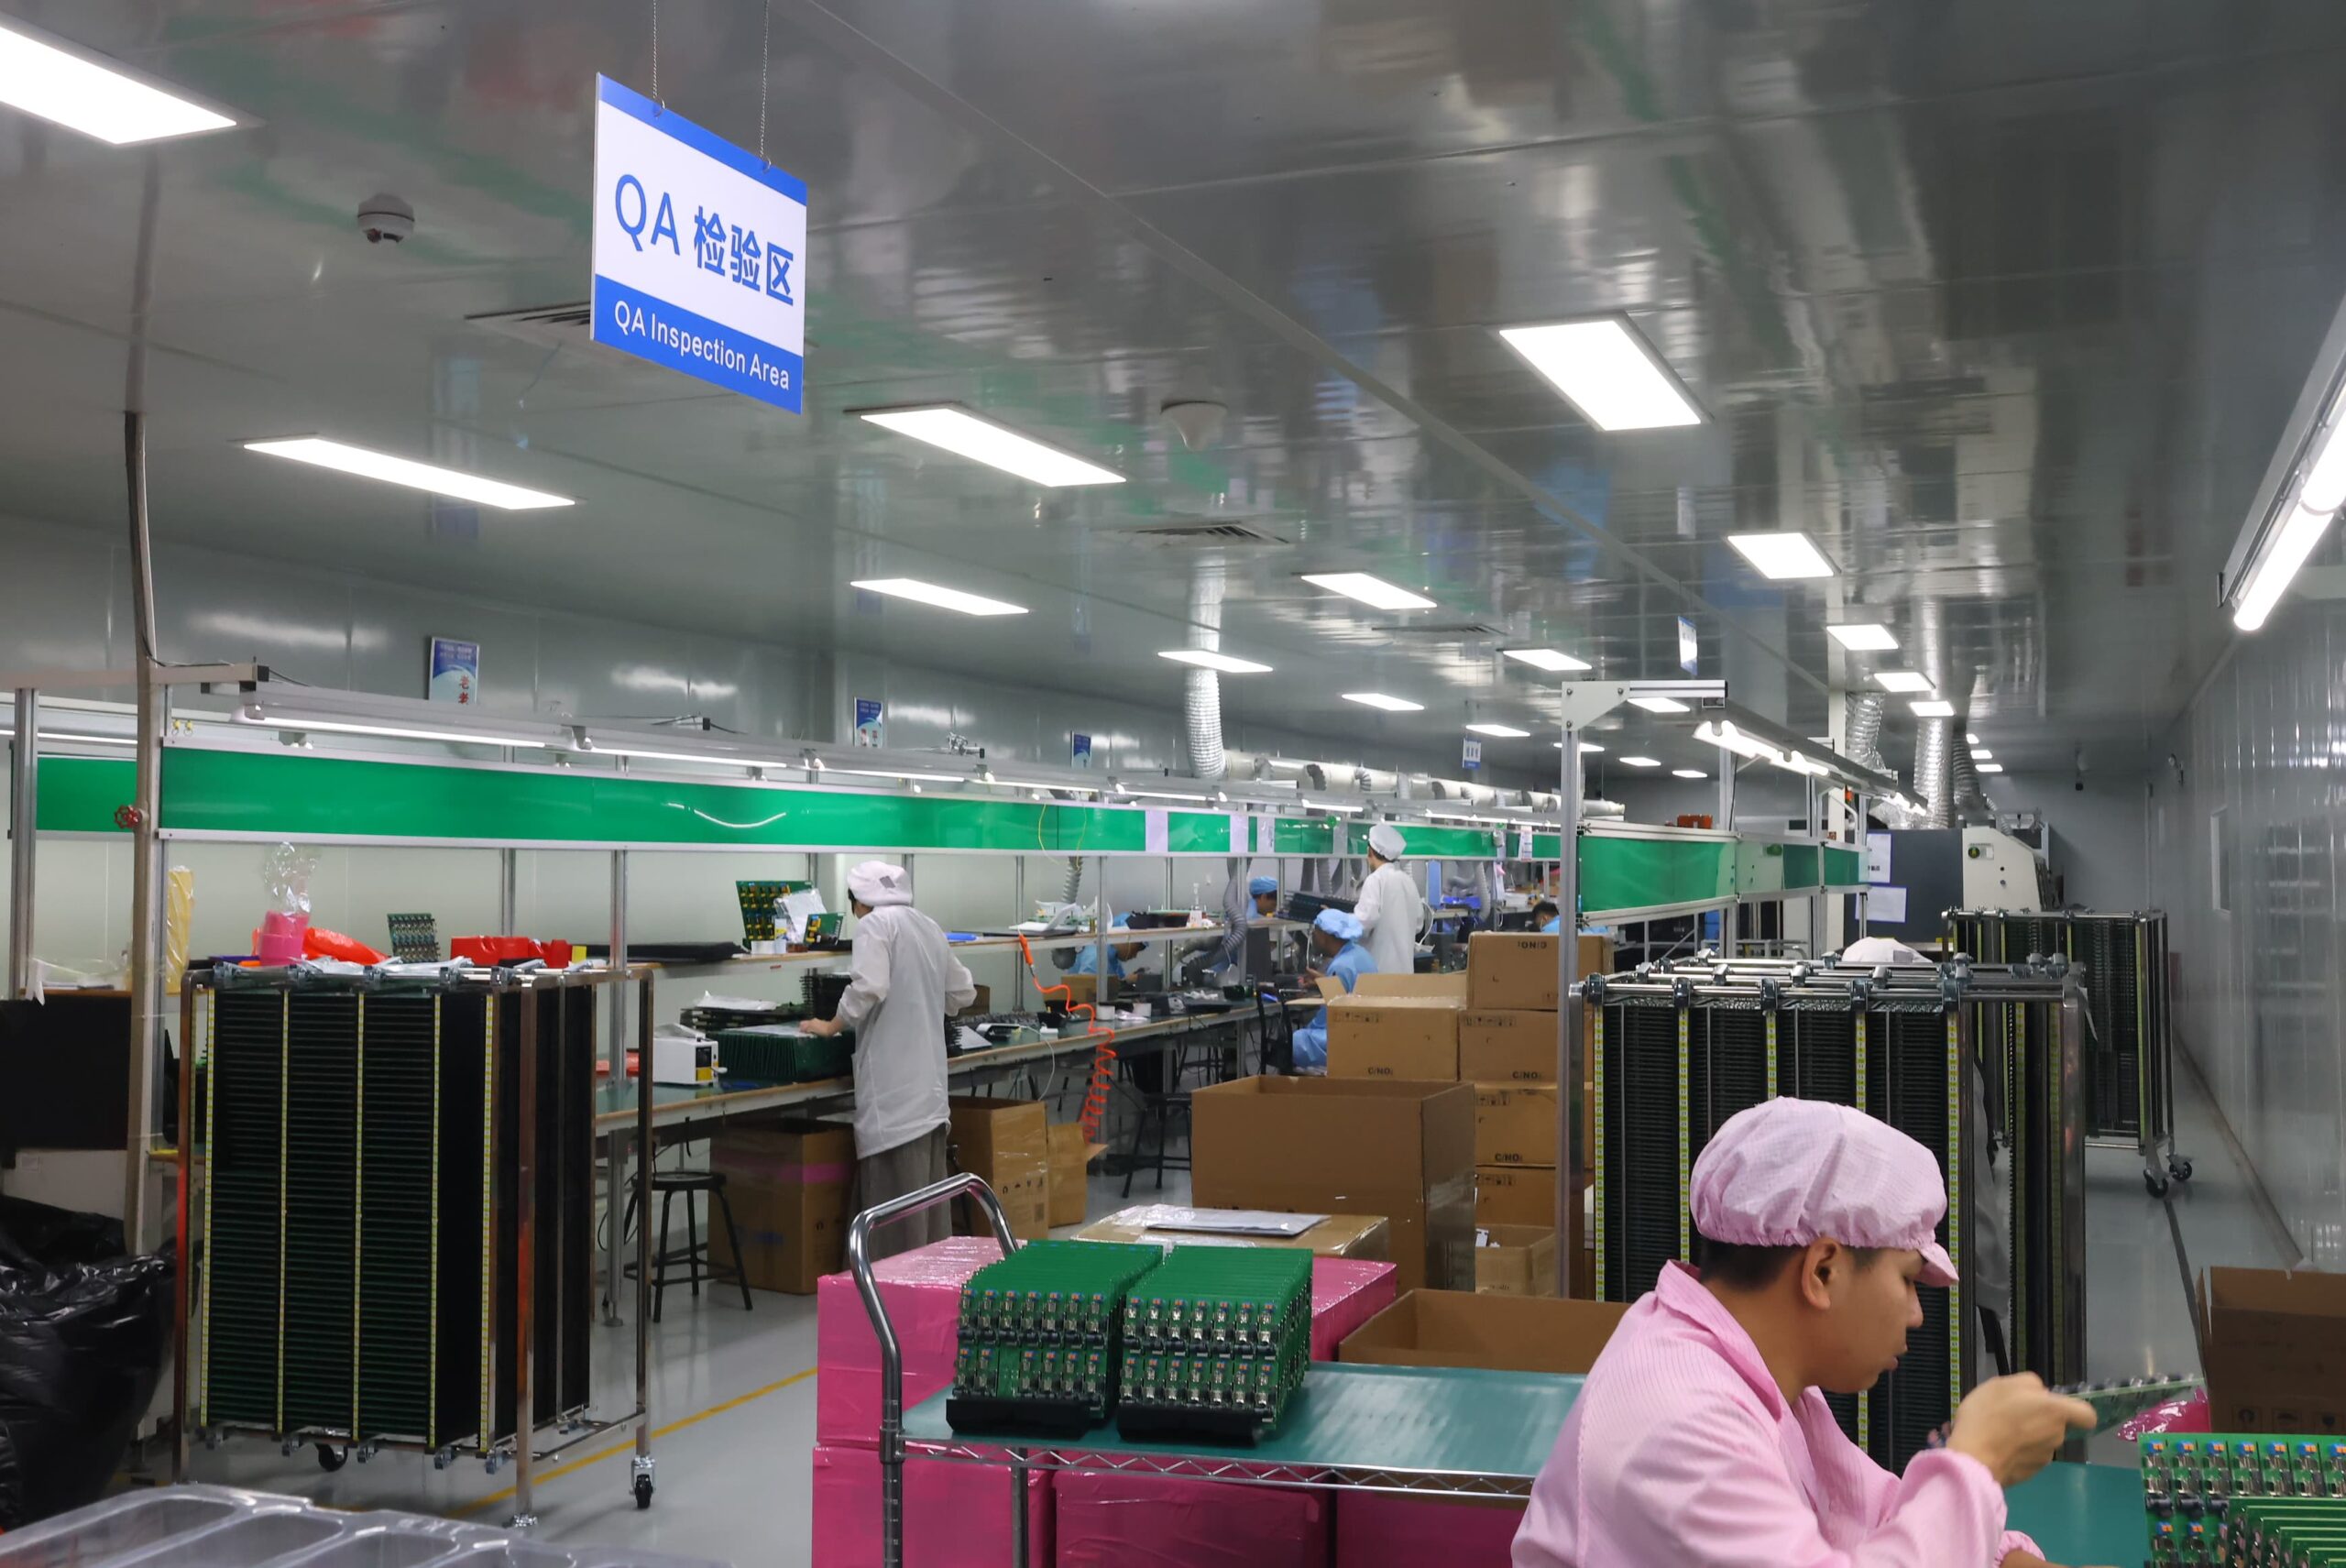
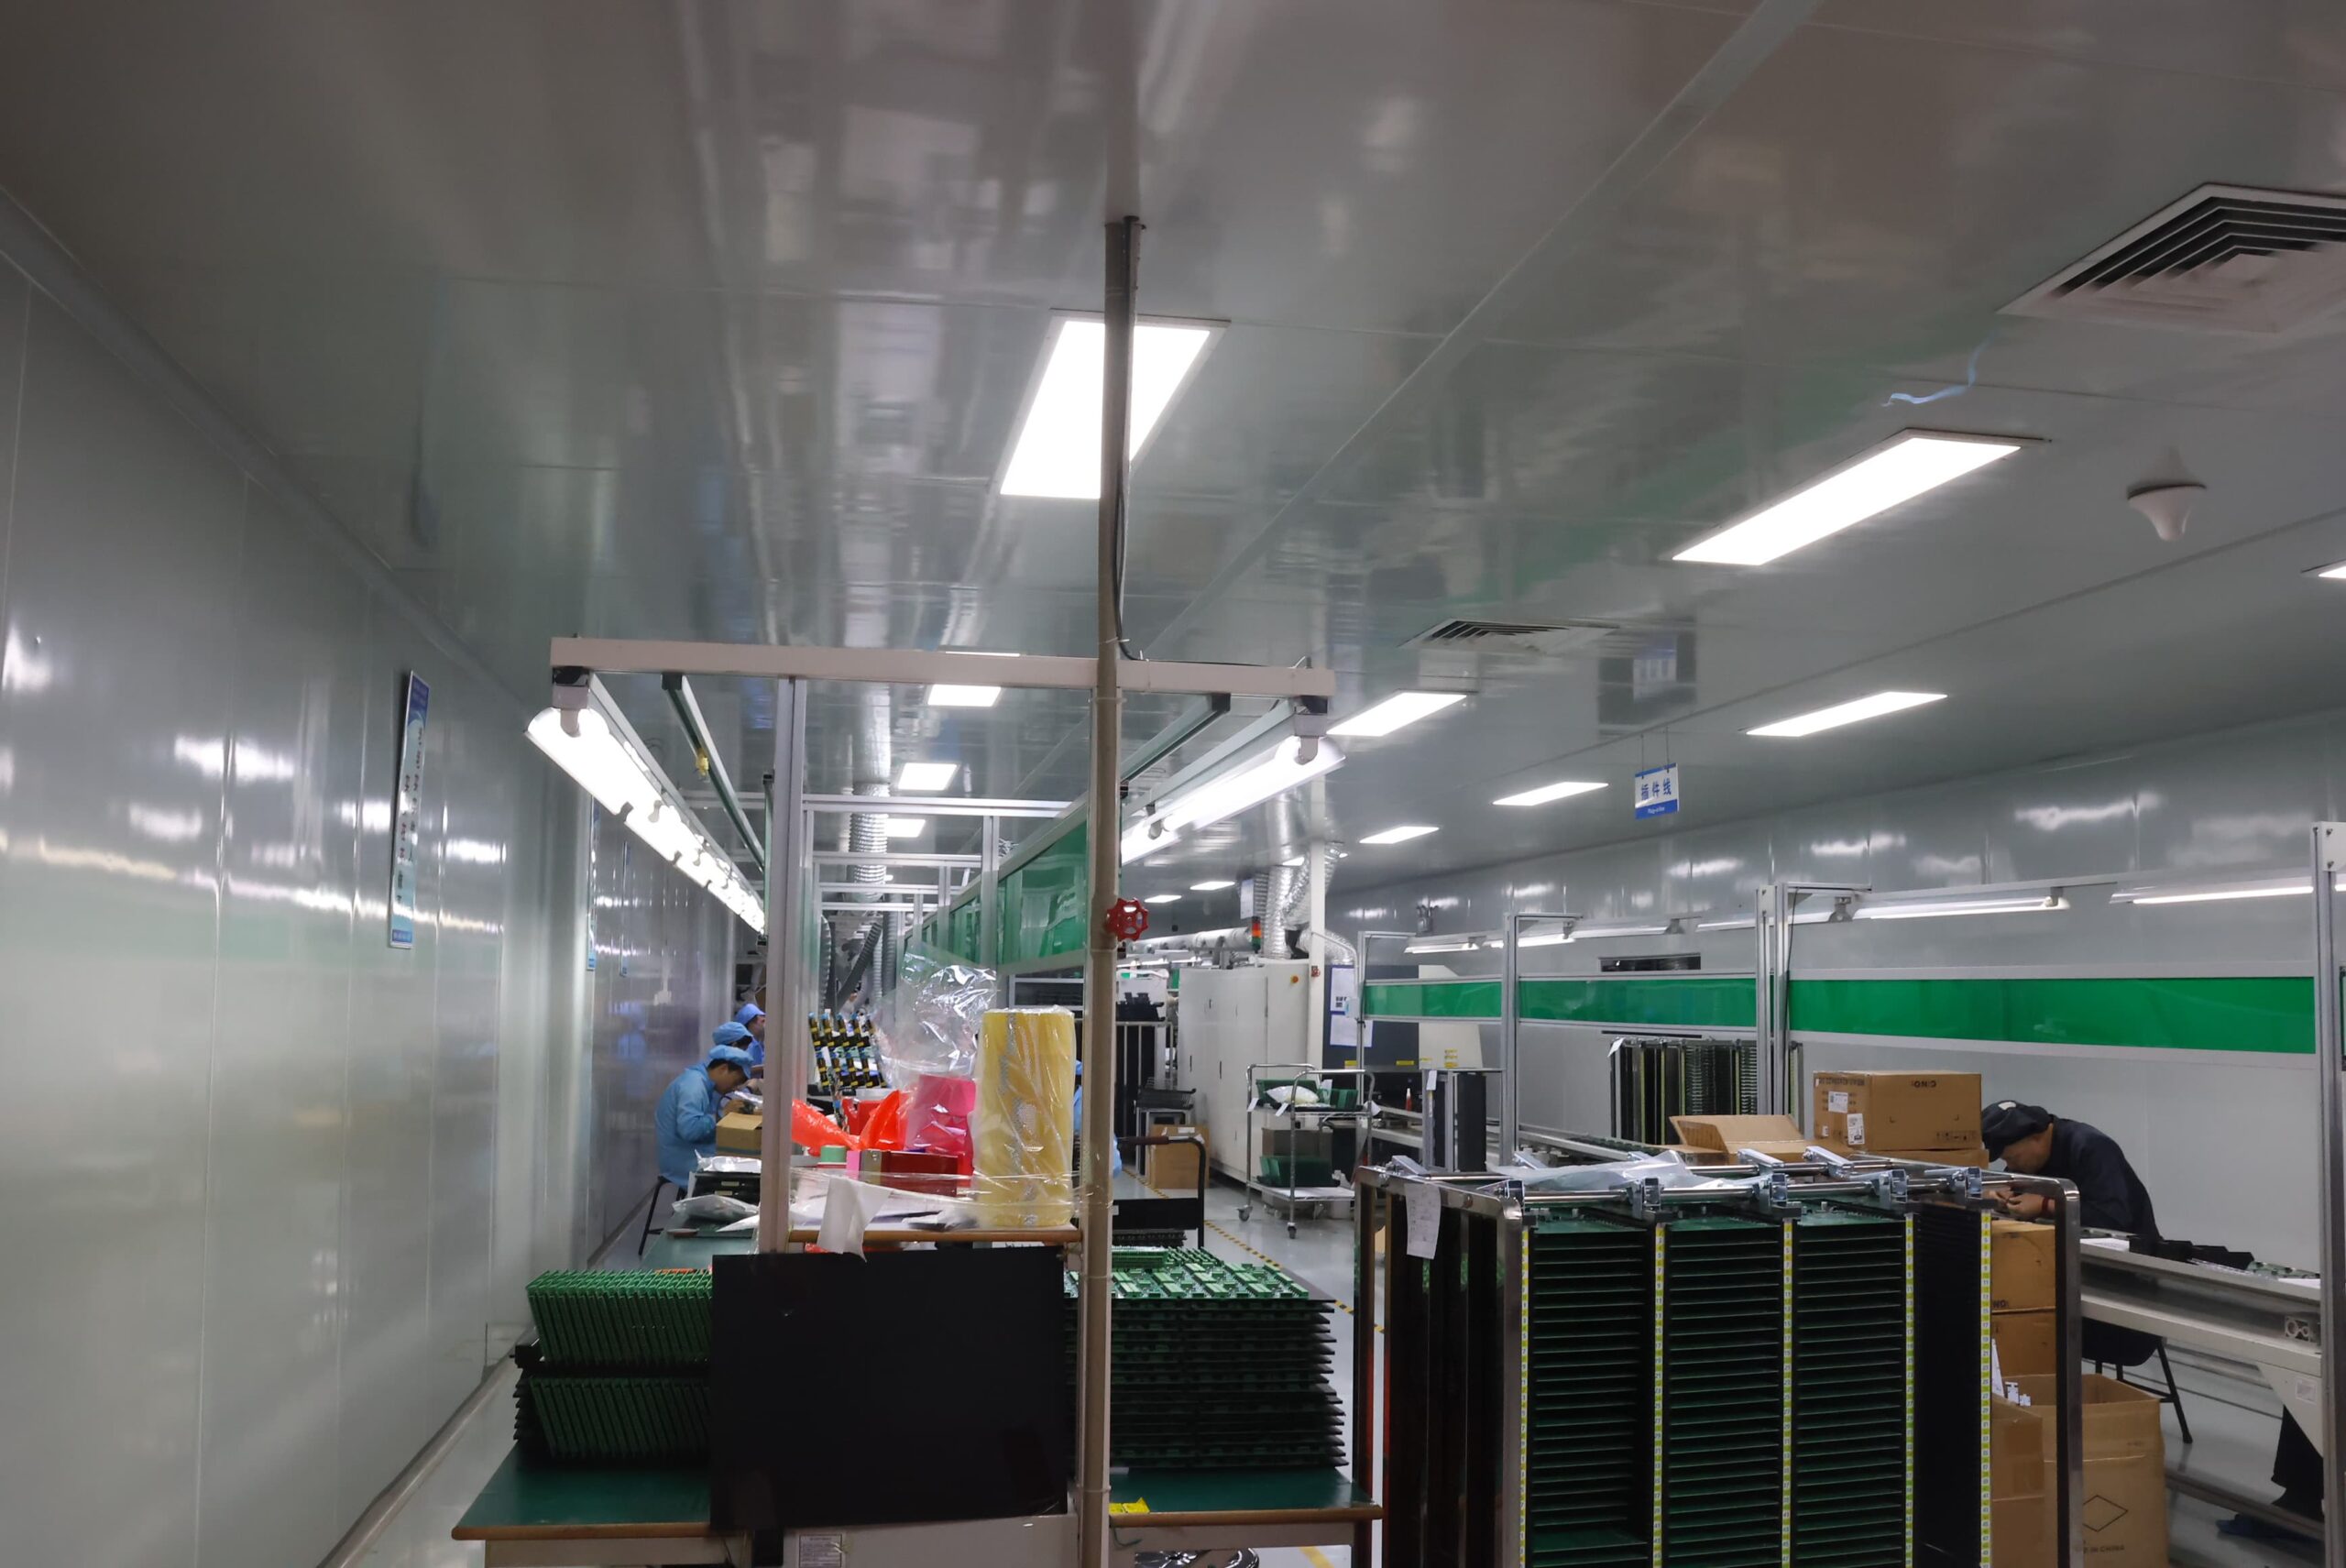
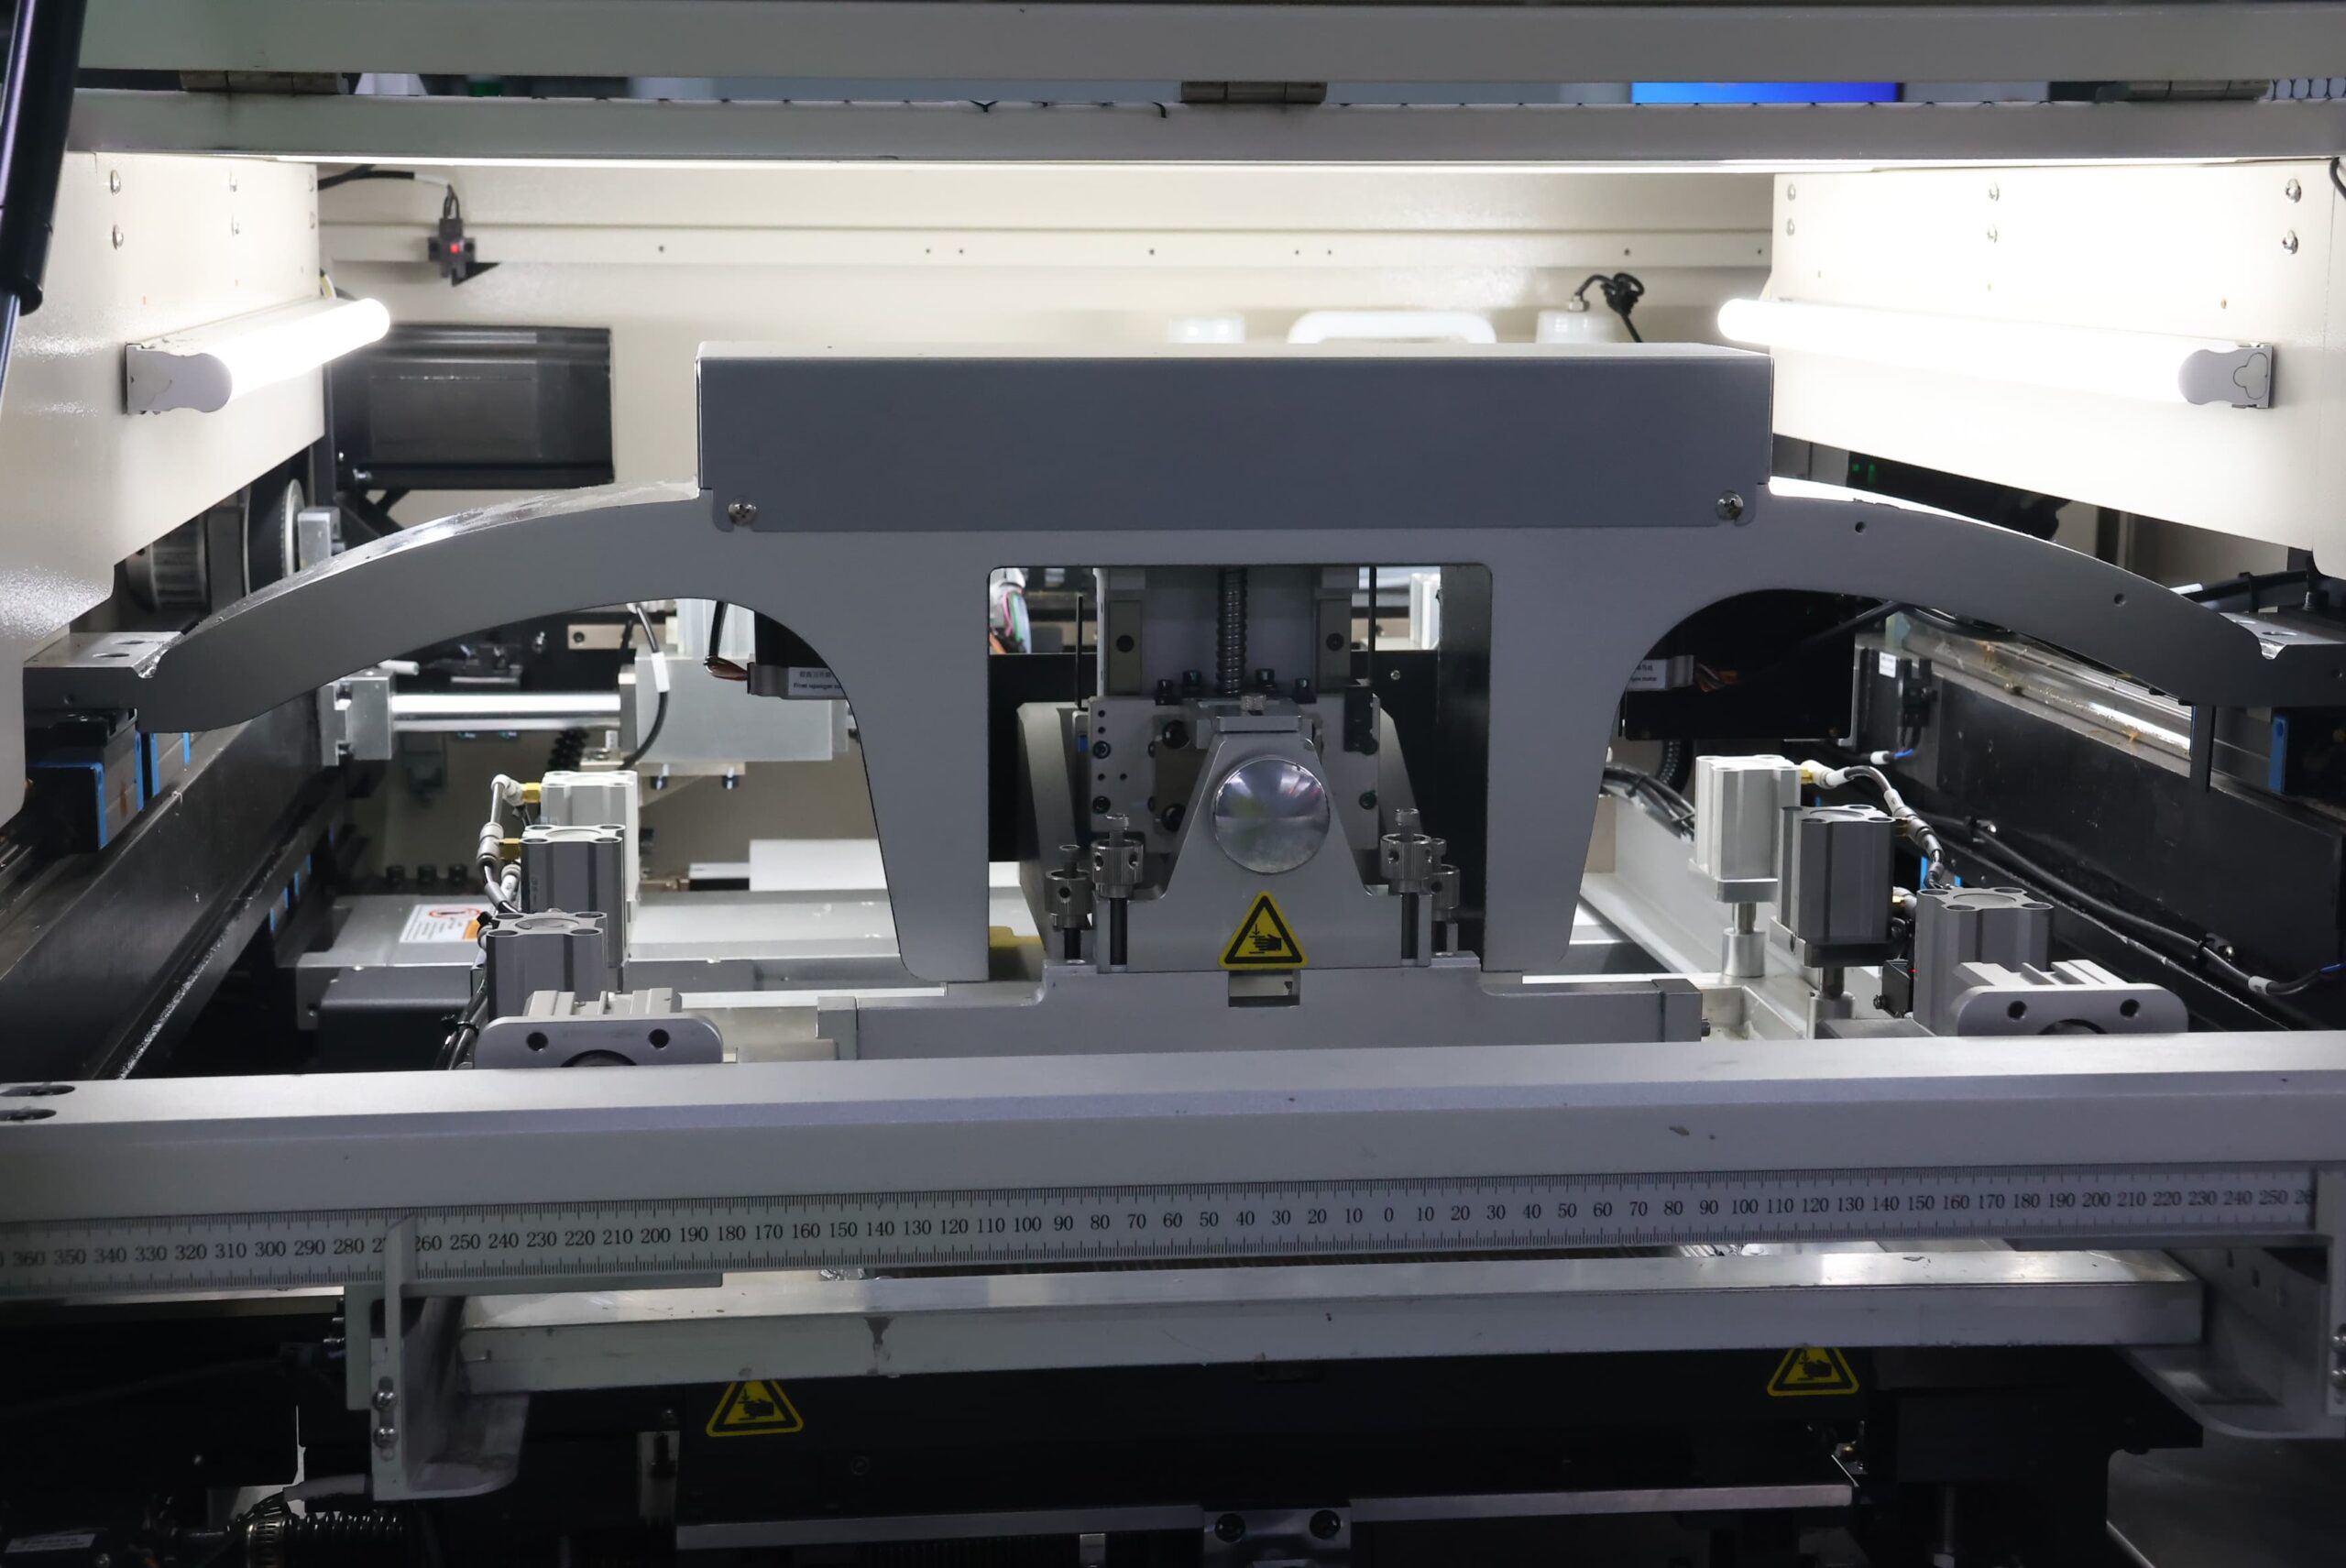
Our PCBA Production Lines

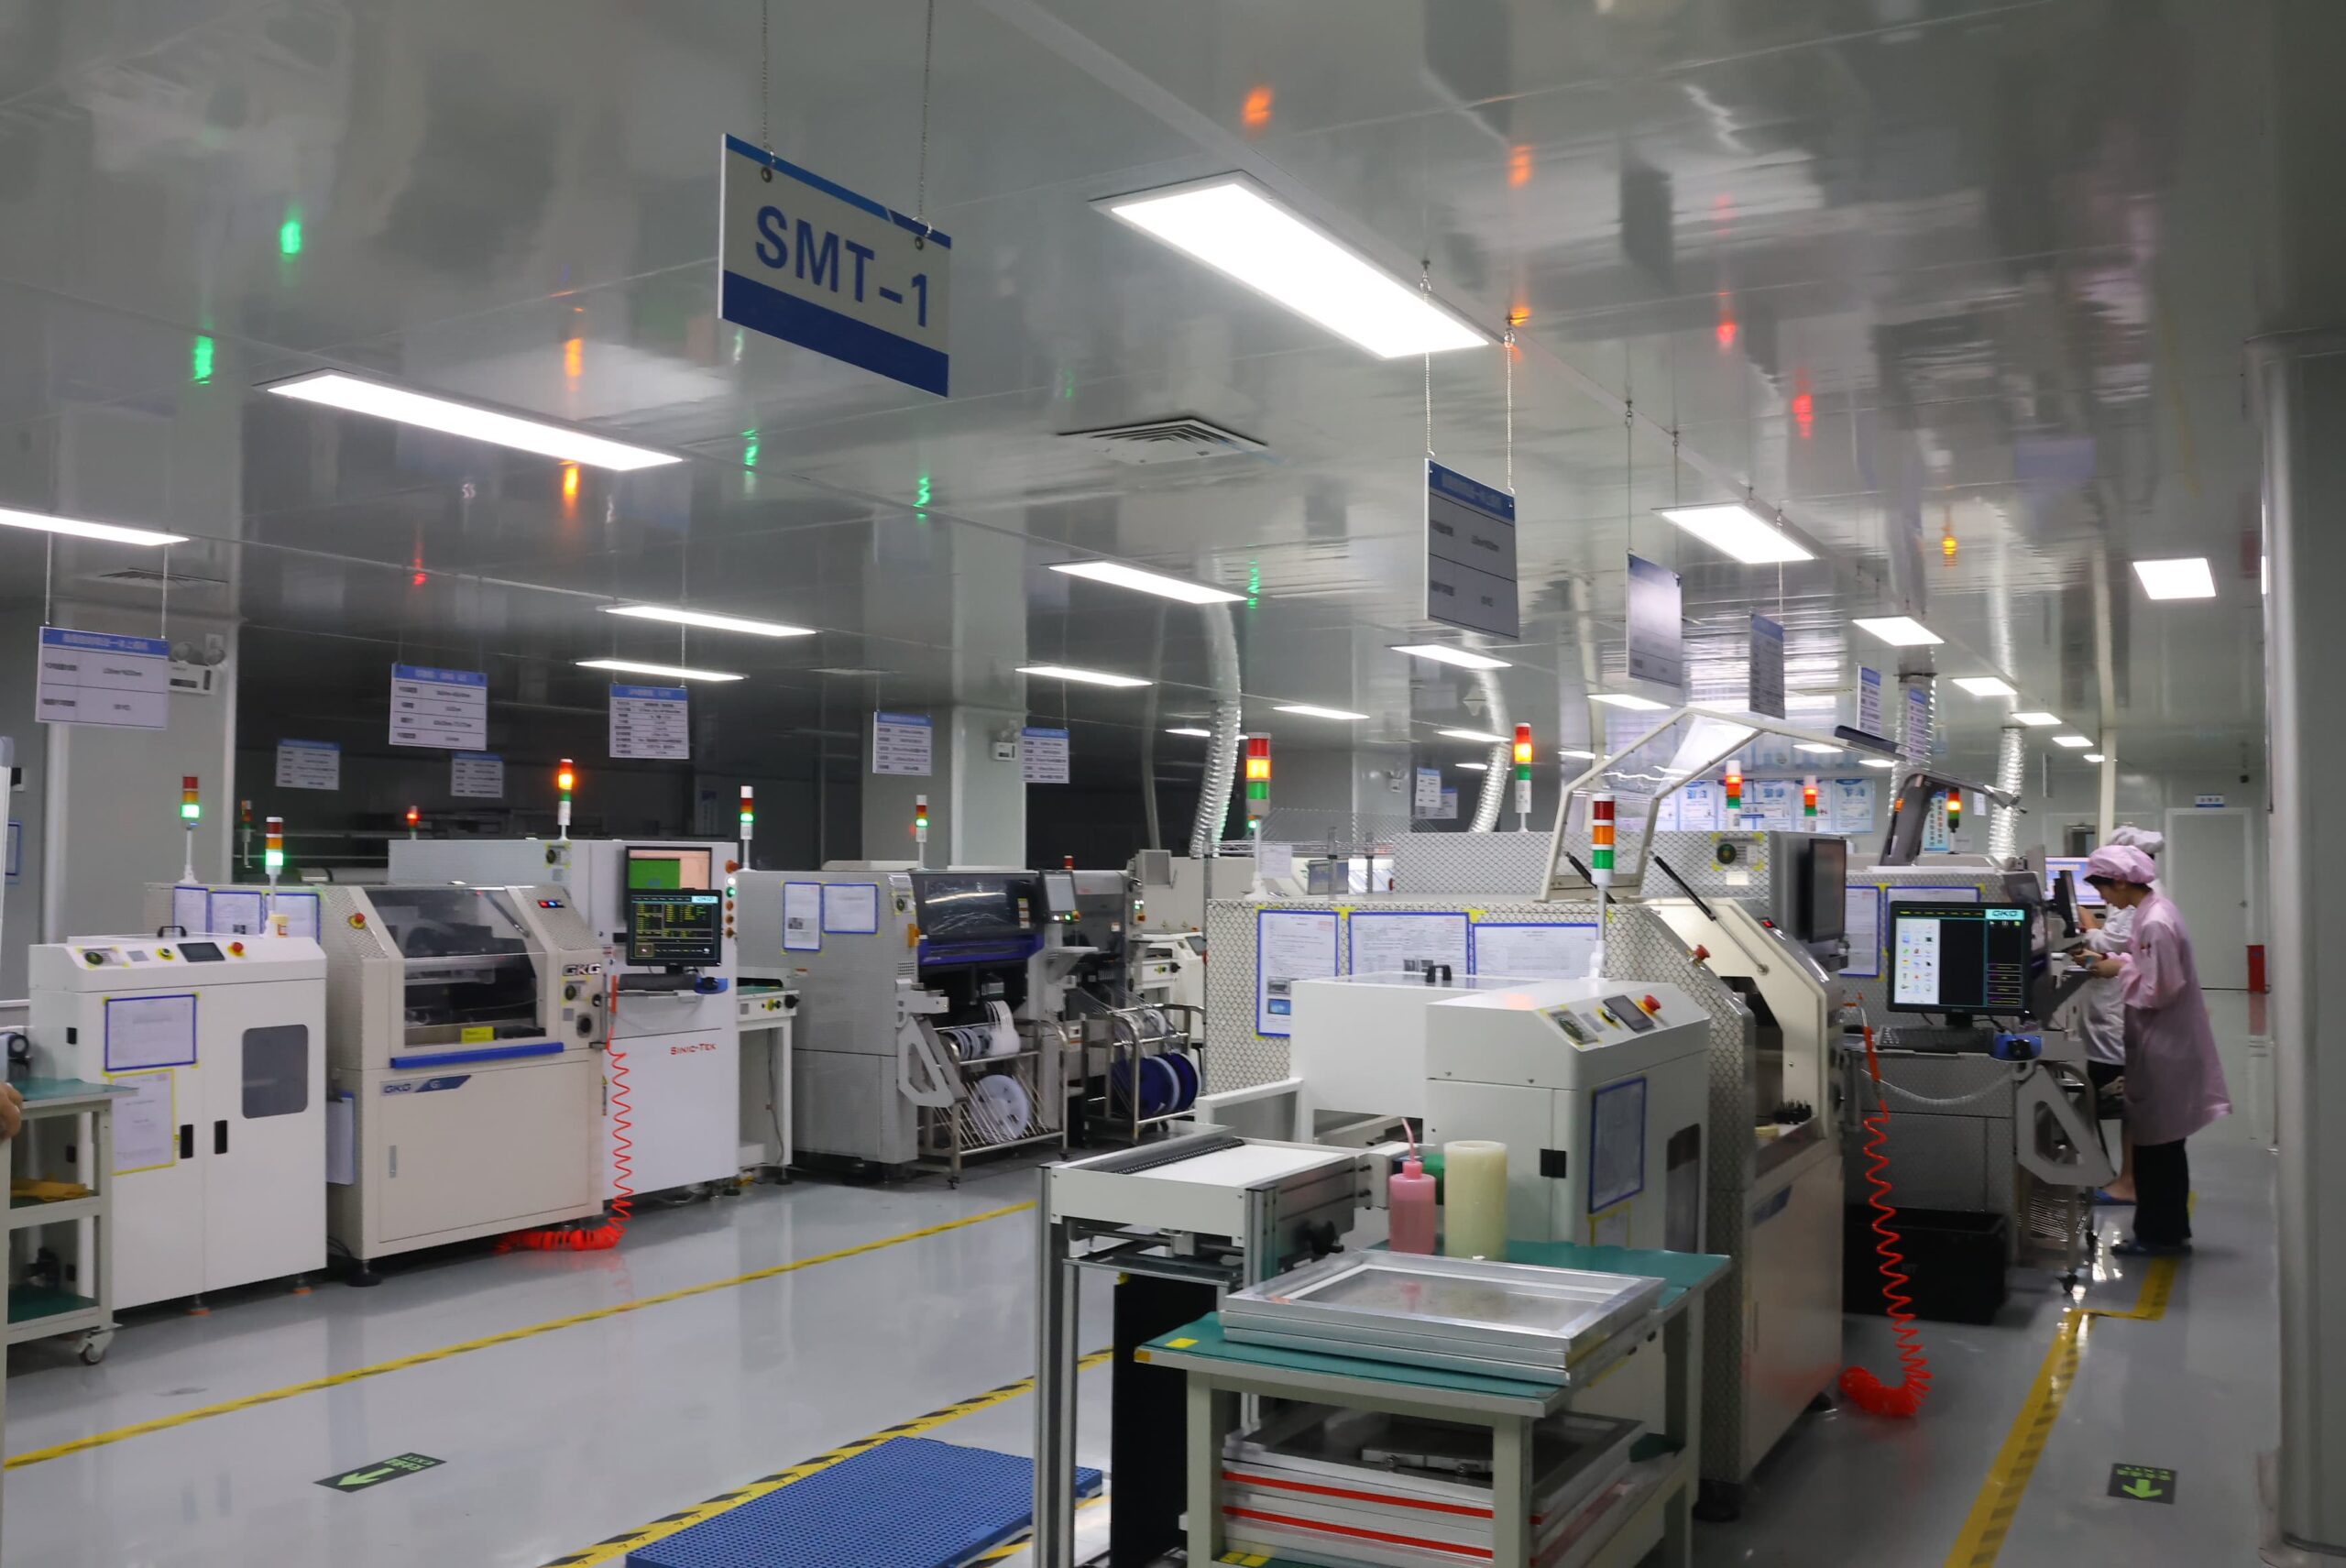
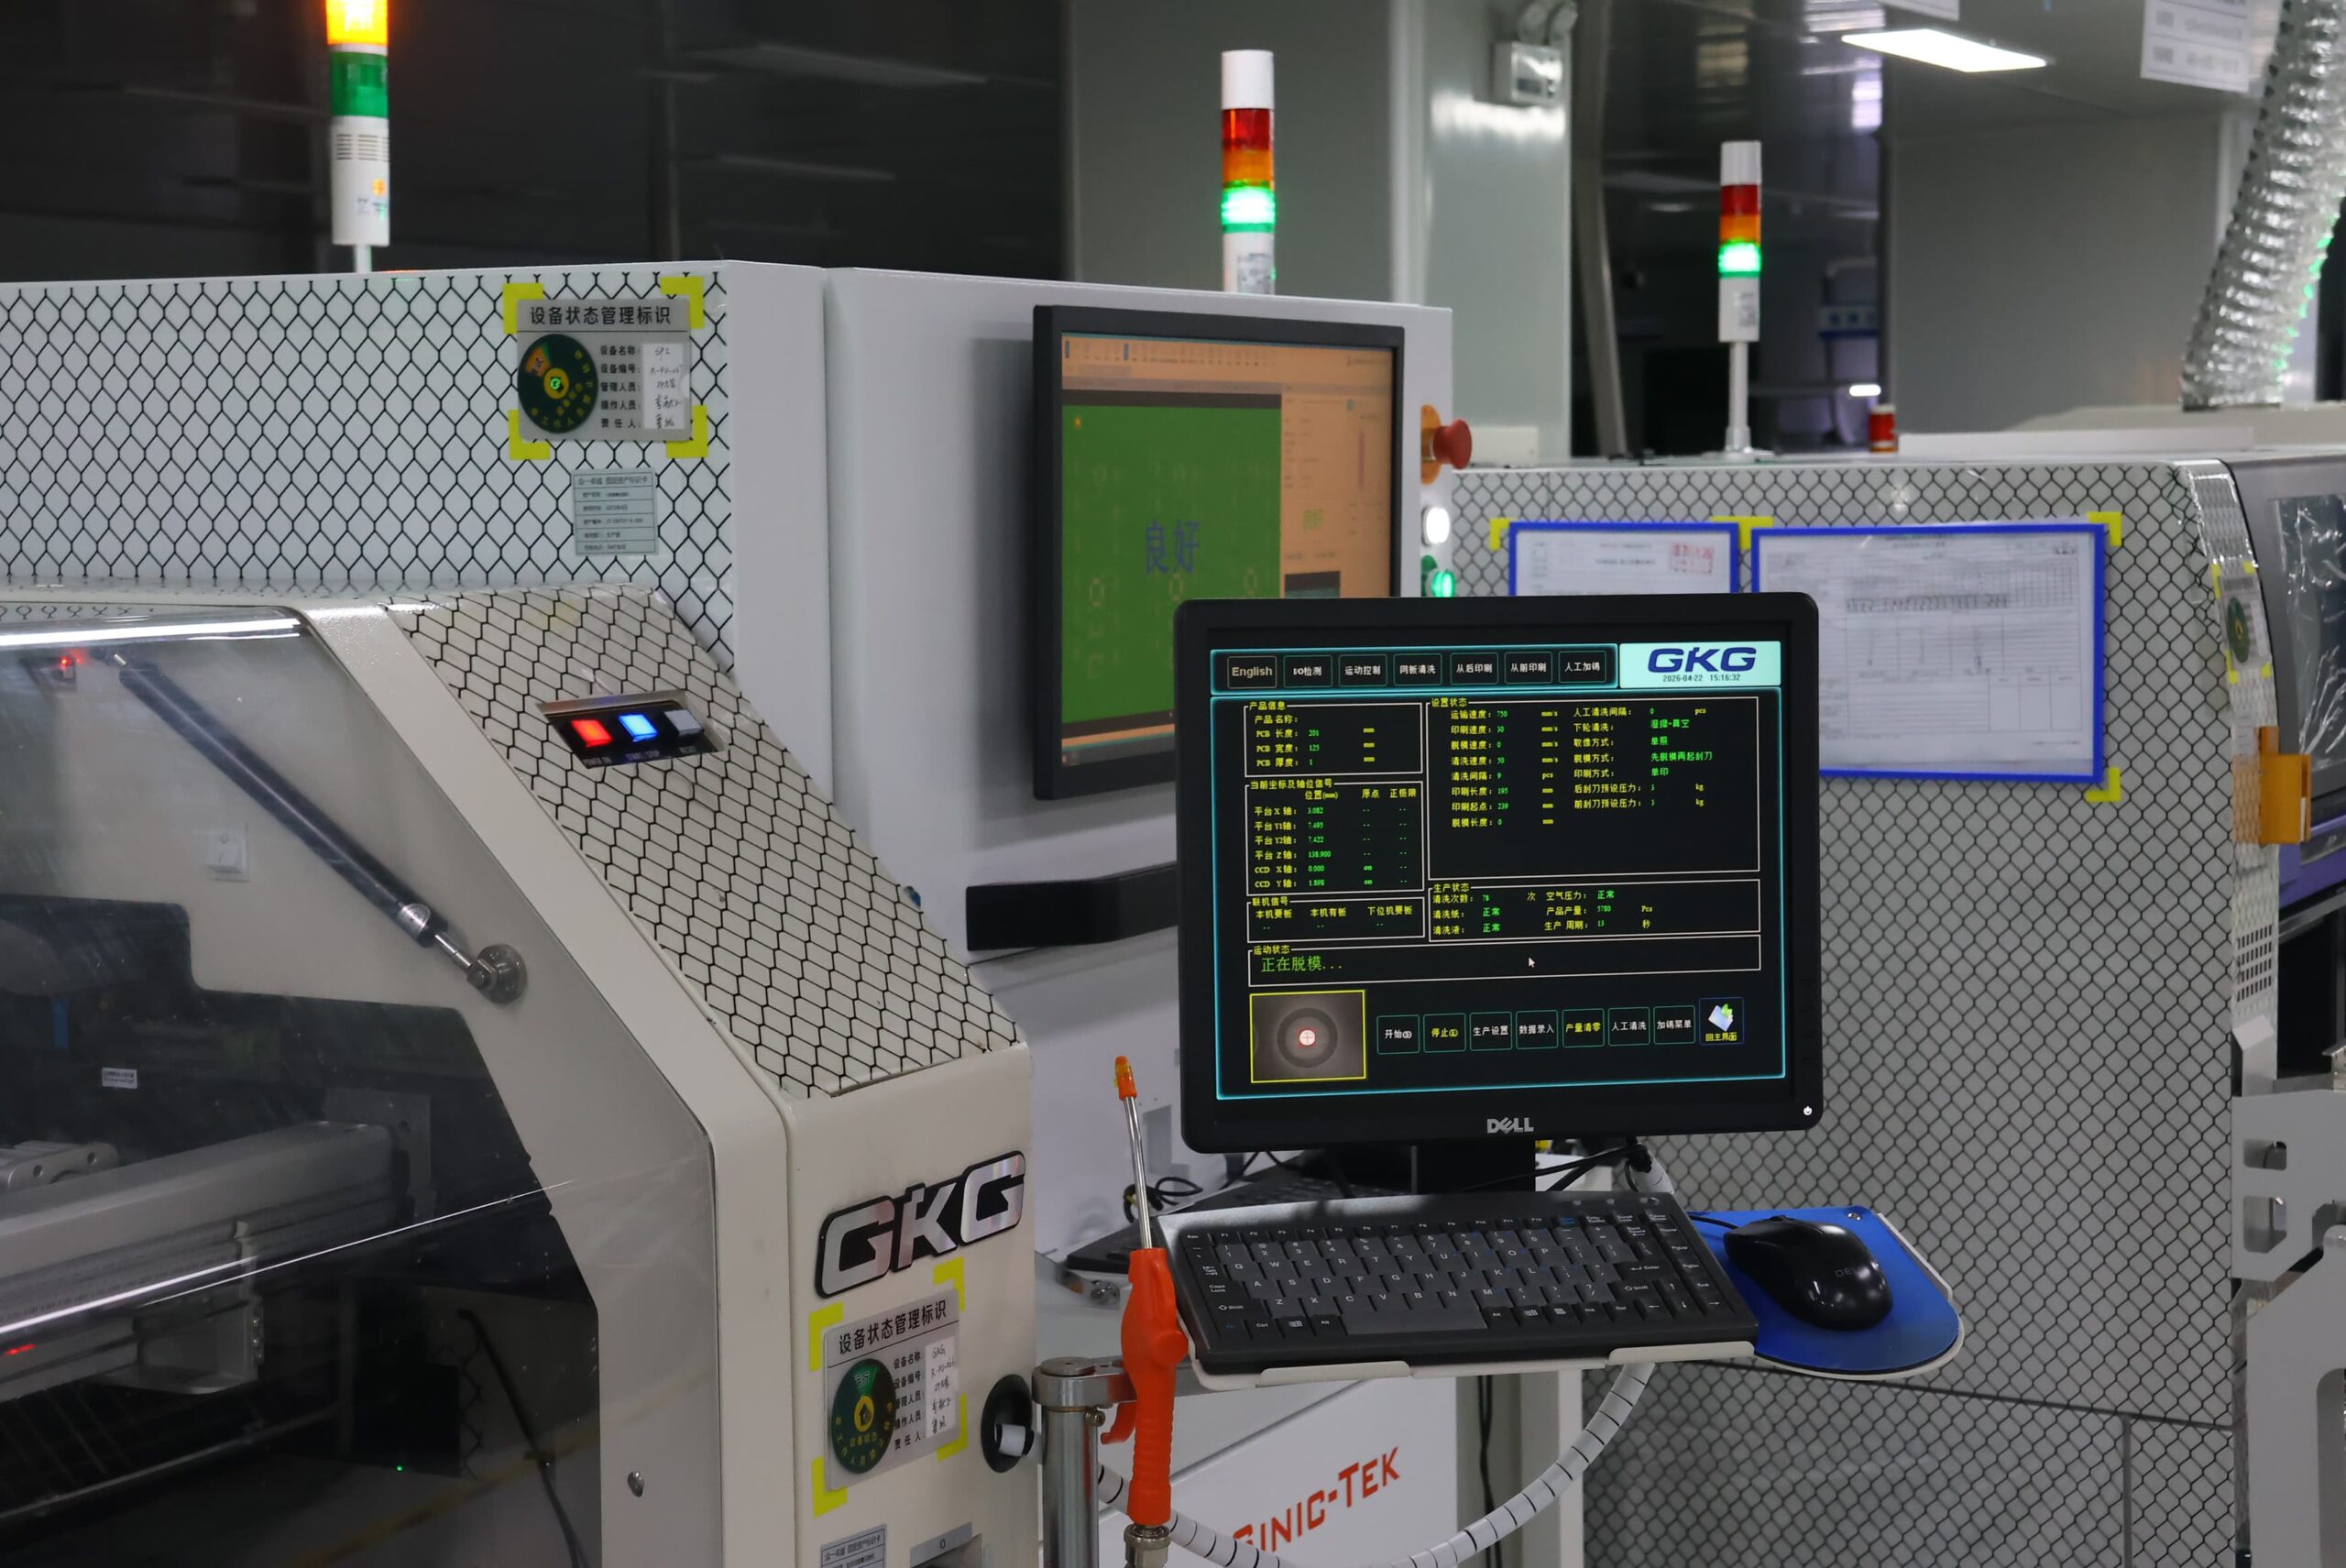
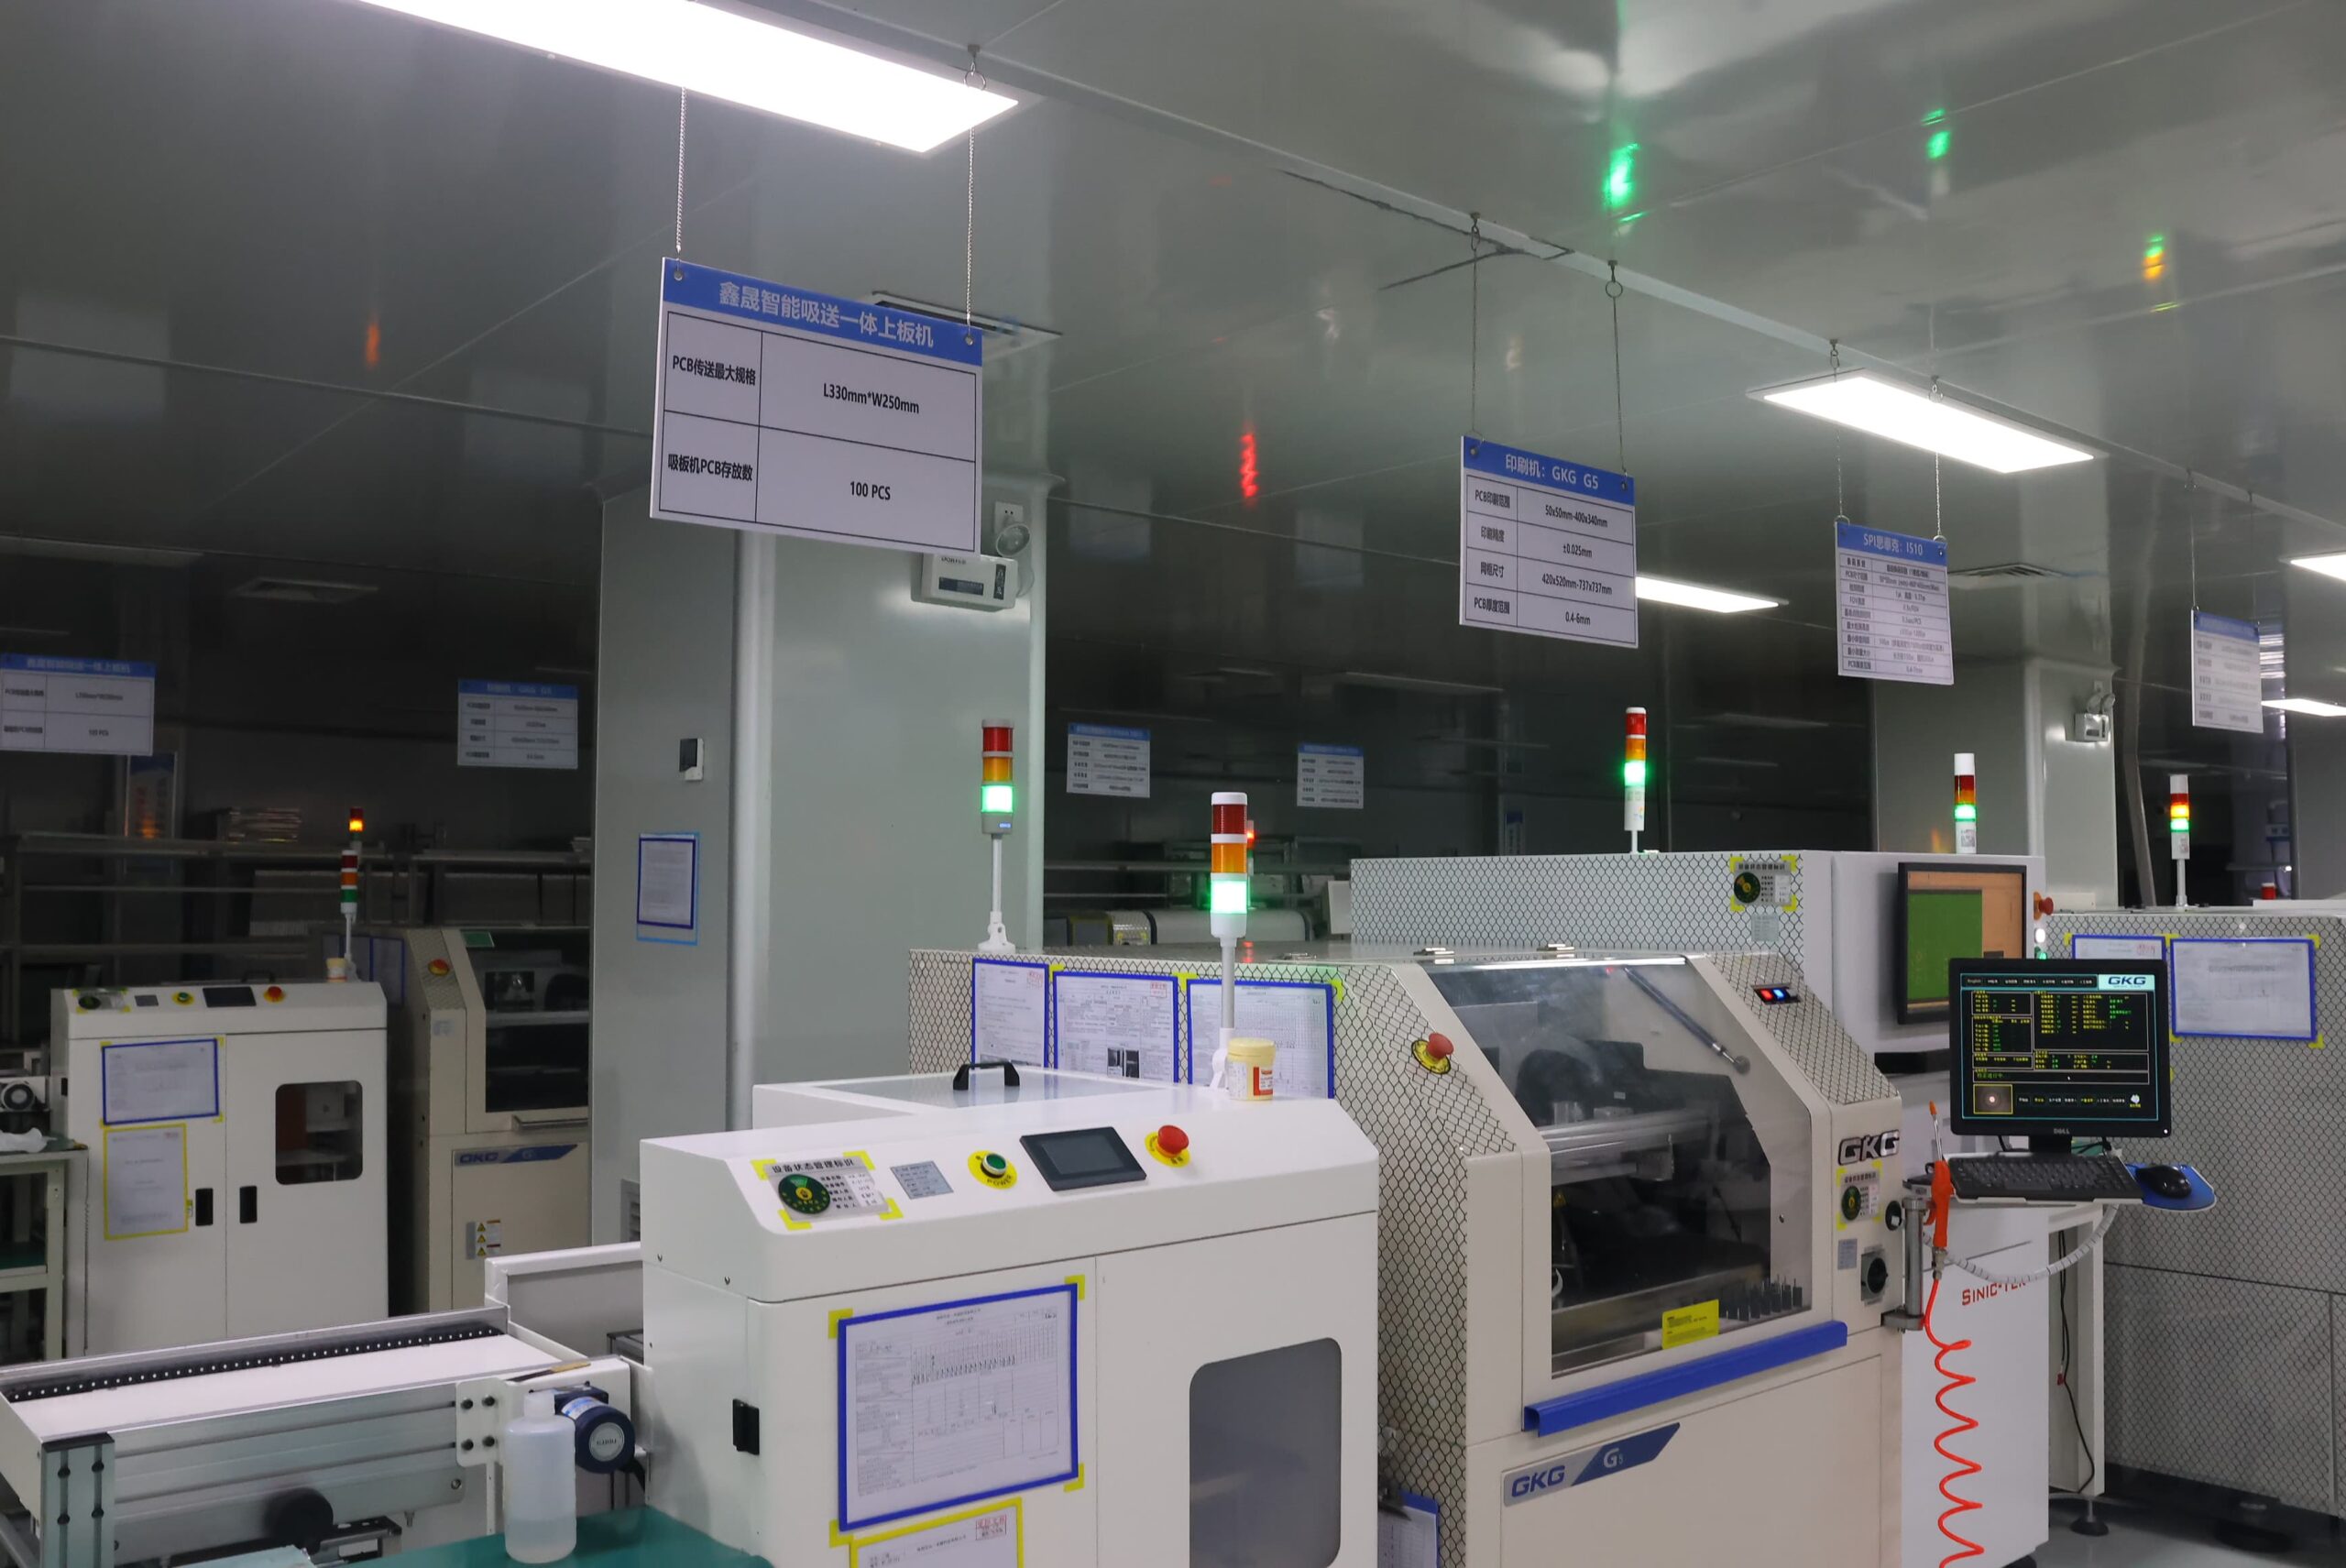
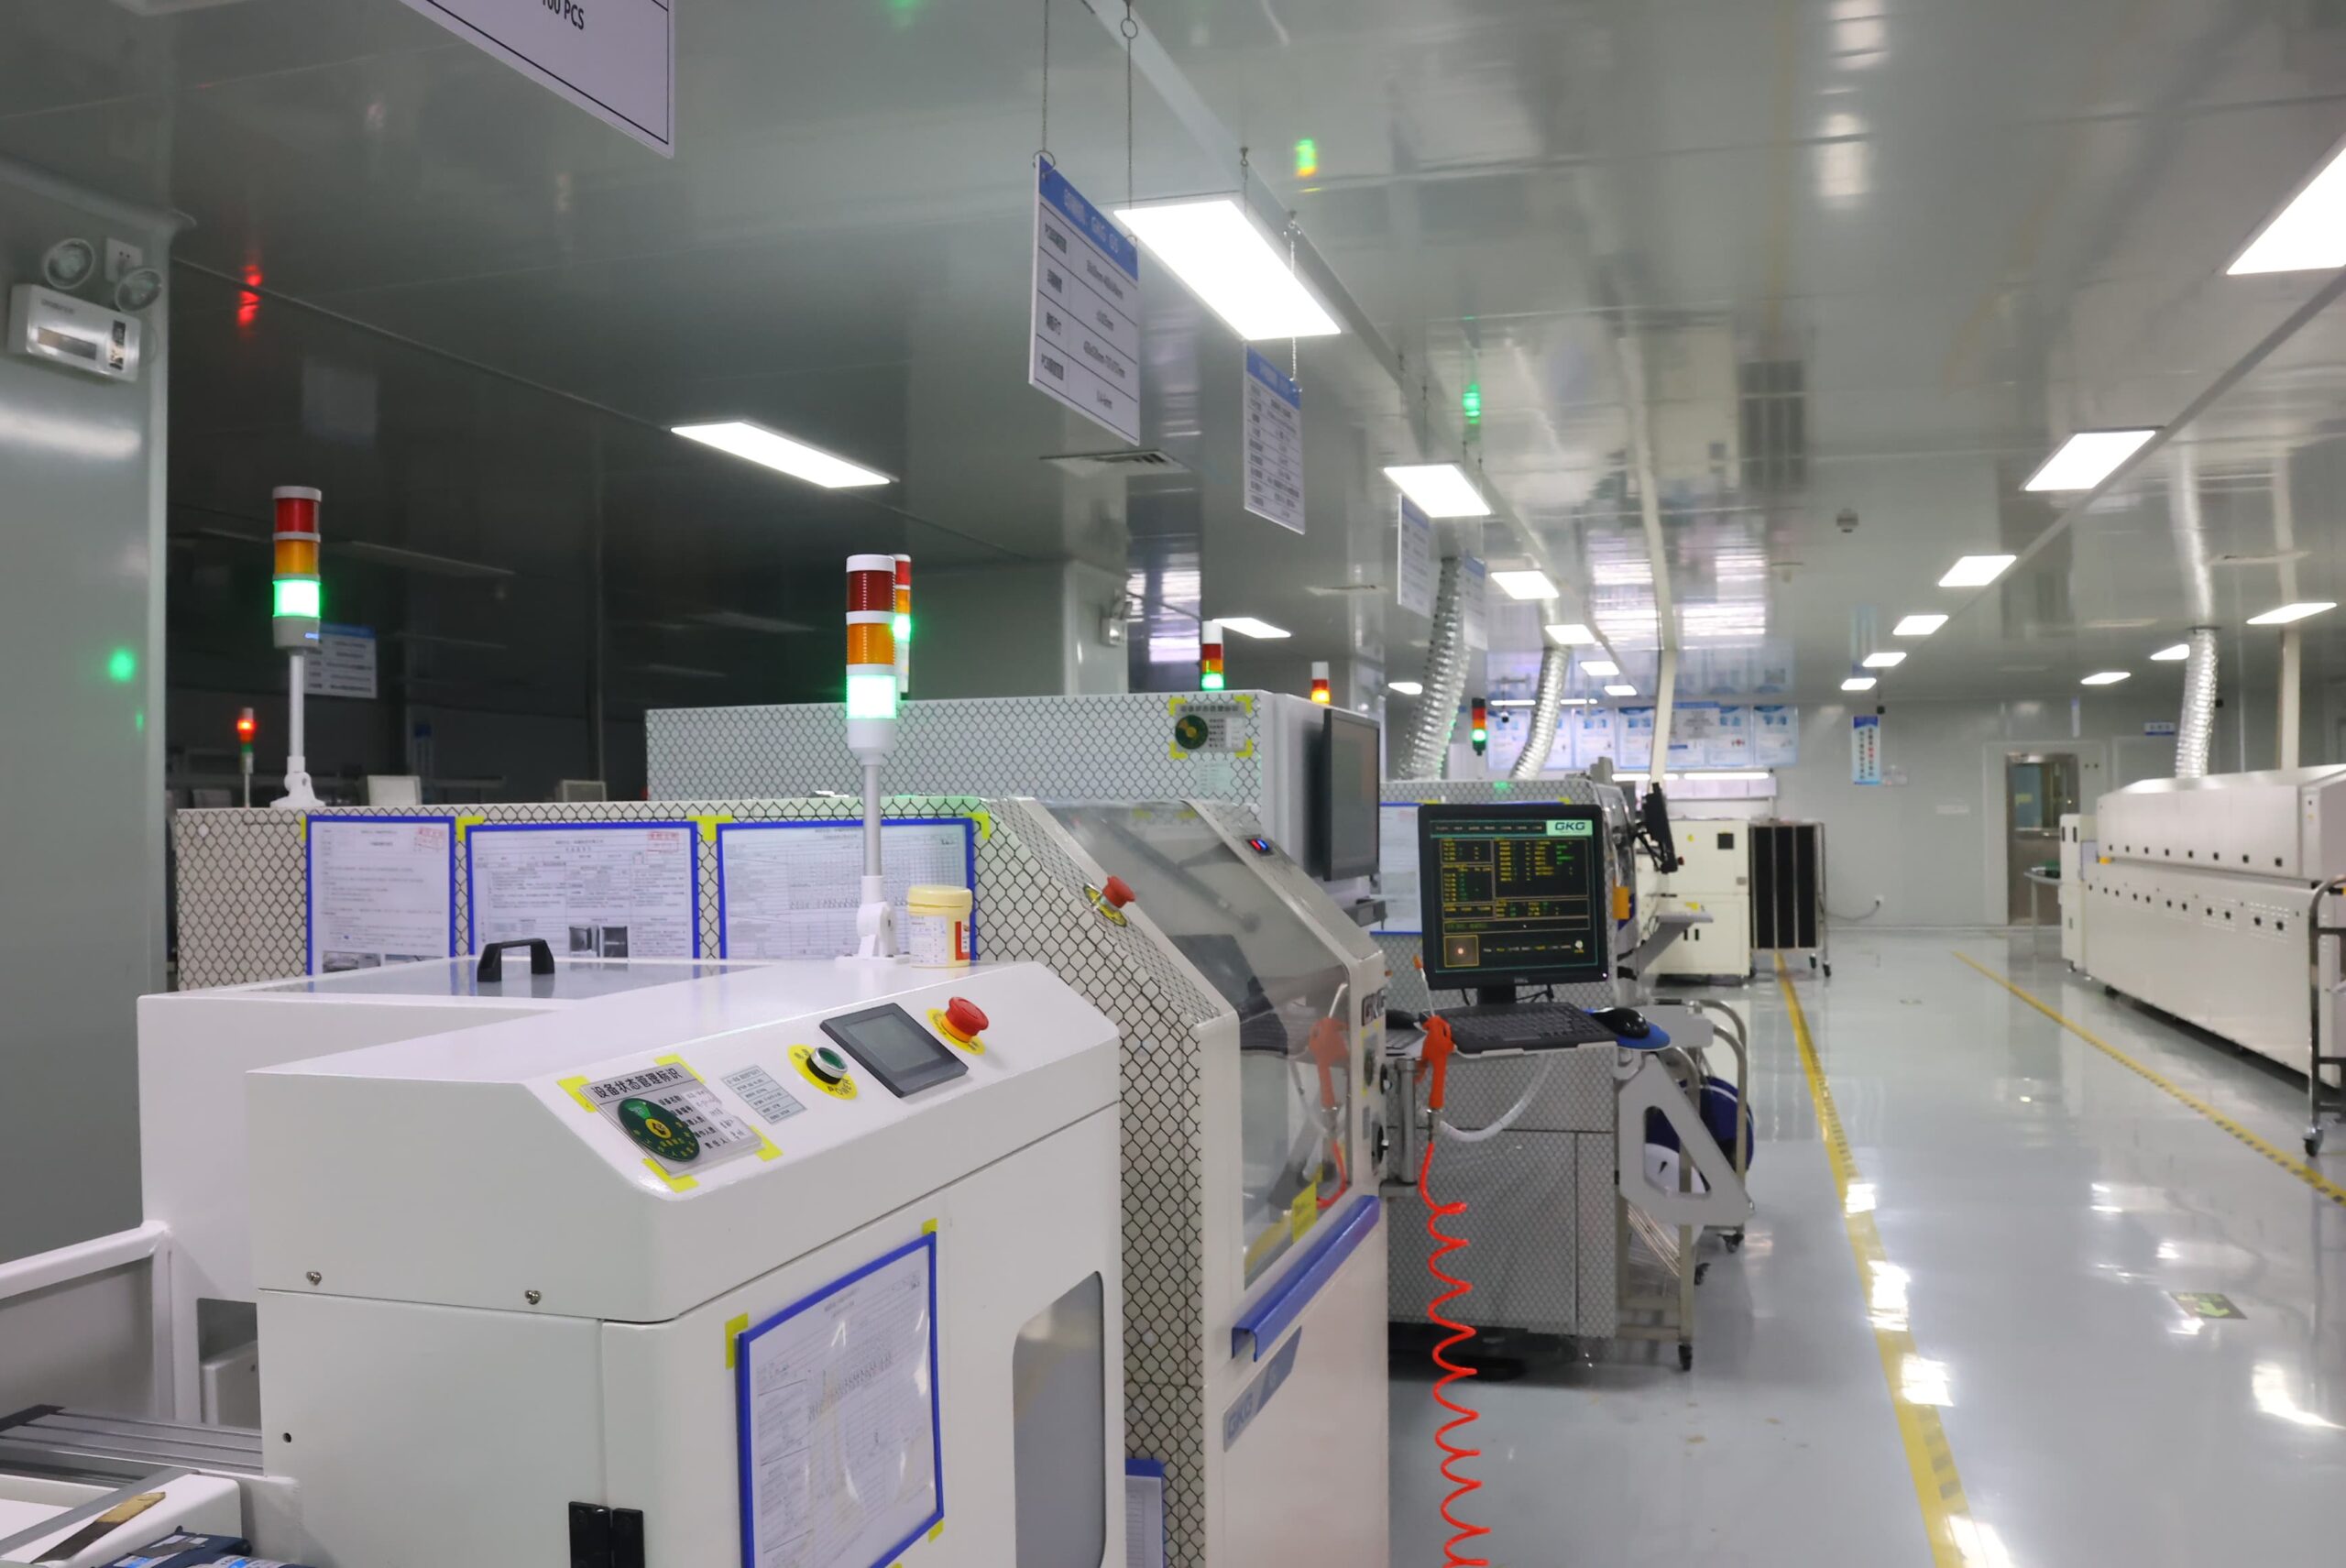
Frequently Asked Questions
Yes. Each layer that requires copper should be specified separately, with the copper requirement stated as either base foil or finished copper. Plated copper on the outer layer should be separated from base copper on the inner layer; the tolerance and measurement location should also be stated. The layer table should indicate whether mixed or selectively plated copper is used, and copper balance, resin flow, lamination, hole geometry, and finished size should be reviewed from the same stack information.
Yes. High-current areas can use heavy or selectively plated copper, while component areas can use standard-copper geometry and construction. In addition, the design package should include information on the boundary between these regions, the amount of finished copper in each zone, the minimum finished spacing, via structure, pad planarity, and solder-mask opening dimensions. Etch compensation and coating coverage should also be based on the shared stack of these two zones.
Heavy-copper current capacity is based on finished trace width, copper thickness, layer position, allowable temperature rise, ambient conditions, heat spreading, mounting conditions, via transitions, terminal geometry, and duty cycle. Different thermal conditions apply to internal and external electrical conductors. IPC-2152 data, project-specific calculations, or simulations should be applied to the complete current path. The IPC-2221A table in this article compares external traces only and does not represent the rated performance of a finished board.
Finished copper should be specified by layer number, with an indication of whether the stated nominal copper thickness is base or finished copper, together with its tolerance and measurement location. Selectively plated or mixed-copper areas should be marked separately. Where current passes through a plated transition, include the finished-hole diameter and via-wall copper. Trace width and spacing should indicate whether they apply to finished external, finished internal, or alternate-process geometry.
Direct thickness measurement and microsectioning verify finished copper, conductor profile, and via-wall geometry at defined locations. AOI covers visible conductor patterns and solder-mask defects; electrical testing identifies shorts or opens; X-ray verifies selected buried structures within its viewing limits. The inspection plan should assign each feature to the inspection method directly used for verification rather than relying on one inspection method to validate another.
Yes. Increasing the quantity of copper means more time is spent on plating, etch compensation, resin-fill coordination, lamination work, drilling, and solder-mask coverage control. The cost and production time of the PCB also depend on layer count, board area, material type, copper distribution, hole structure, surface finish, quantity, and required inspection records. Using selective copper, copper coins, or integrated busbars may reduce copper across the rest of the board, but can add other considerations, such as placement, machining, interfaces, and assembly.