Upload BOM & Gerber
-
Mobile: +86 13312967631
-
Email: sales@sugaintl.com

Fine-Pitch & QFN PCB Assembly
SUGA supports 0.3 mm QFN packages and 0201 components with controlled EPAD solder volume, loaded-board profiling, X-ray inspection, and electrical or functional verification.
Visible + Hidden + Electrical Evidence
50–70% Initial EPAD Paste Coverage Adjusted to Device Geometry
Paste- and Board-Specific Reflow Profile
When Does Assembly Enter the Fine-Pitch Range?
Within SUGA's manufacturing capabilities, assembly moves into the fine-pitch category once the smallest feature of a populated PCB requires more stringent control over printing, placement, and inspection. While terminal pitch plays an important role, other features also need to be considered, such as the smallest printable stencil aperture, usable land overlap, joint visibility after reflow, and loaded-board thermal mass. When pitch is 0.5 mm or below, SUGA upgrades its paste-transfer checks, SPI, vision placement, and first-article evidence. A QFN with a 0.35 mm or 0.4 mm pitch is a highly sensitive assembly, and SUGA supports QFN assembly projects down to 0.3 mm pitch through package-specific stencil, paste, placement, reflow, and inspection methods.
Assembly risks are not determined only by pitch. A small stencil aperture, weak PCB support, hidden terminations, or a thermally unbalanced layout can affect assemblies with a pitch above 0.5 mm. A tighter pitch is manageable when the land pattern, stencil design, placement window, profile, and inspection methods are aligned.

What Makes a Fine-Pitch Board Sensitive?
Five features create tighter controls for fine-pitch PCB assembly:
- terminal pitch and usable land overlap;
- the limiting stencil aperture, such as the aperture corresponding to a QFN terminal, 0201 component, or another very small feature;
- placement tolerance relative to the remaining solderable overlap;
- visibility of the critical joint after reflow;
- loaded-board thermal mass and localized thermal imbalance.
Placement error consumes more of the joint when the usable land has less overlap. Weak paste release can leave the terminal open, while excess or uneven paste can bridge terminals, skew the body, or float it above the perimeter lands. SUGA provides ±30 µm placement capability at 3σ. Package-specific printing, placement, and first-article results complete the validated process window.
The minimum supported terminal pitch is based on the geometry of the selected package and the validated printing, placement, and inspection processes. QFN body geometry, terminal arrangement, and EPAD geometry determine both footprint and process limits.
QFN Package Anatomy
Electrical terminals for QFNs are located beneath the perimeter of the package, whereas gull-wing leads extend outward from the package. A central EPAD often connects the die paddle to PCB copper and is a primary thermal-transfer path for the device. This configuration provides shorter electrical paths, saves board area, and affects four decisions: electrical connection, thermal transfer, solder volume, and under-package solder inspection.
There are various QFN package configurations, including single-row, dual-row, and multi-row structures. Some configurations include wettable flanks or exposed sides on selected devices, affecting routing density, terminal access, and the number of hidden interfaces beneath the package. The central EPAD remains hidden across these QFN package configurations.
When Is the EPAD Not Ground?
An EPAD is not always ground. For some power devices, mixed-signal ICs, and regulators, the EPAD may be assigned a switched, split, or other non-VSS function. Connecting this pad to ground could create a direct electrical fault, even if the solder joint appears acceptable.
The recommended layout and pin assignment establish the requirements for copper, thermal vias, paste application, and inspection criteria. For a split EPAD, each copper region must remain separate, and each approved alternate source must undergo the same electrical and dimensional checks.

Which Package Structure Suits the Board?
| Engineering criterion | QFN | QFP | BGA | Manufacturing decision |
|---|---|---|---|---|
| Terminal interface | Leadless perimeter lands; central EPAD is common | Gull-wing perimeter leads | Under-body solder-ball array | Confirm package drawing, coplanarity, inspection access and the released land pattern |
| Board area / I/O | Compact at low-to-medium I/O; multi-row structures extend density | Larger perimeter footprint with direct lead access | Highest area-array density | Compare package outline, escape routing, available layer structure and required repair access |
| Thermal path | EPAD transfers heat into board copper and vias | Heat leaves through leads, package body or a dedicated exposed pad | Thermal and ground balls spread heat into board planes | Model device loss against board copper, via field, airflow and allowable junction temperature |
| Electrical path | Short current and return paths | Longer leads with direct probing and repair access | Dense power, ground and signal distribution | Check power and return continuity, loop inductance, probing needs and RF or fast-switching return paths |
| Joint visibility | Perimeter joints may be visible; EPAD is hidden | Most joints are visible to visual inspection or AOI | Ball array is hidden | Use visual/AOI for exposed joints, X-ray for under-package joints and test for electrical behavior |
| Rework | Controlled local heating, land restoration and renewed imaging | Individual leads are accessible; high pin counts still require control | Dedicated BGA rework, alignment and post-rework imaging | Set the rework route from board value, heat history, pad condition, local clearance and post-rework evidence |
| Cost drivers | Stencil/EPAD control, X-ray, yield and rework | Lead coplanarity, AOI, lead repair and PCB area | Routing layers, X-ray, warpage and rework | Estimate engineering, inspection, expected yield and repair exposure for the exact package |
| Best use | Compact power, RF, analog and control designs; medium I/O | Visible joints, service access or mature perimeter I/O | High-I/O processors, memory, FPGA and dense area arrays | Select by the dominant density, thermal, electrical, inspection and lifecycle constraint |

Package Geometry and I/O Density
The boundary cases consist of instances where a board designer may choose a QFN or QFP package based purely on I/O count. In some instances, a decision based on I/O count results in the thermal path and rework access capabilities of the selected package not being considered, as thermal performance cannot be verified using only I/O count. A QFN with an EPAD provides a thermal path through the PCB, while a QFP relies more on its leads and exposed-pad configuration for heat transfer; thus, a boundary-case QFN with high self-heating could offer better thermal performance than a QFP with a similar I/O count after the thermal path is considered. Also, the hidden-joint design of the QFN limits field serviceability, while the design of a QFP allows easier access to the joints for repair or refurbishment. When a package is selected, the package outline, land pattern, return path, PCB copper, and planned repair or refurbishment route must all be confirmed before I/O count becomes the determining factor.
QFN Footprint Geometry
| Footprint control | Engineering requirement | Failure mode | Manufacturing control |
|---|---|---|---|
| Package match | Overlay outline, terminals, EPAD, tolerances, recommended land pattern and assembly origin | Package float, insufficient overlap, wrong heat path or body interference | Compare the released package drawing with copper, mask, paste and placement origin before fabrication |
| EPAD layer separation | Define copper, paste, solder mask and via treatment independently | Excess or insufficient solder; uncontrolled via drainage | Set each layer independently; verify the combined geometry and solder path |
| Perimeter land / mask | Match toe and side extension, wettable flank, mask opening and web to package and PCB registration capability | Mask slivers, pad encroachment, weak visible wetting or bridges | Select NSMD/SMD treatment only when package and fabrication tolerances preserve land overlap and mask web |
| Under-package routing | Keep exposed copper, via edges and solder corridors away from EPAD-to-signal spacing | EPAD-to-signal short, solder migration or local mask failure | Move routing outward; cover unavoidable copper and verify under-package solder-mask registration |
| Alternate-source overlay | Match body, terminal pull-back, EPAD, tolerances, origin and land pattern | Land mismatch, weak wetting or placement shift | Share one footprint only when both parts preserve copper, mask, paste and placement overlap; otherwise separate them |

Package Data for QFN Footprint Layout
A QFN footprint starts with the exact QFN package drawing. A mismatch between a QFN package and its footprint leads to errors in stand-off distance, solder-joint self-centering, electrical continuity, and thermal performance at the EPAD; thus, not every split-pad, signal-pad, or terminal-pullback design can be covered by a family-default footprint.
Perimeter Land and Solder-Mask Geometry
For example, a toe extension of +0.4 mm, a mask expansion of +0.05 mm on each side, or a web width of 0.09 mm is determined by the device and the design and manufacturing process, not by universal package-family geometry. At a pitch of 0.4 mm, SUGA provides the solder-land and solder-mask geometries for QFN packages based on the terminal dimensions and the fabrication registration window provided by the PCB manufacturer.
Alternate-Package Footprint Compatibility
Do not assume that two components with the same family name are interchangeable when a fraction of a millimeter difference in terminal pull-back can invalidate this compatibility. Although both parts may place and reflow properly, the wetted contact area may be less than what was qualified against in the released specifications. Before production, compare the alternate package drawing against the released footprint during BOM approval, specifically reviewing terminal pull-back, EPAD size, and wettable-flank dimensions rather than only the family name and pin count. If acceptable overlap, mask, paste, and inspection access cannot be maintained for both parts, the BOM must restrict the alternate part or the project must maintain separate footprints for both components.
Thermal Vias Without Solder Wicking
| Thermal objective | Via structure | Design window | Assembly failure mode | Process control |
|---|---|---|---|---|
| Standard EPAD heat spreading | Regular via array with solid internal-plane connection | Ø0.30–0.33 mm; approximately 35 µm via-wall copper; final count by thermal analysis | Solder drainage through open holes | Size from device loss, EPAD, copper and stack-up; release against both X-ray solder distribution and measured temperature |
| Direct open-via heat path | Unclosed via through the exposed-pad land | Use only when solder escape is intentionally balanced by paste-window geometry and back-side requirements | EPAD starvation, component tilt or back-side solder deposit | Change via treatment or coordinate paste windows, via geometry and back-side solder acceptance before fabrication |
| Low-cost solder barrier | Tented or mask-encroached via | Residual opening is controlled by solder-mask registration and mask durability | Residual drainage through mask opening or misregistration | Measure registration and residual opening; verify cleanliness and first-article X-ray for remaining drainage |
| Plugged solder barrier | Approved plug closes the hole before assembly | Stronger barrier than open or tented construction | Plug shrinkage, voiding, surface depression or planarity variation | Inspect plug integrity, shrinkage and top-surface planarity before printing |
| Planar via-in-pad surface | Resin-filled and plated cap | Stable surface for higher-risk EPAD printing; higher PCB cost and process complexity | Cap planarity error, local solder-volume shift or hidden voiding | Inspect fill and plated cap planarity, then X-ray the assembled joint |
| Maximum local conduction | Copper-filled or dedicated thermal via-in-pad | Highest local conduction when correctly fabricated; highest fabrication cost | CTE stress, fill or cap inconsistency, and local planarity variation | Apply after PCB process and reliability analysis; inspect fill, cap and planarity before high-power release |

QFN EPAD Thermal Via Sizing
Thermal-via count is based on a combination of maximum power loss, allowable junction temperature, EPAD area, copper layers, airflow, and any external heat dissipation. For spreading heat to other planes of the PCB, solid connections transfer heat more effectively than thermal reliefs; therefore, the number and size of thermal vias and the total opening through which solder can escape are both critical.
Thermal Path Verification
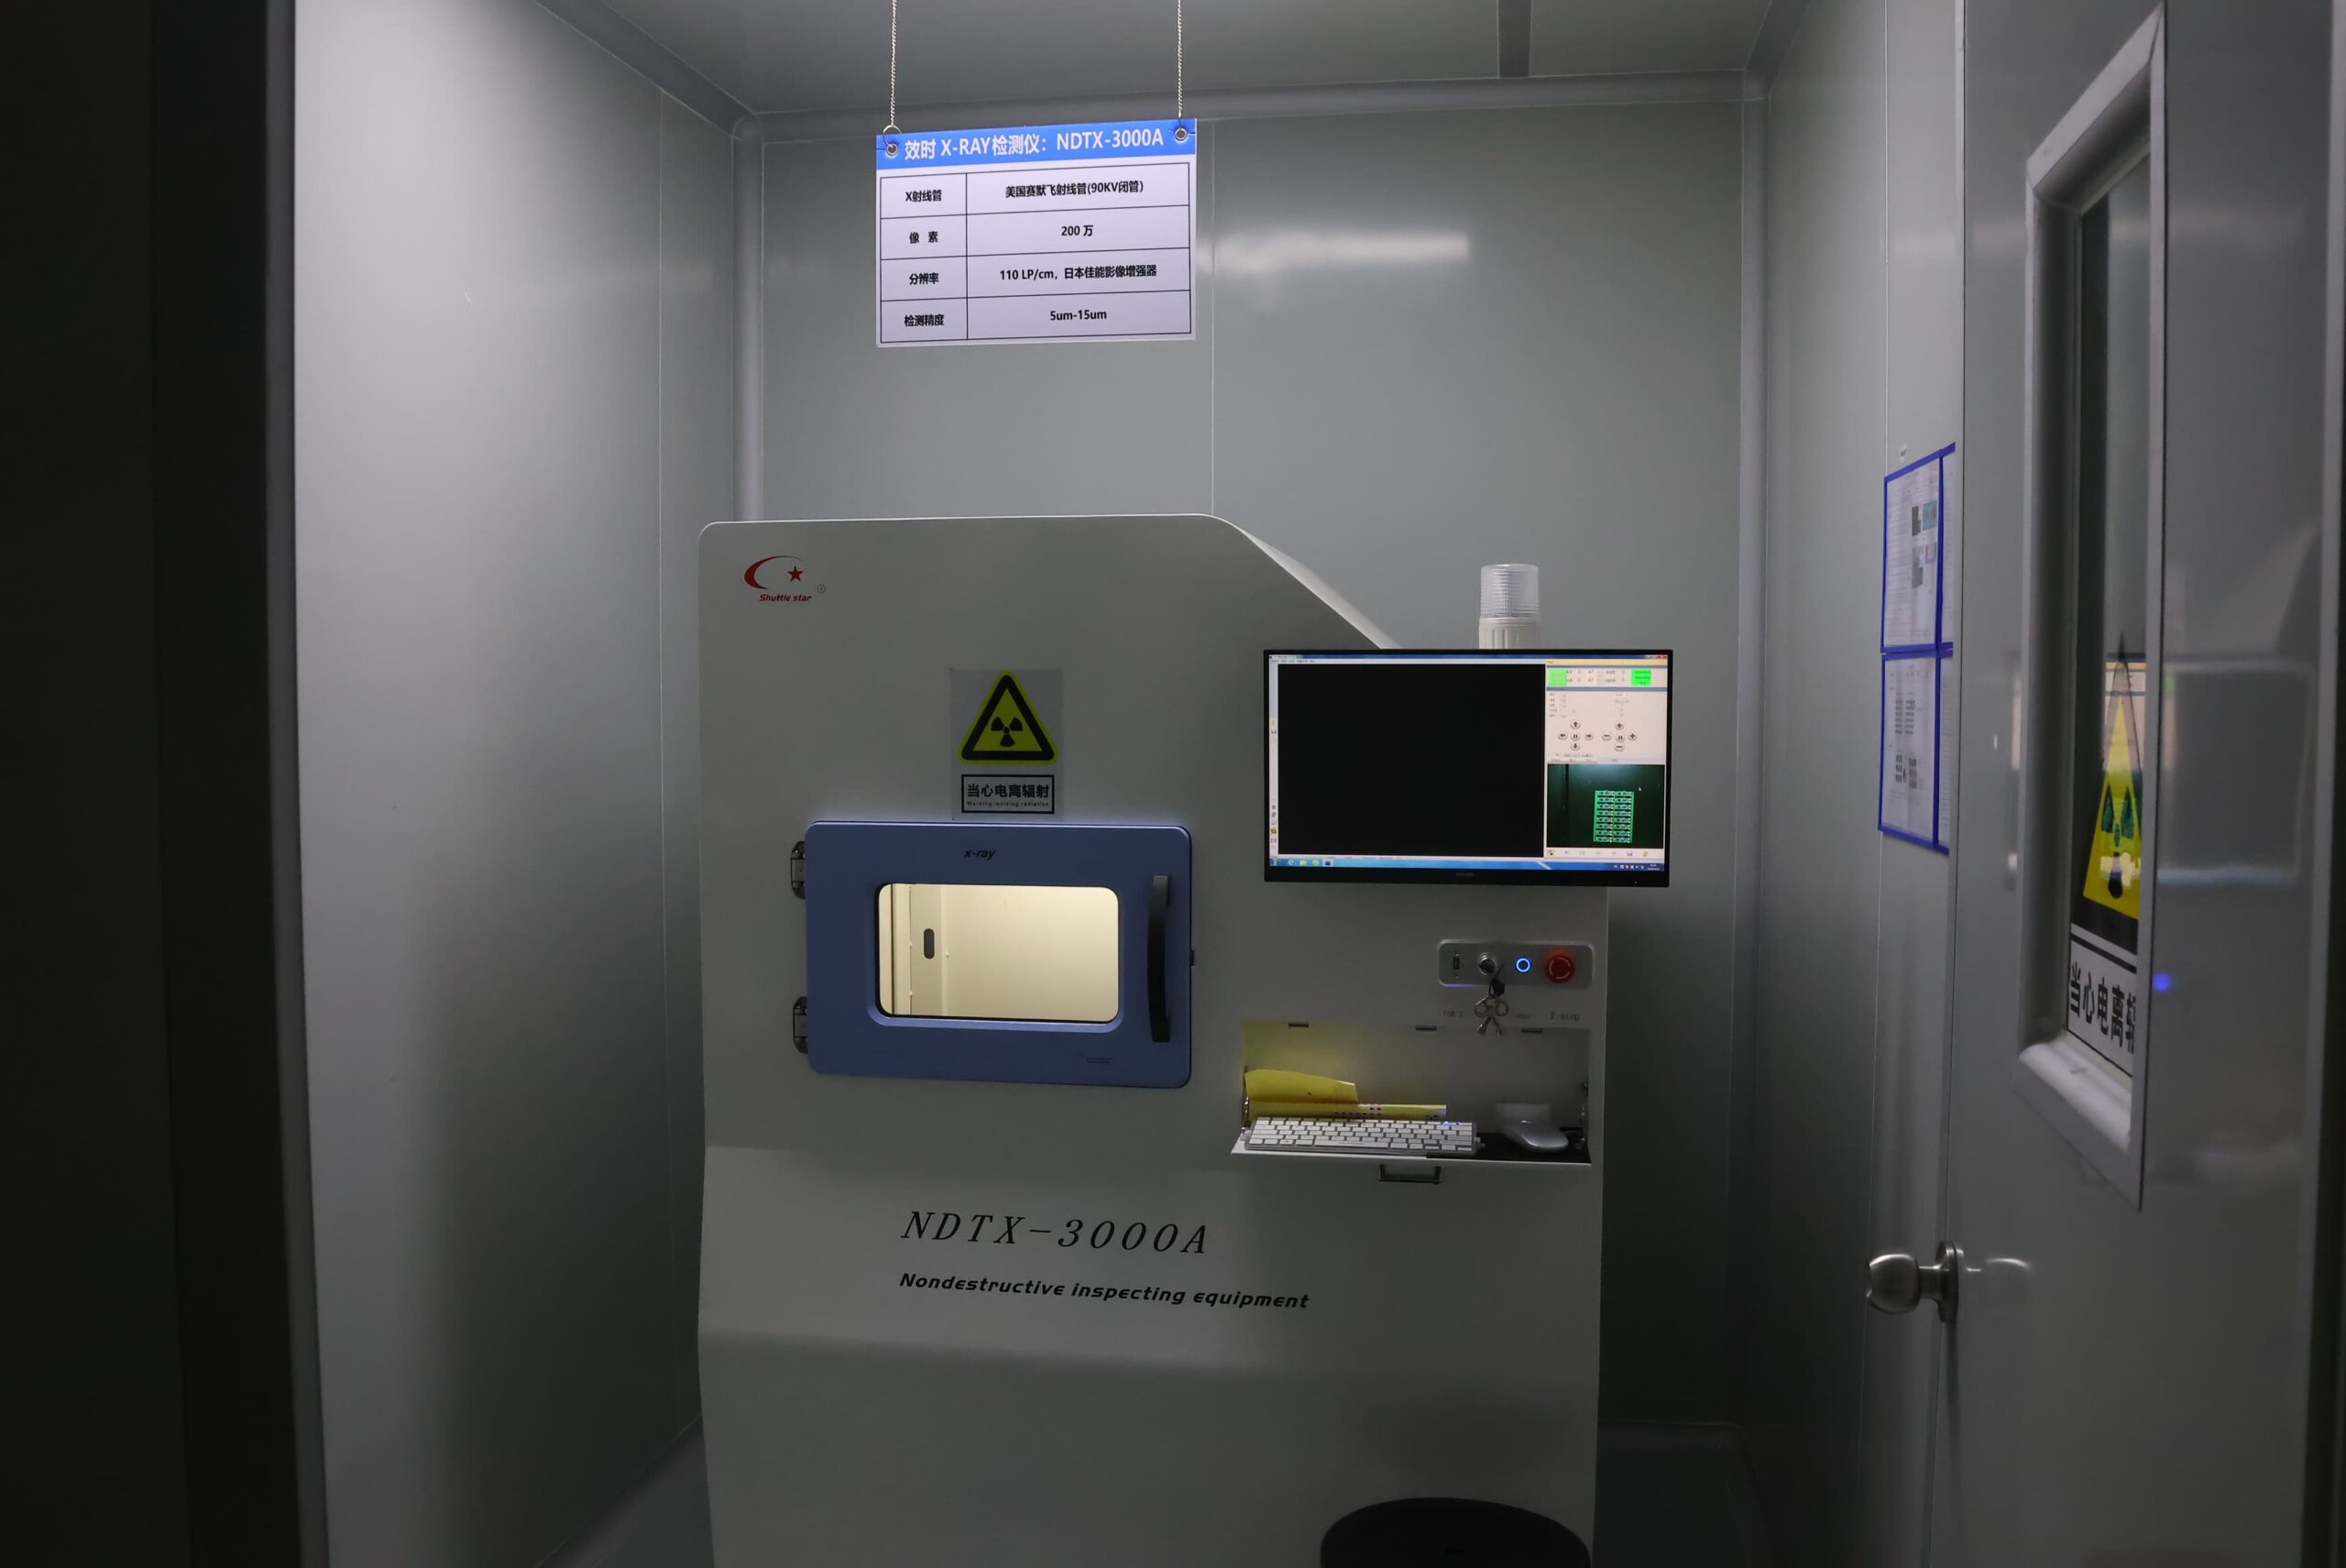
SUGA provides a direct correlation between the thermal losses of the device, PCB copper and via design, thermal-via treatment before assembly, stencil interaction, loaded-board reflow, first-article imaging, and measurement of the PCB's thermal characteristics under load. The use of 2D X-Ray allows the solder distribution and drainage patterns around the thermal vias to be evaluated. Oblique, 3D, or CT imaging separates stand-off and overlapping structures when a single projection is insufficient, while thermal measurements confirm the assembled heat-transfer path under the defined load condition.
The release records pair the X-Ray baseline with the component or board temperature measurement. The number of thermal vias and the treatment used are accepted only when the solder distribution and operating temperature meet all defined specification limits.
Stencil Control for Small Apertures
| Print control | Engineering window | Failure mode | Process control |
|---|---|---|---|
| Limiting aperture | Area ratio >0.66; aspect ratio >1.5; minimum aperture width passes the 5-ball rule for the selected powder | Incomplete transfer, opens, unstable deposits or clogging | Calculate the actual limiting aperture; select foil and paste; measure deposit volume, area, height and shape by SPI |
| Perimeter aperture | Start from the exact land and package recommendation; reduce only after print and reflow evidence | Bridges from excess paste; opens or weak wetting from excessive reduction | Tune only from terminal geometry, pitch, paste transfer, reflow wetting and first-article evidence |
| Standard EPAD pattern | 50–70% initial printed-paste coverage through segmented or window-pane apertures | Package float/perimeter opens or weak EPAD connection/heat path | Distribute windows for stand-off and gas escape; correlate initial SPI coverage with post-reflow X-ray distribution |
| Device-specific EPAD | Within the broader 50–70% range, many device guides begin around 60–65%; lower, higher or asymmetric patterns require device-specific evidence | Local volume error or hot-pad imbalance | Use the exact recommended pattern or a validated modification tied to SPI, X-ray and thermal results |
| EPAD with vias | Window location follows via position and treatment, not percentage alone | Local drainage, blocked gas path, uneven stand-off or concentrated voiding | Coordinate windows with open, tented, plugged or filled via locations and verify post-reflow X-ray distribution |
| Mixed assembly | 4–8 mil overall foil options; local QFN/0201 zones and step regions selected by area ratio and powder fit | A uniform foil thickness cannot satisfy both tiny transfer apertures and high-volume joints | Select local foil thickness and aperture geometry from the complete component mix, not the QFN alone |
| Paste type | Type 3/4 for broader apertures; Type 4/5 for tighter transfer with controlled rheology | Poor transfer, slump, bridging, drying or profile mismatch | Match alloy, flux, powder, storage life, printer interval and reflow profile to the loaded board |
Area Ratio and the 5-Ball Rule
The area ratio for a rectangular aperture is defined as the aperture opening area divided by the area of the aperture walls. It must remain above 0.66. The aspect ratio is calculated by dividing the minimum aperture width by the foil thickness; it must remain above 1.5. The 5-ball rule confirms that the minimum aperture width can accommodate at least 5 maximum-diameter particles of the selected solder-paste powder.
All three geometry checks apply to the limiting aperture, regardless of whether it belongs to a QFN terminal, an 0201 component, or another fine feature.
SPI also confirms deposit volume, area, height, and shape because foil coating, paste condition, board support, printer setup, and cleaning frequency affect the actual transfer performance.

QFN Solder Paste Transfer
Very small apertures require thinner local foil to achieve successful paste deposition. Conversely, larger connectors and large thermal-joint areas typically require greater solder volume.
SUGA uses 4–8 mil overall stencil options, with step regions used only where each local QFN, 0201, or high-volume aperture passes the area-ratio and powder-fit checks. Trial prints establish SPI distributions before loaded-board reflow; AOI evaluates exposed perimeter joints, and X-Ray evaluates EPAD solder distribution. Increased stand-off with weak perimeter wetting indicates excessive or unbalanced EPAD paste, central solder loss around an open via indicates solder drainage or window-to-via overlap, and unstable deposits indicate problems with aperture geometry, paste condition, board support, or cleaning frequency.
Initial paste coverage, solder coverage after reflow, and X-Ray voiding are separate measurements. Printed EPAD paste area before reflow is represented as 50–70%; finished solder-coverage limits and void-acceptance criteria for the wetted interface after reflow are compared with the device, customer, and released acceptance criteria.
How Is the Assembly Controlled?
SUGA provides fine-pitch QFN assembly as a single traceable sequence: print release through SPI, vision-guided placement, thermocouple profiling of the populated board, inspection of visible and hidden joints, and electrical or functional release. If an assembly fails inspection, it is returned to the specific print, placement, profile, package-data, cleanliness, or test setting that caused the failure rather than being accepted based on one inspection method.
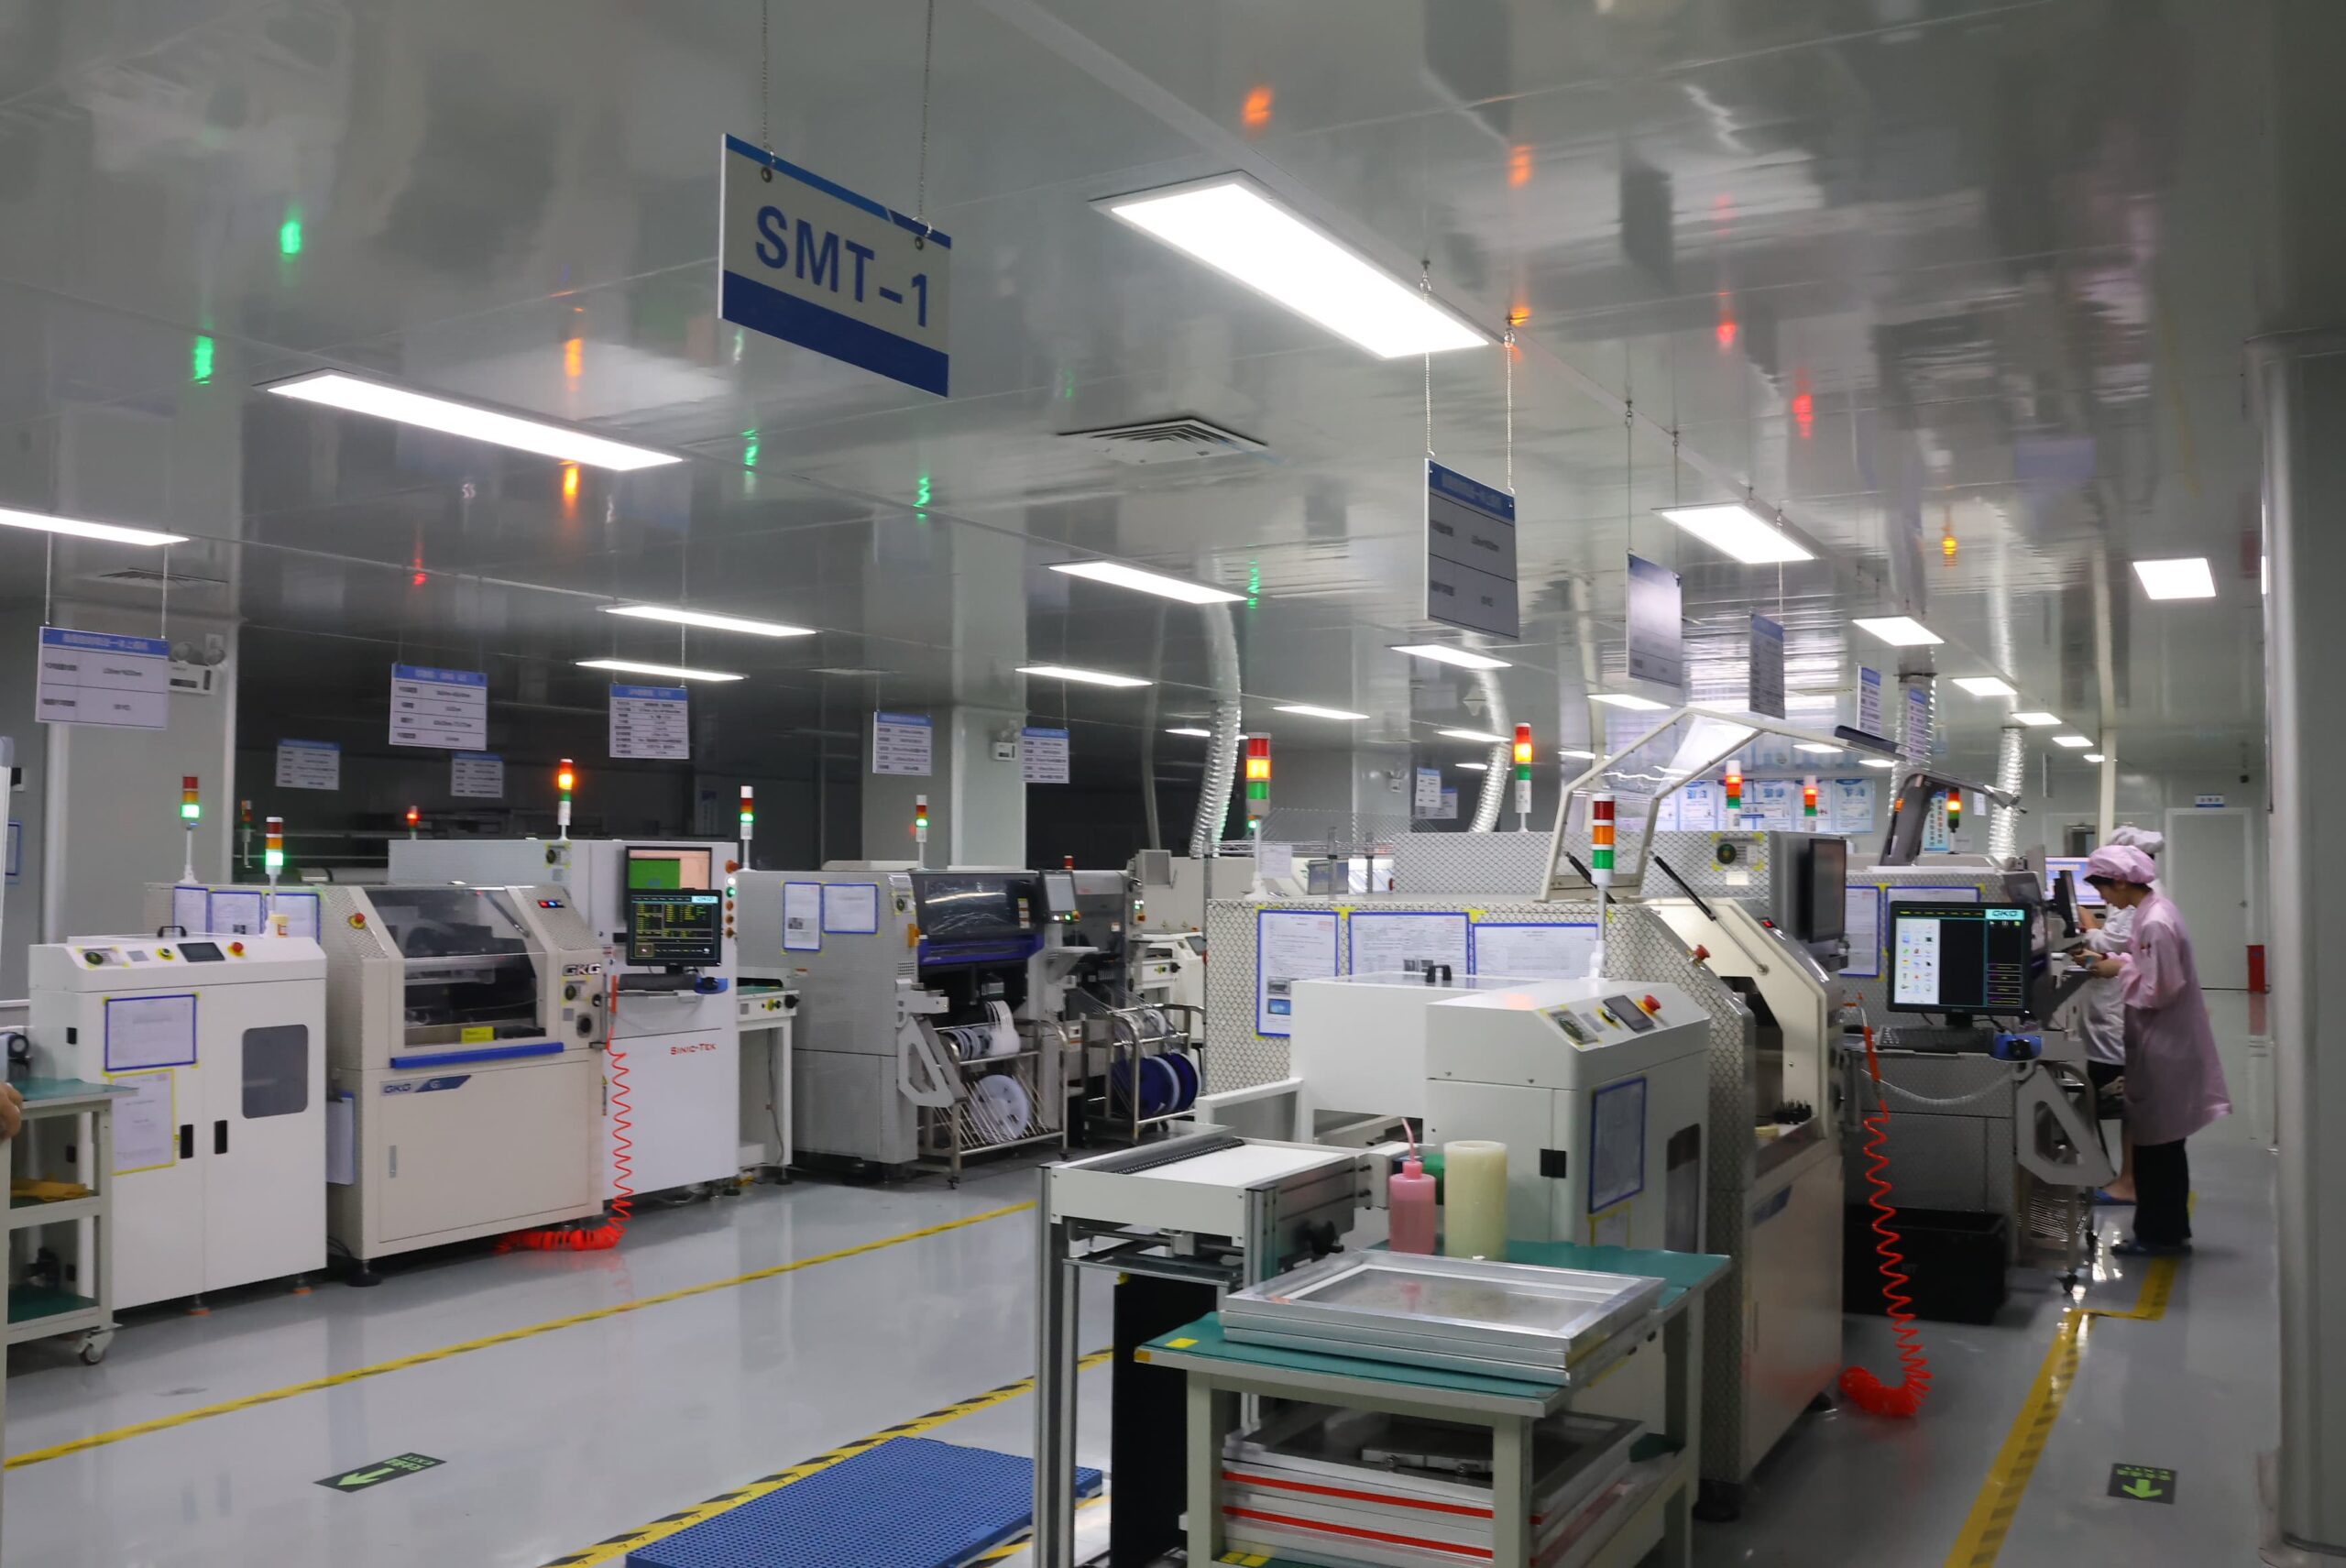
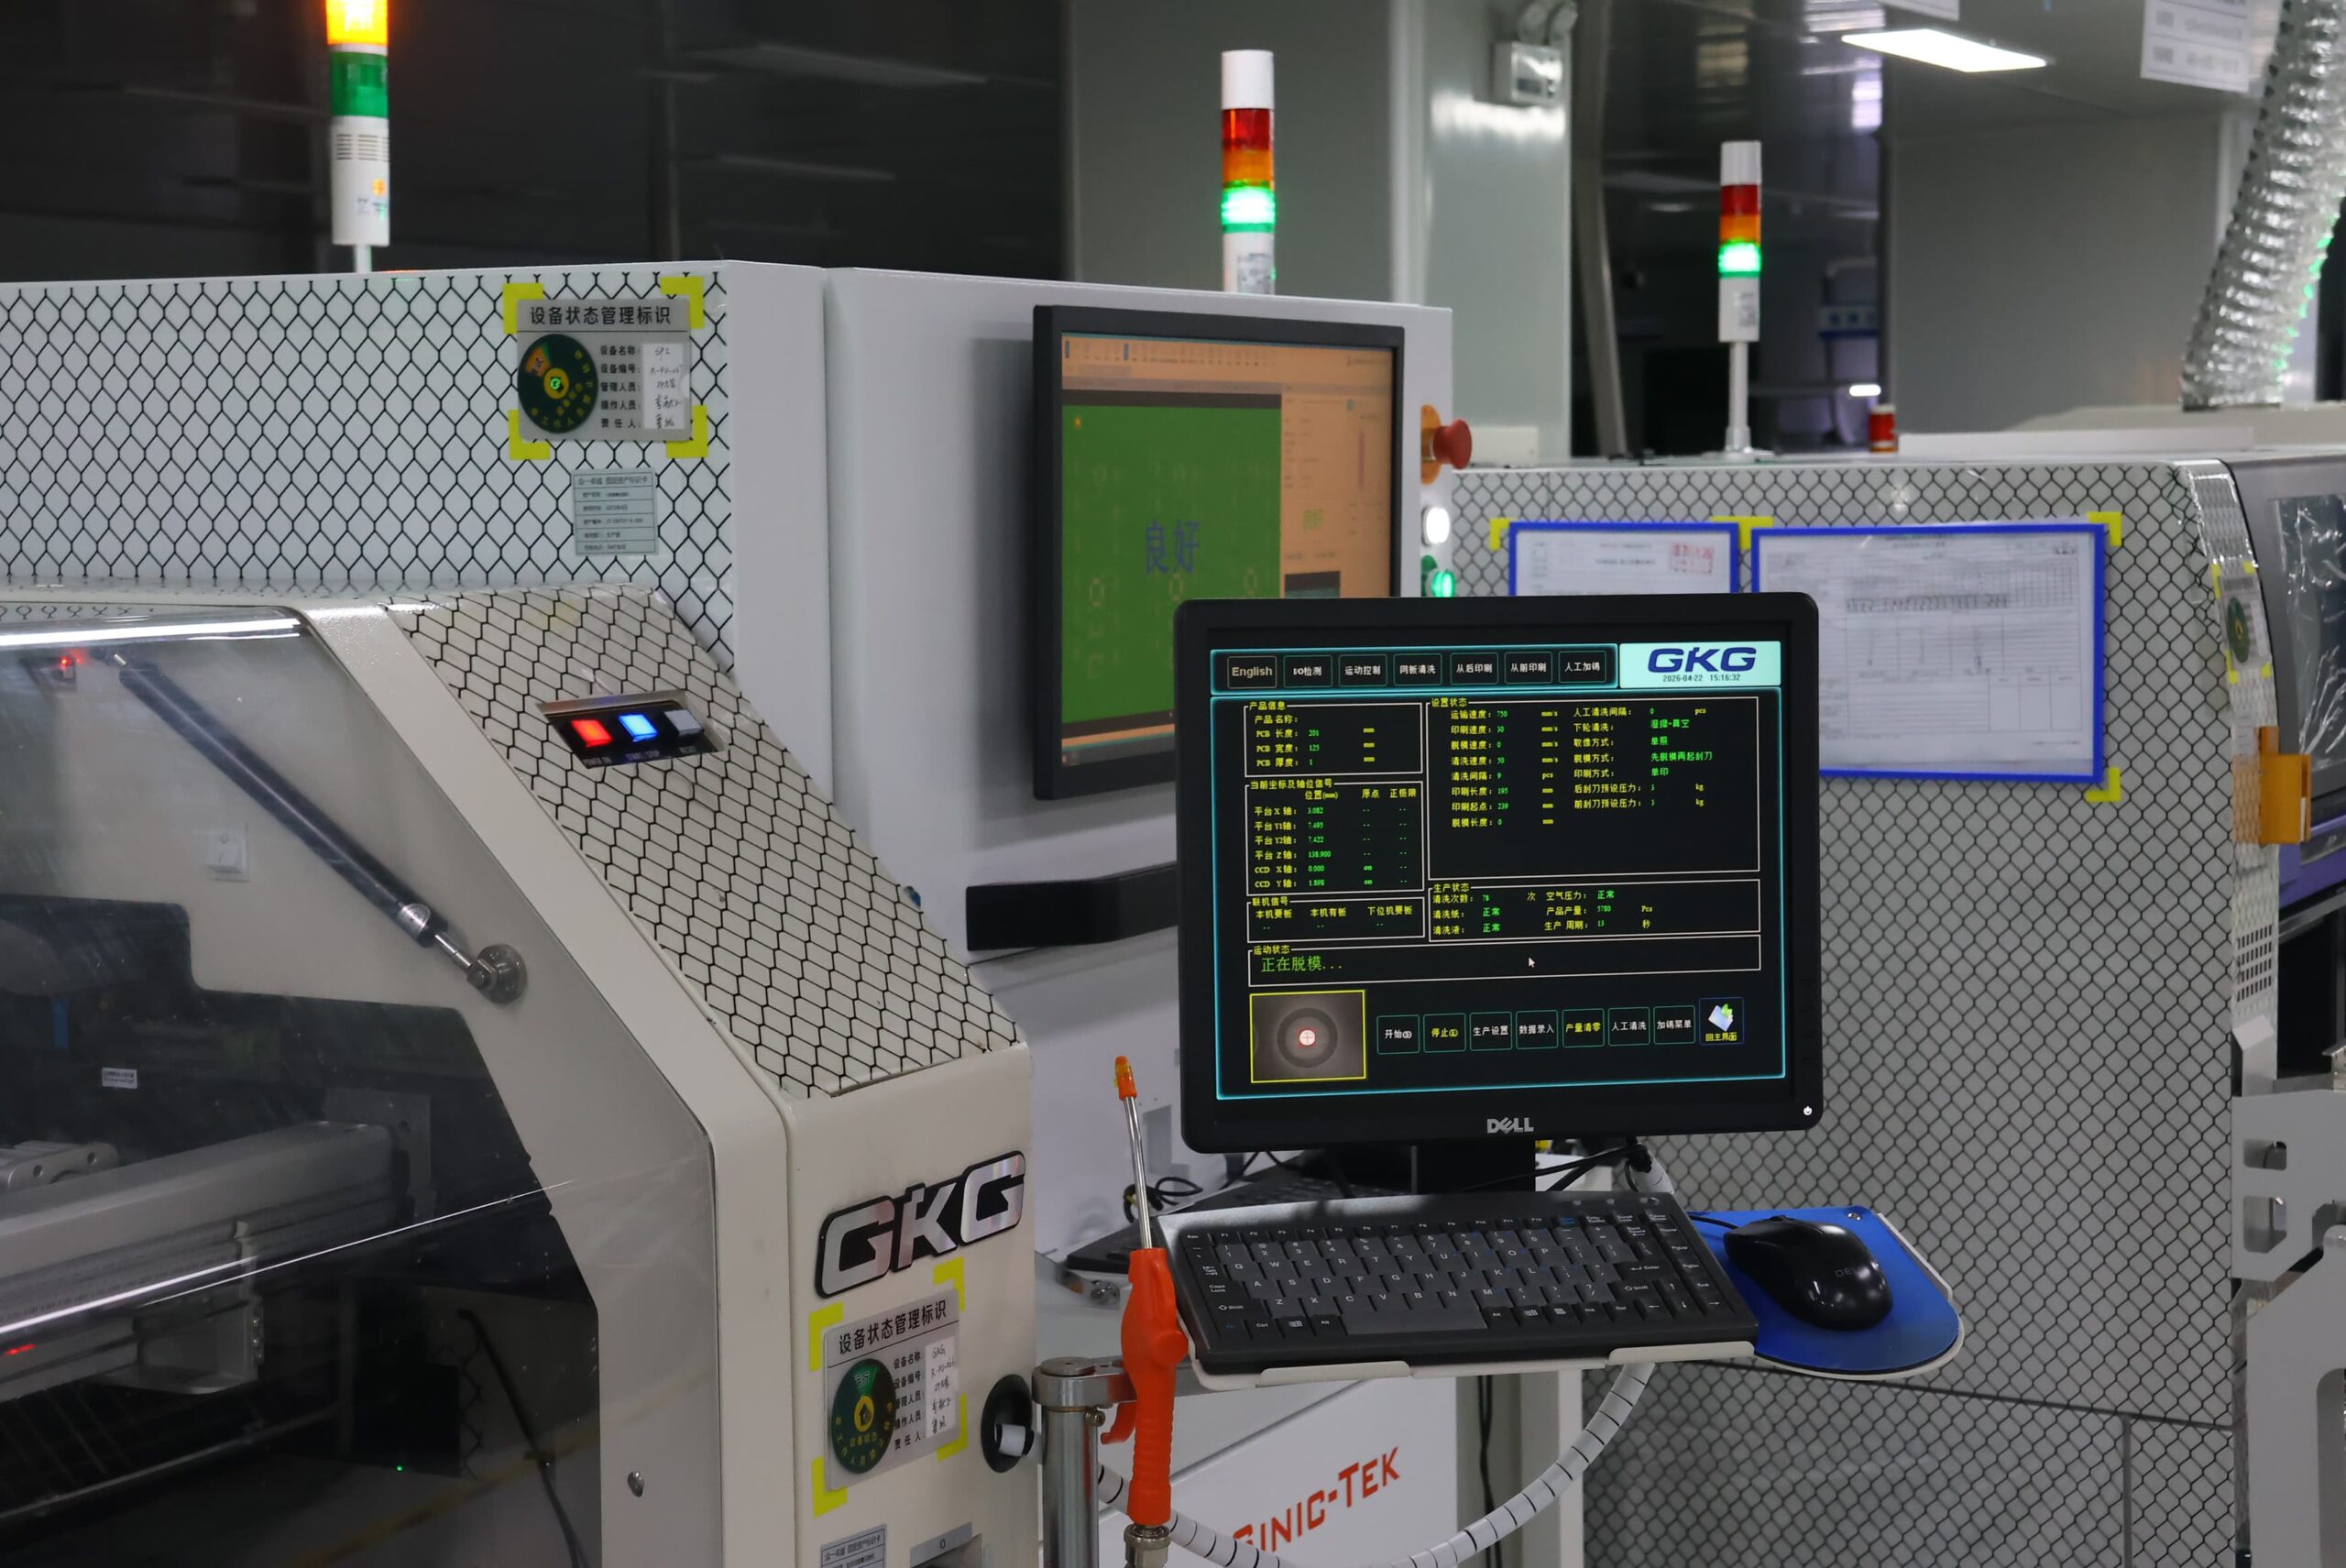
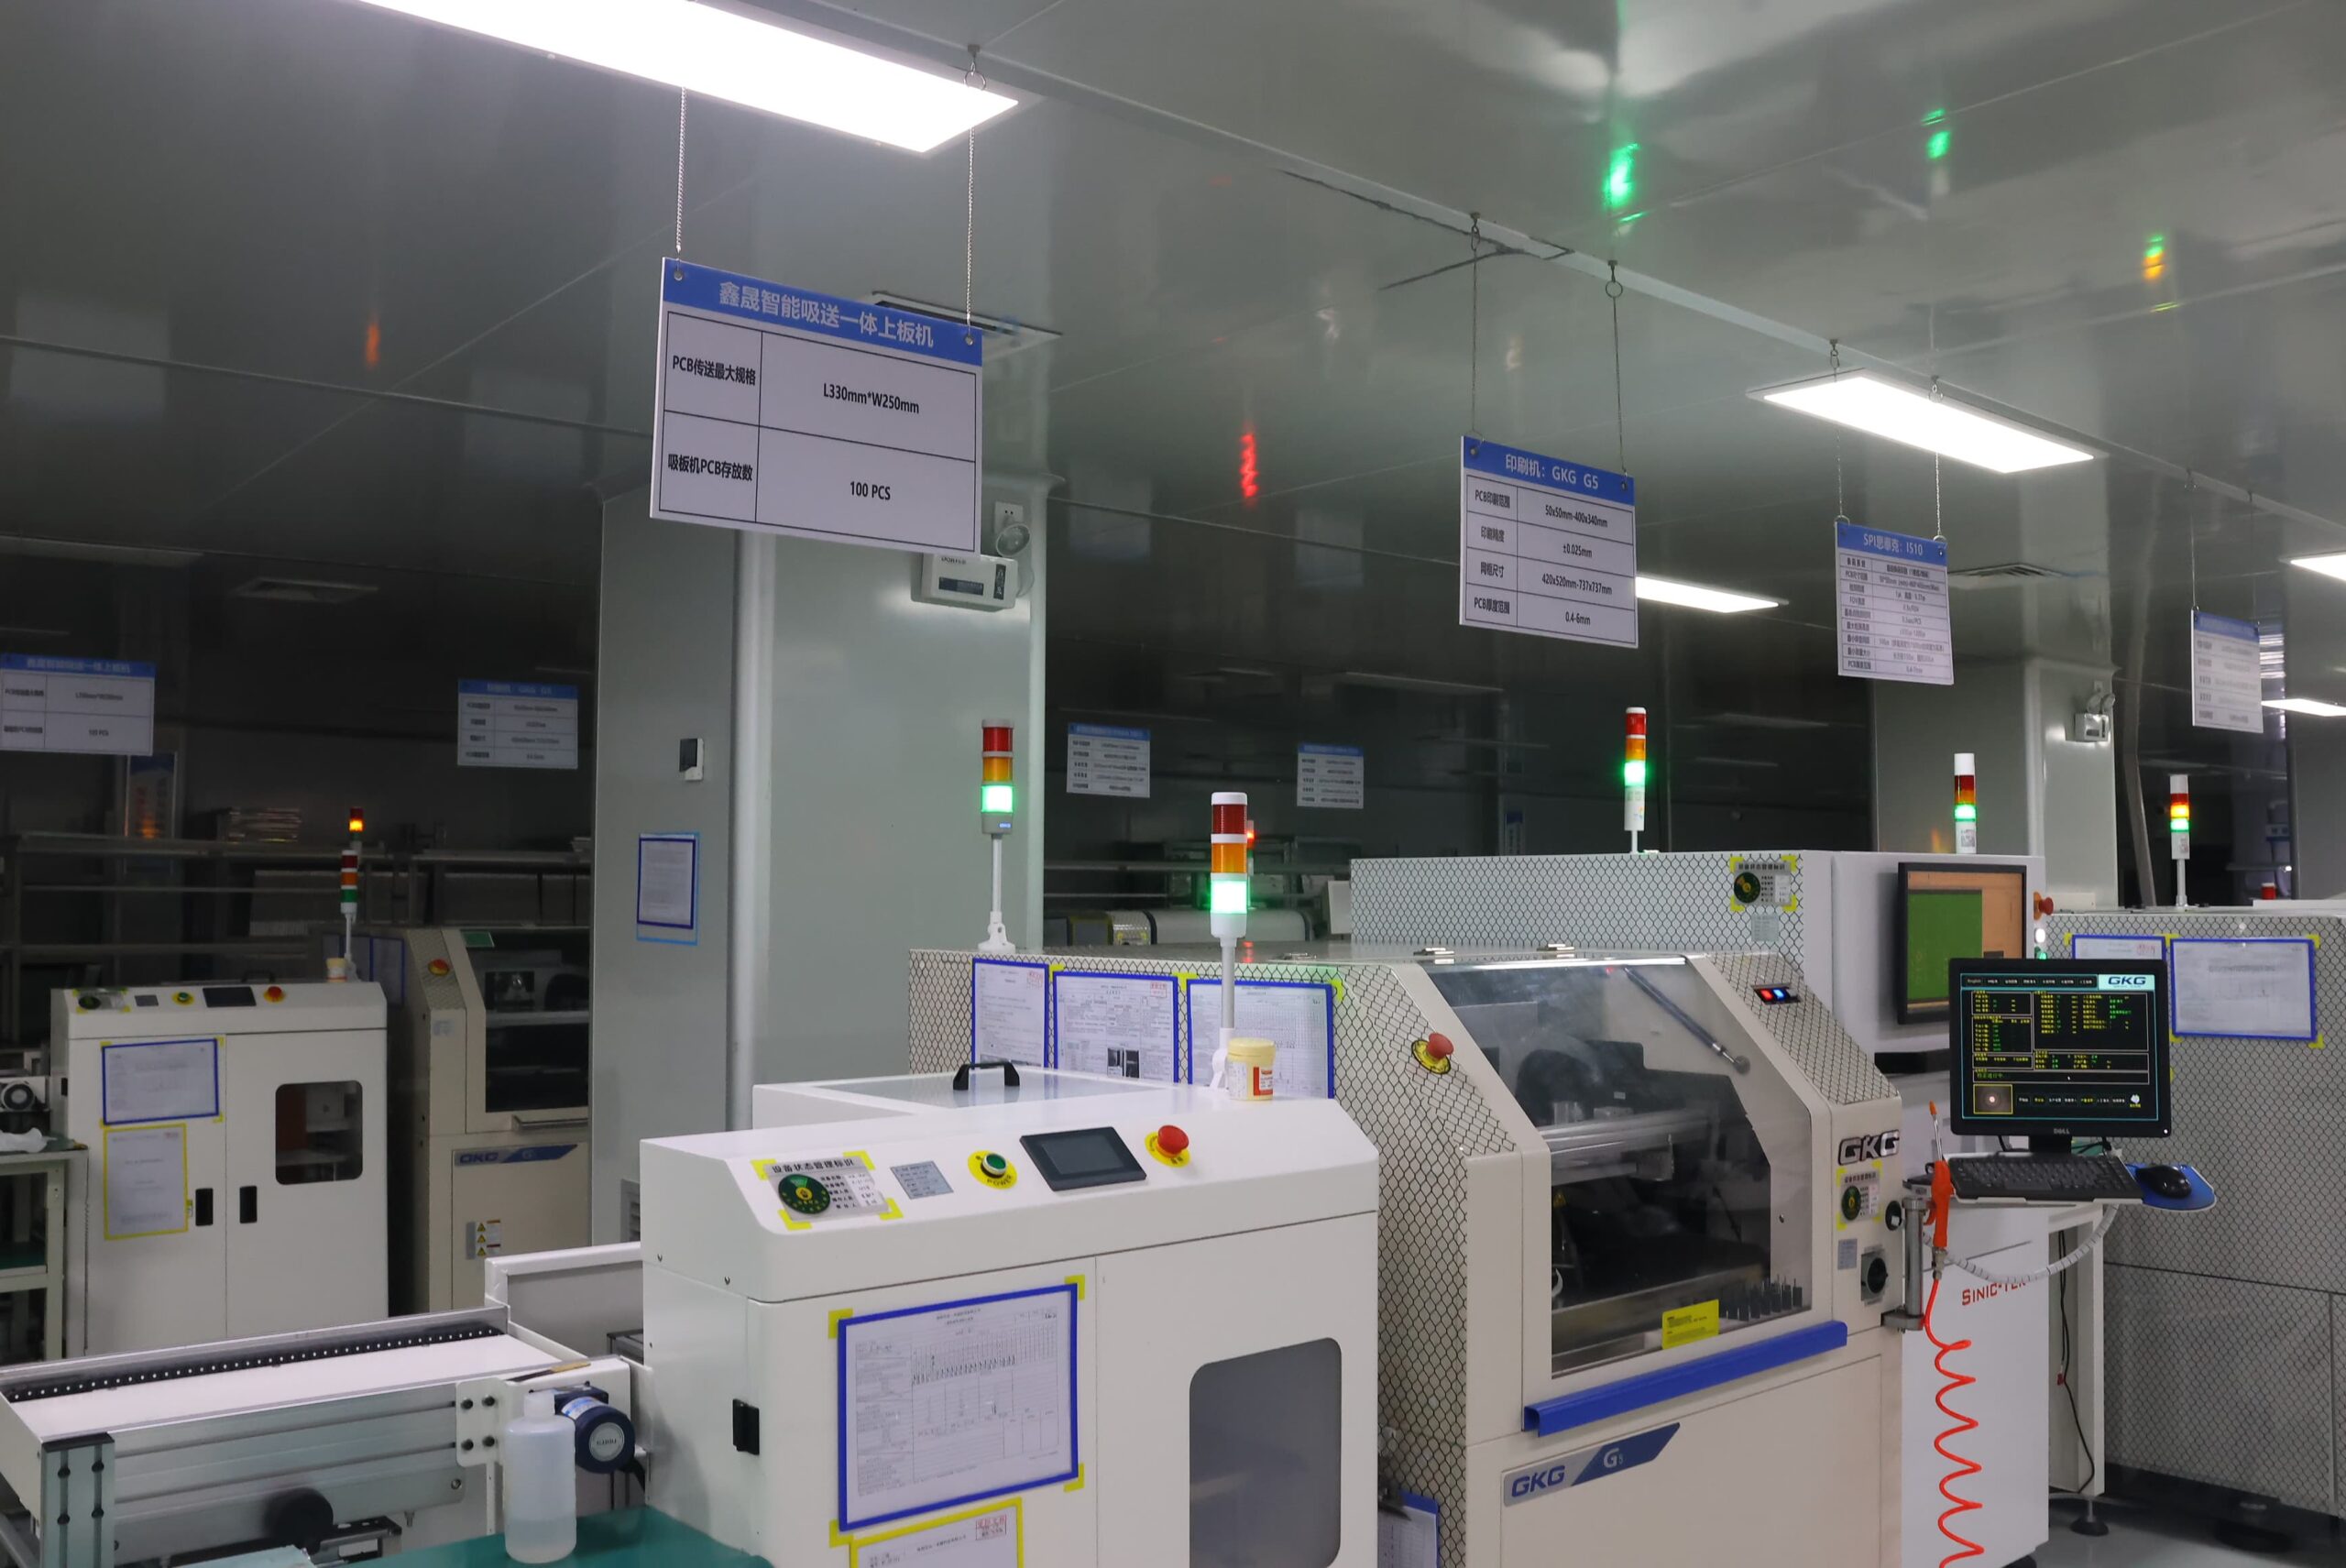
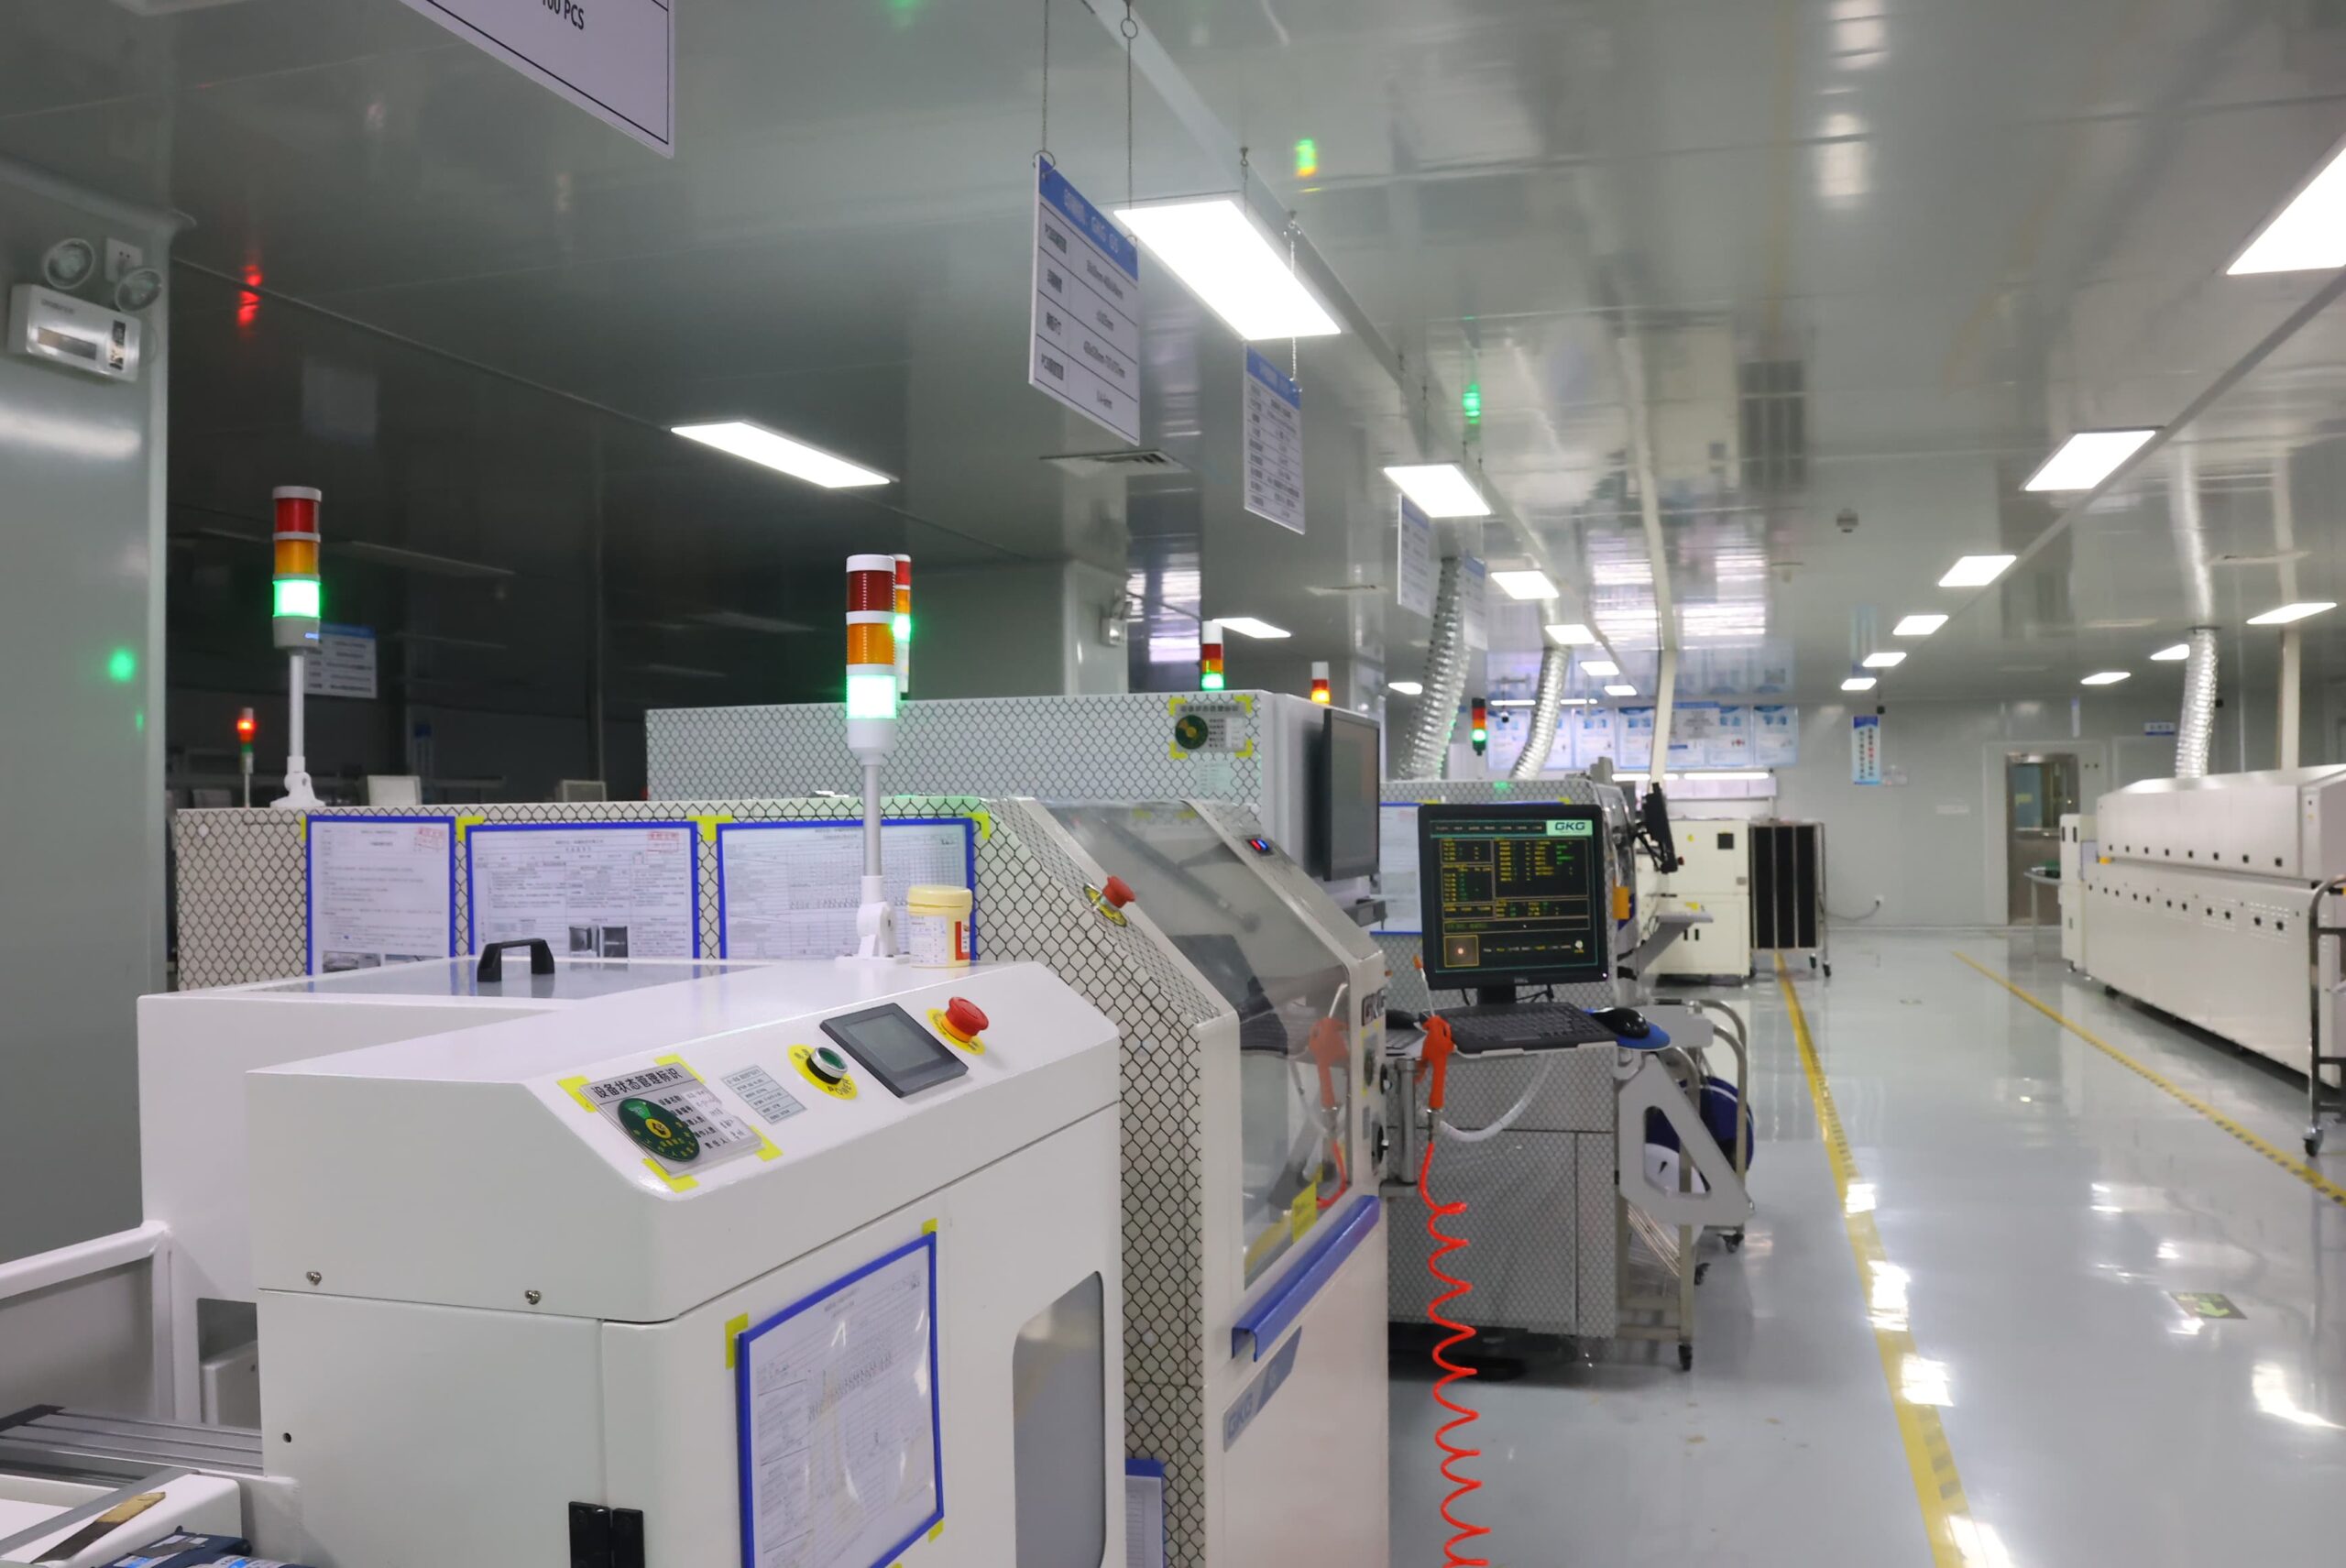
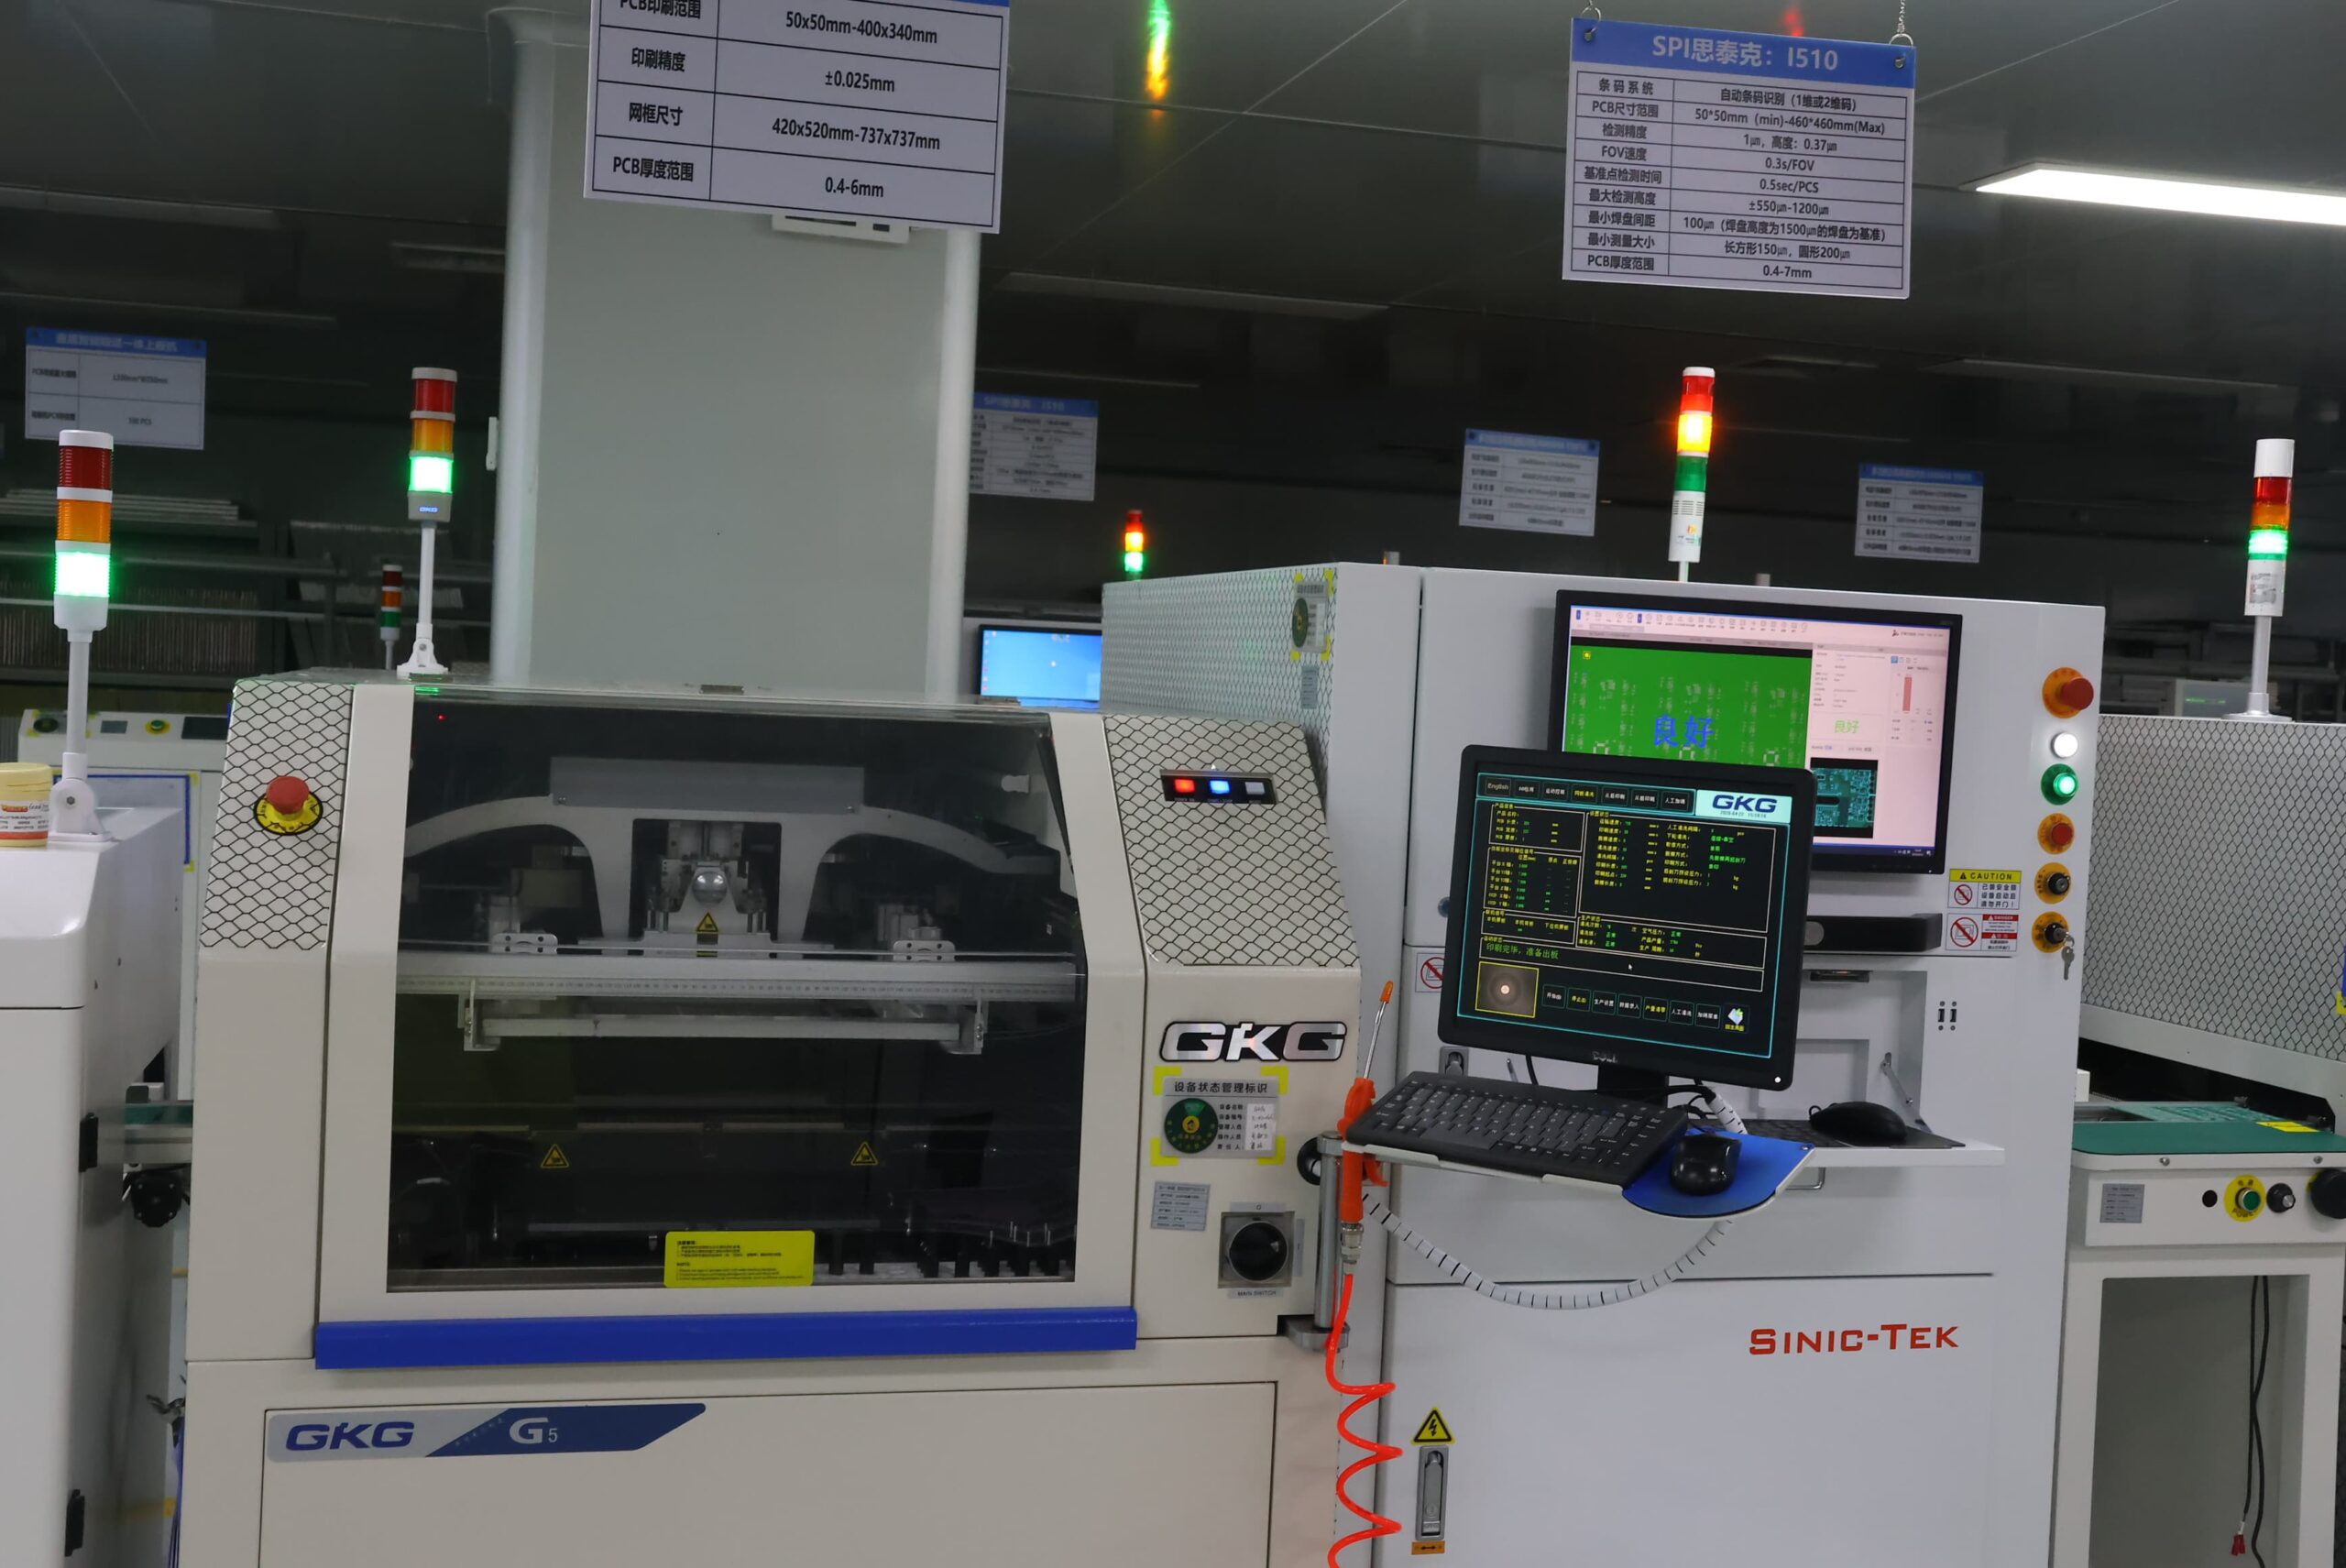
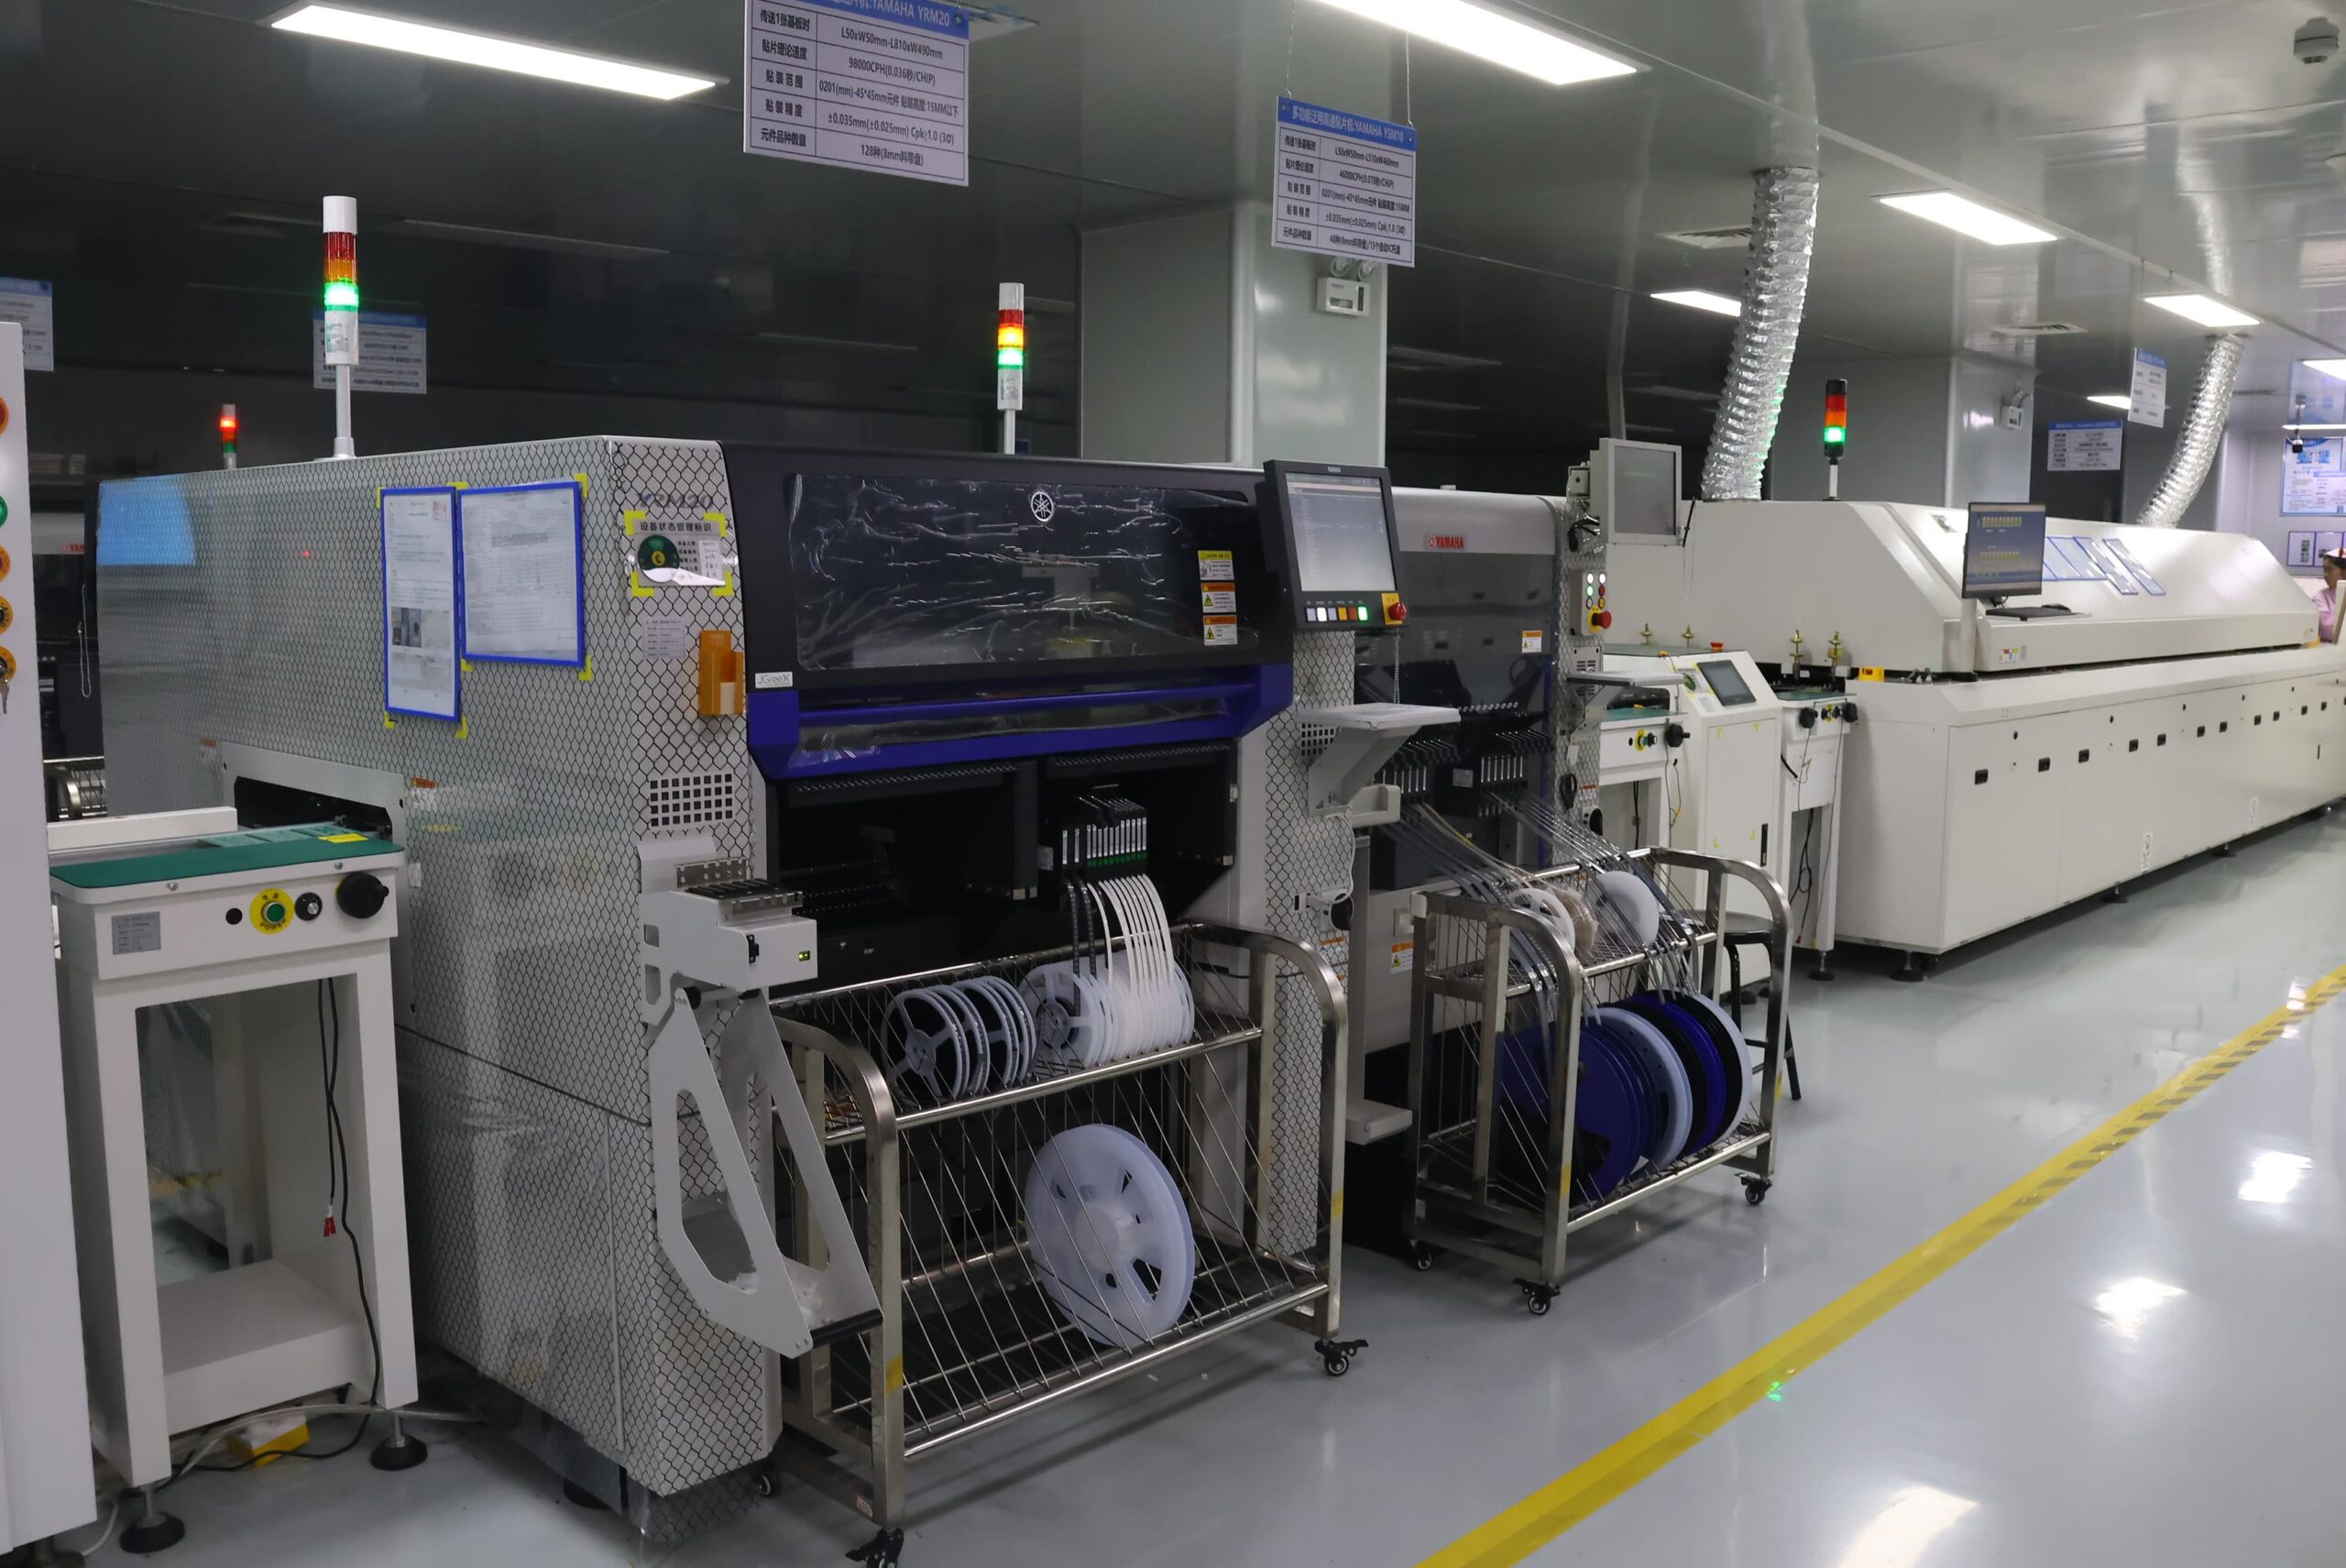
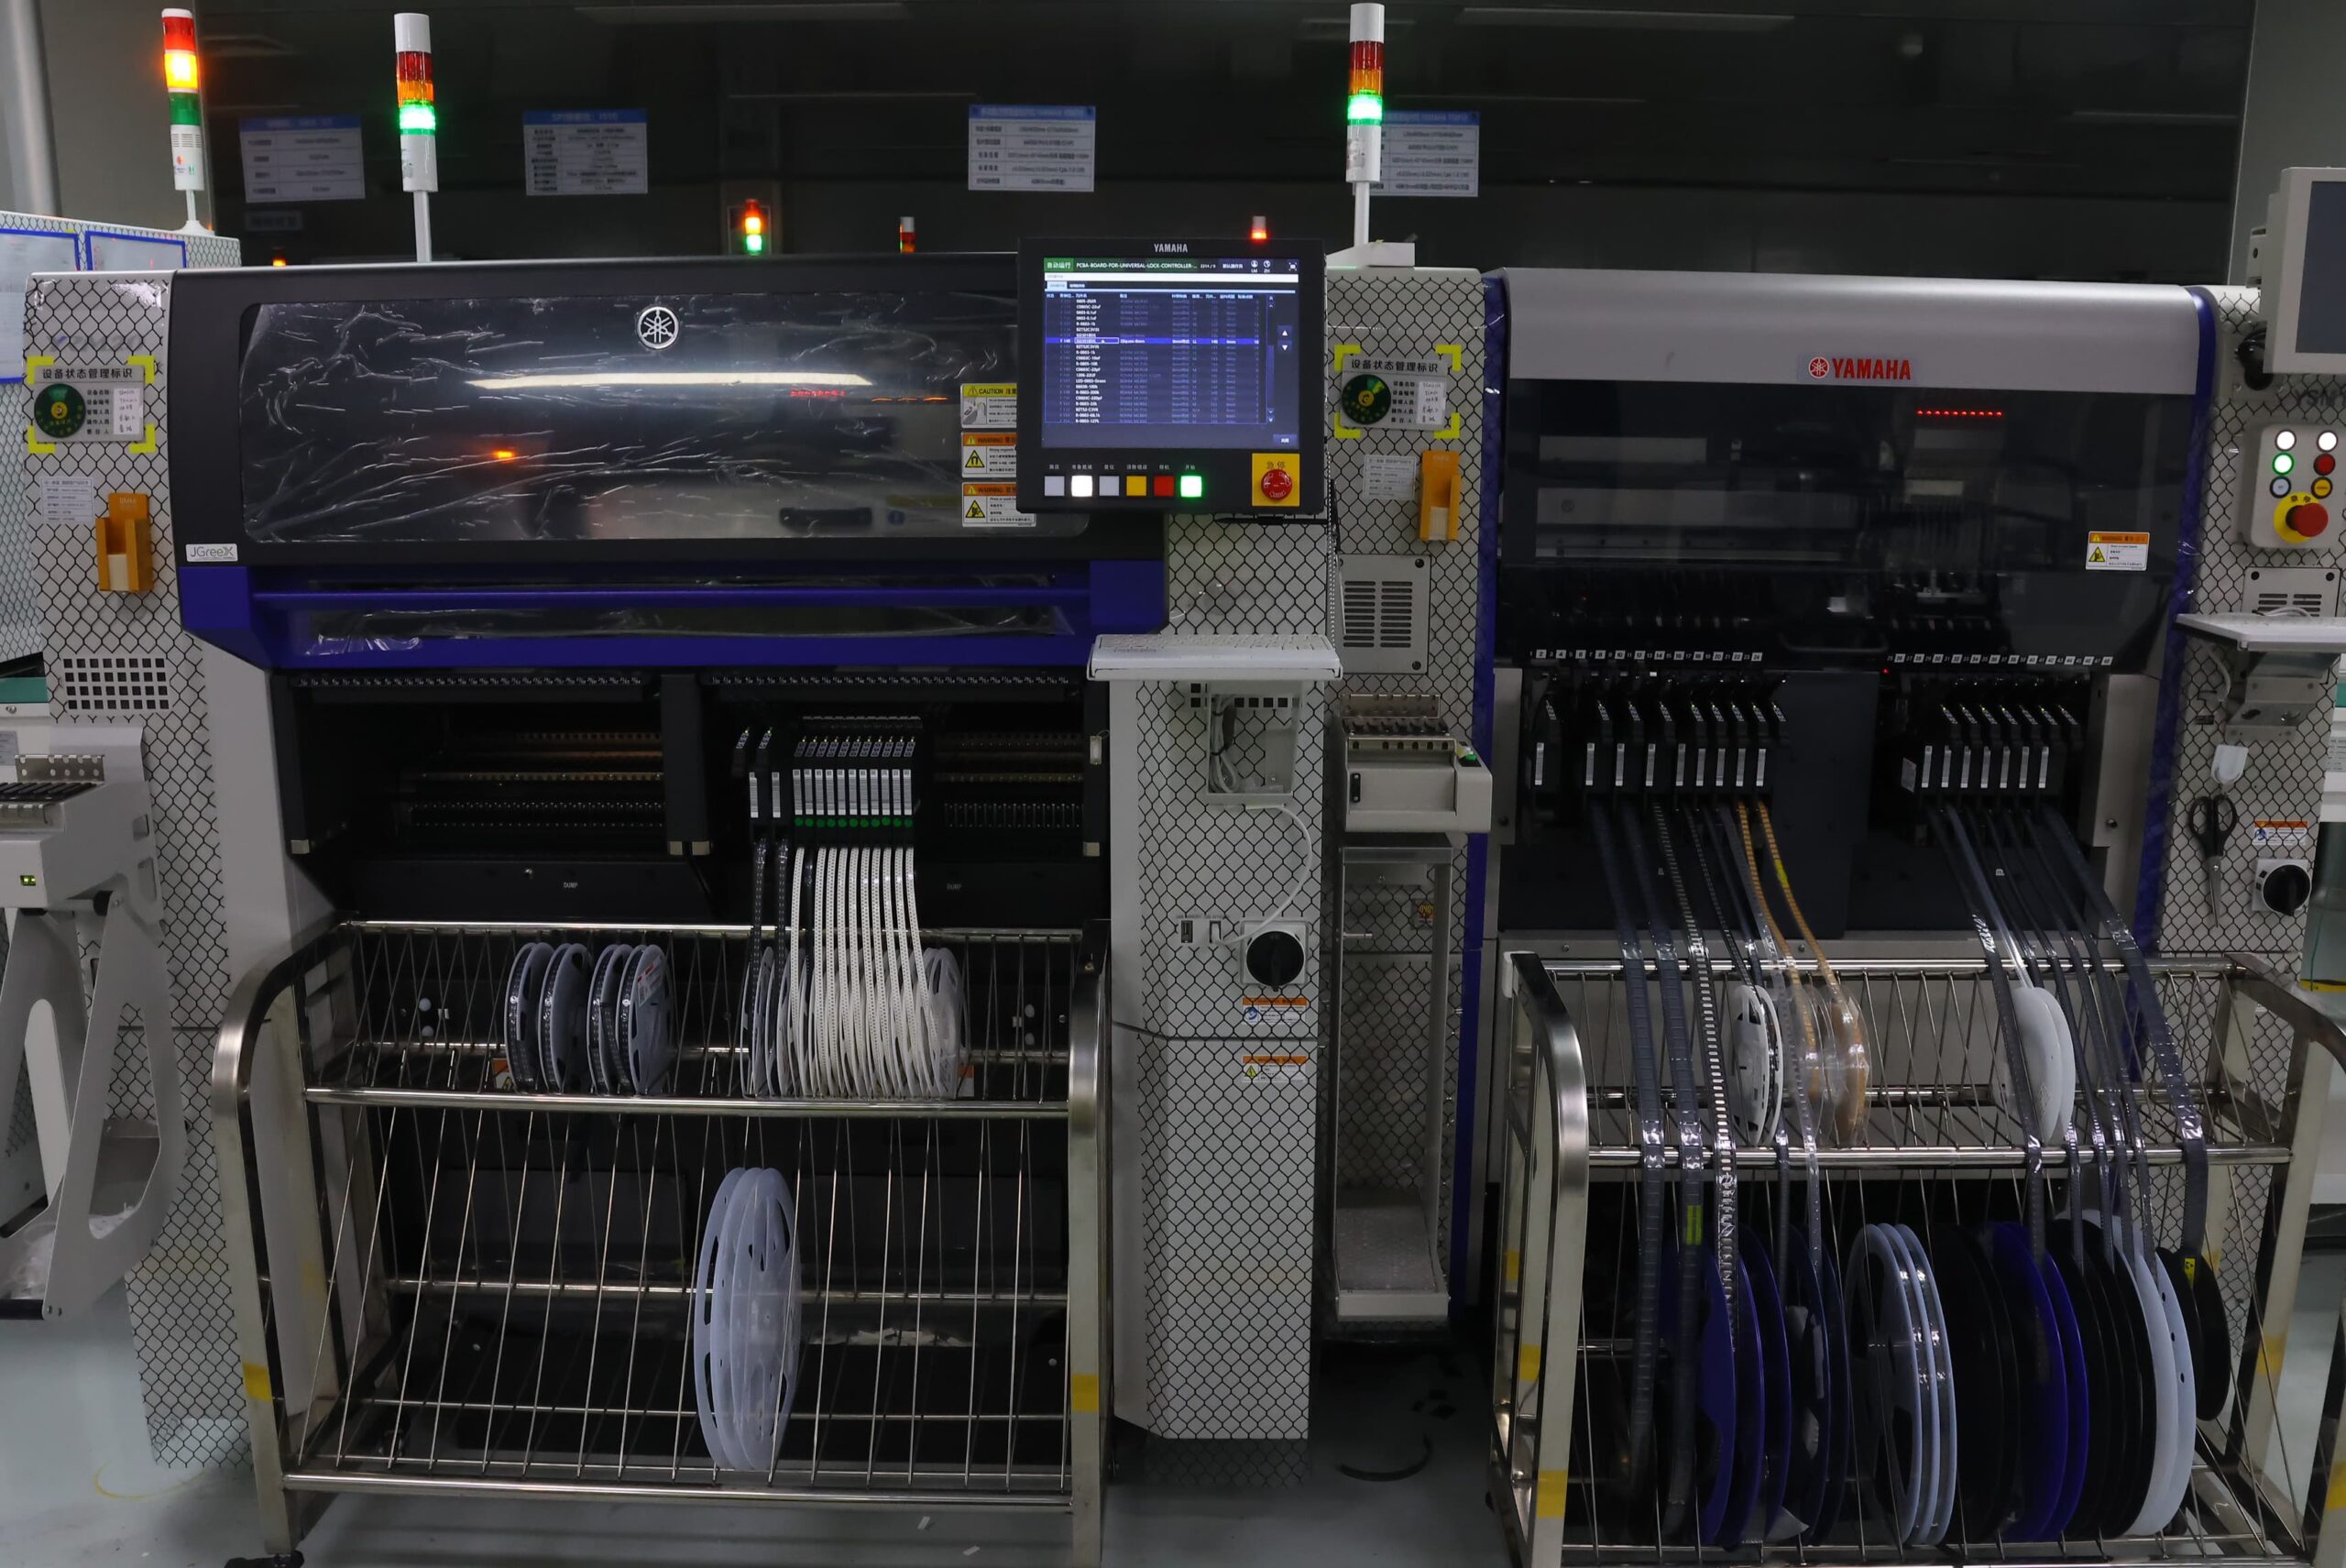
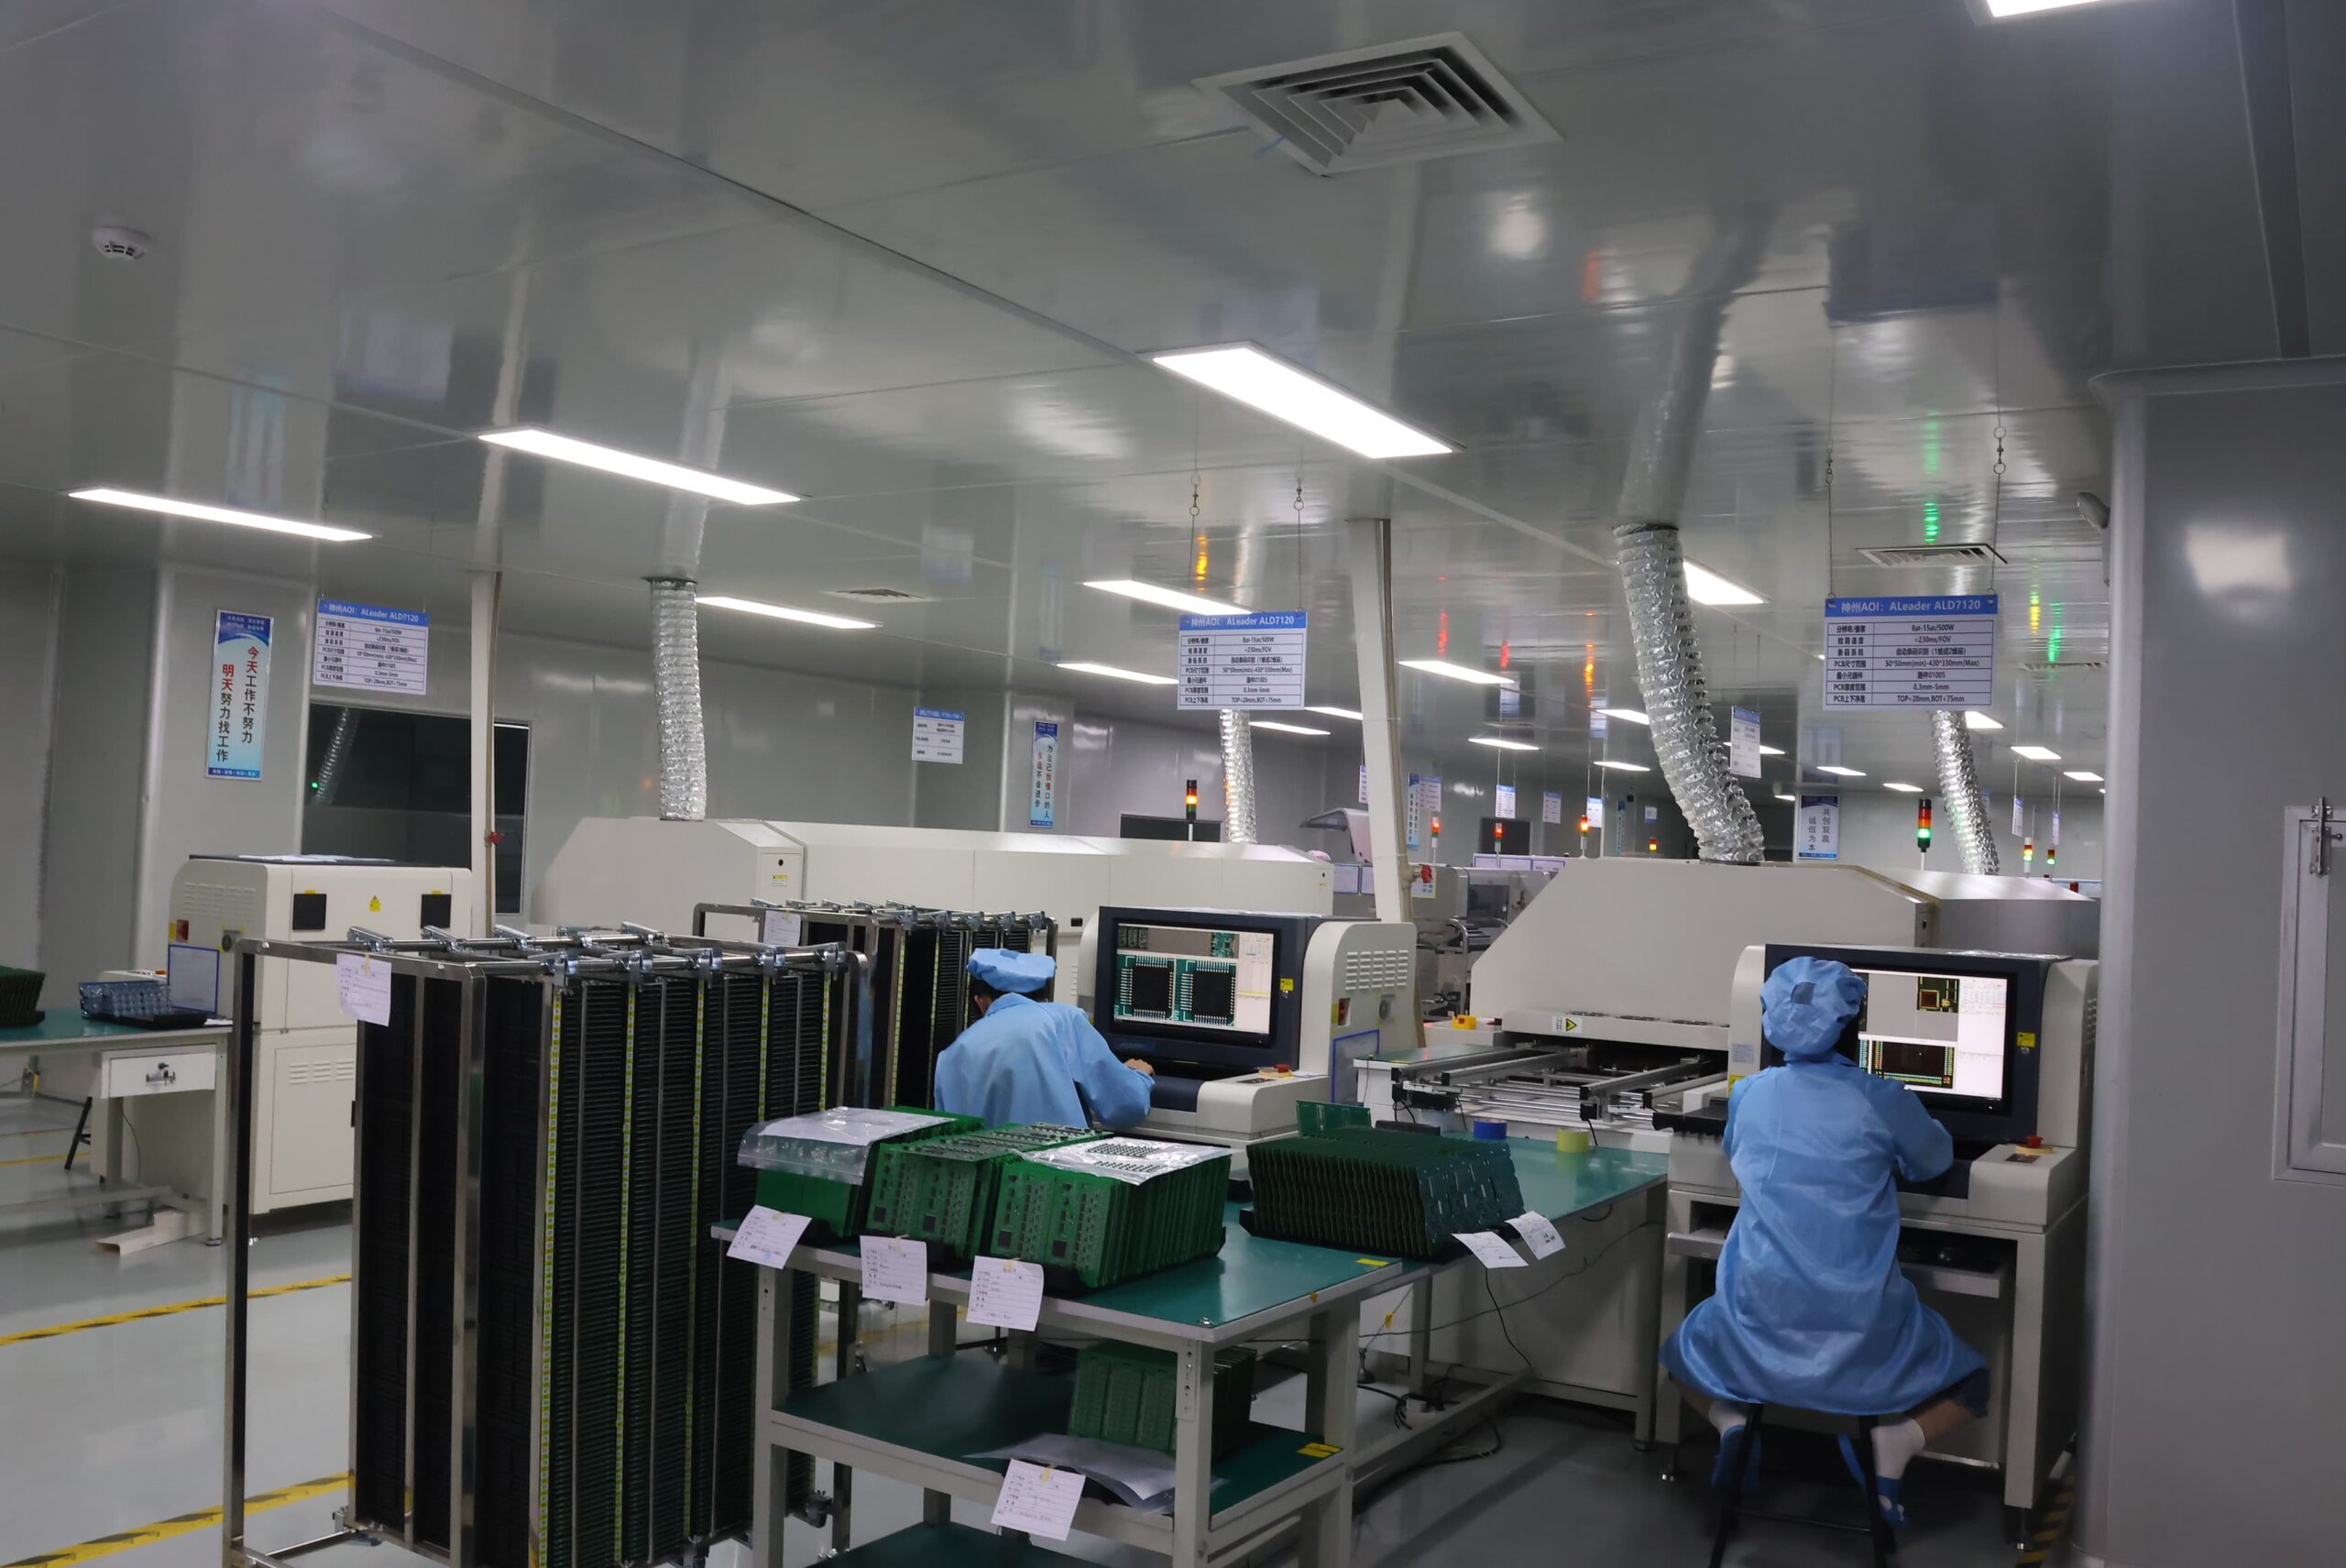
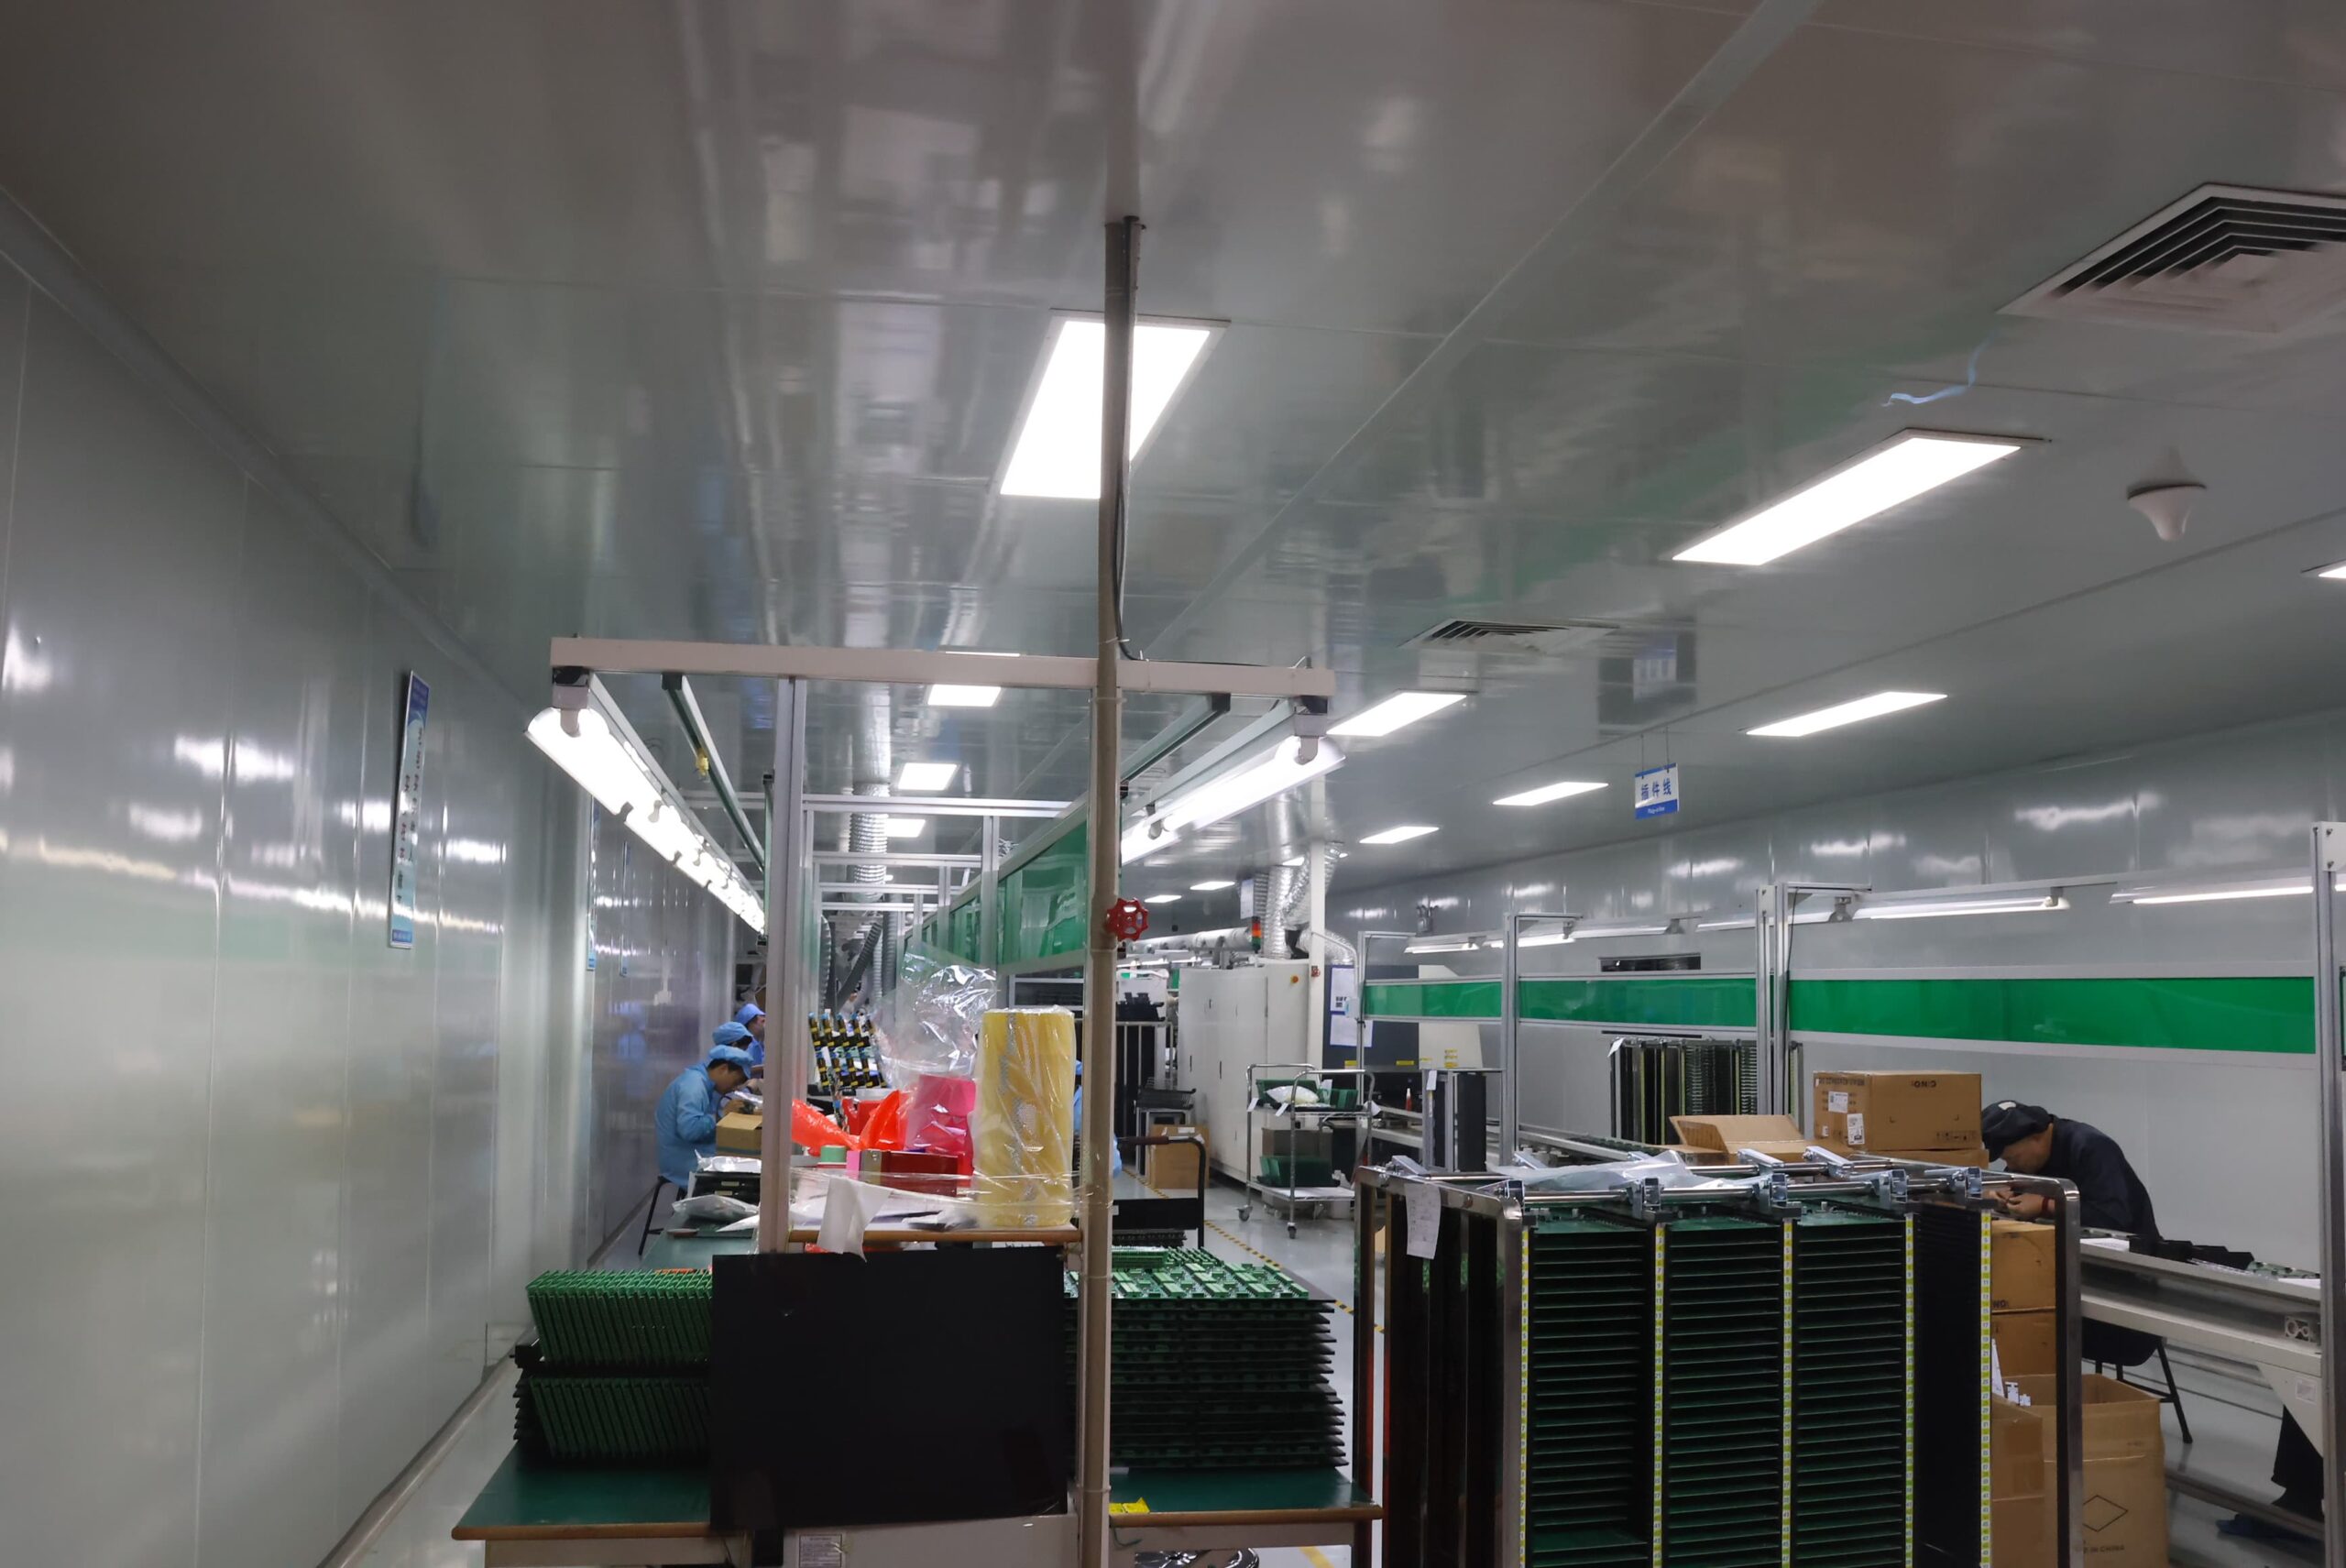
18 SMT lines across two manufacturing sites form the base for fine-pitch QFN assembly, with a stable capacity of 60,000 components per hour, ±30 µm placement capability at 3σ, 0201 handling, 4–8 mil stencil options, and resources including SPI, AOI, X-Ray, ICT, and functional testing.
Assembly Data Before Line Setup
Line setup requires the BOM, package data, Gerber or ODB++, solder-paste data, stack-up, surface finish, alloy, MSL controls, electrical access, and acceptance limits to use the same revision. Any new or alternate source must be overlaid against the released copper, mask, paste, and assembly-origin data before entering the assembly line.
Line preparation resolves footprint, solder-paste printing, and moisture-control requirements before setup and identifies cleanliness sensitivity and test-access gaps that might otherwise become evident only after reflow.
Print and Placement Control
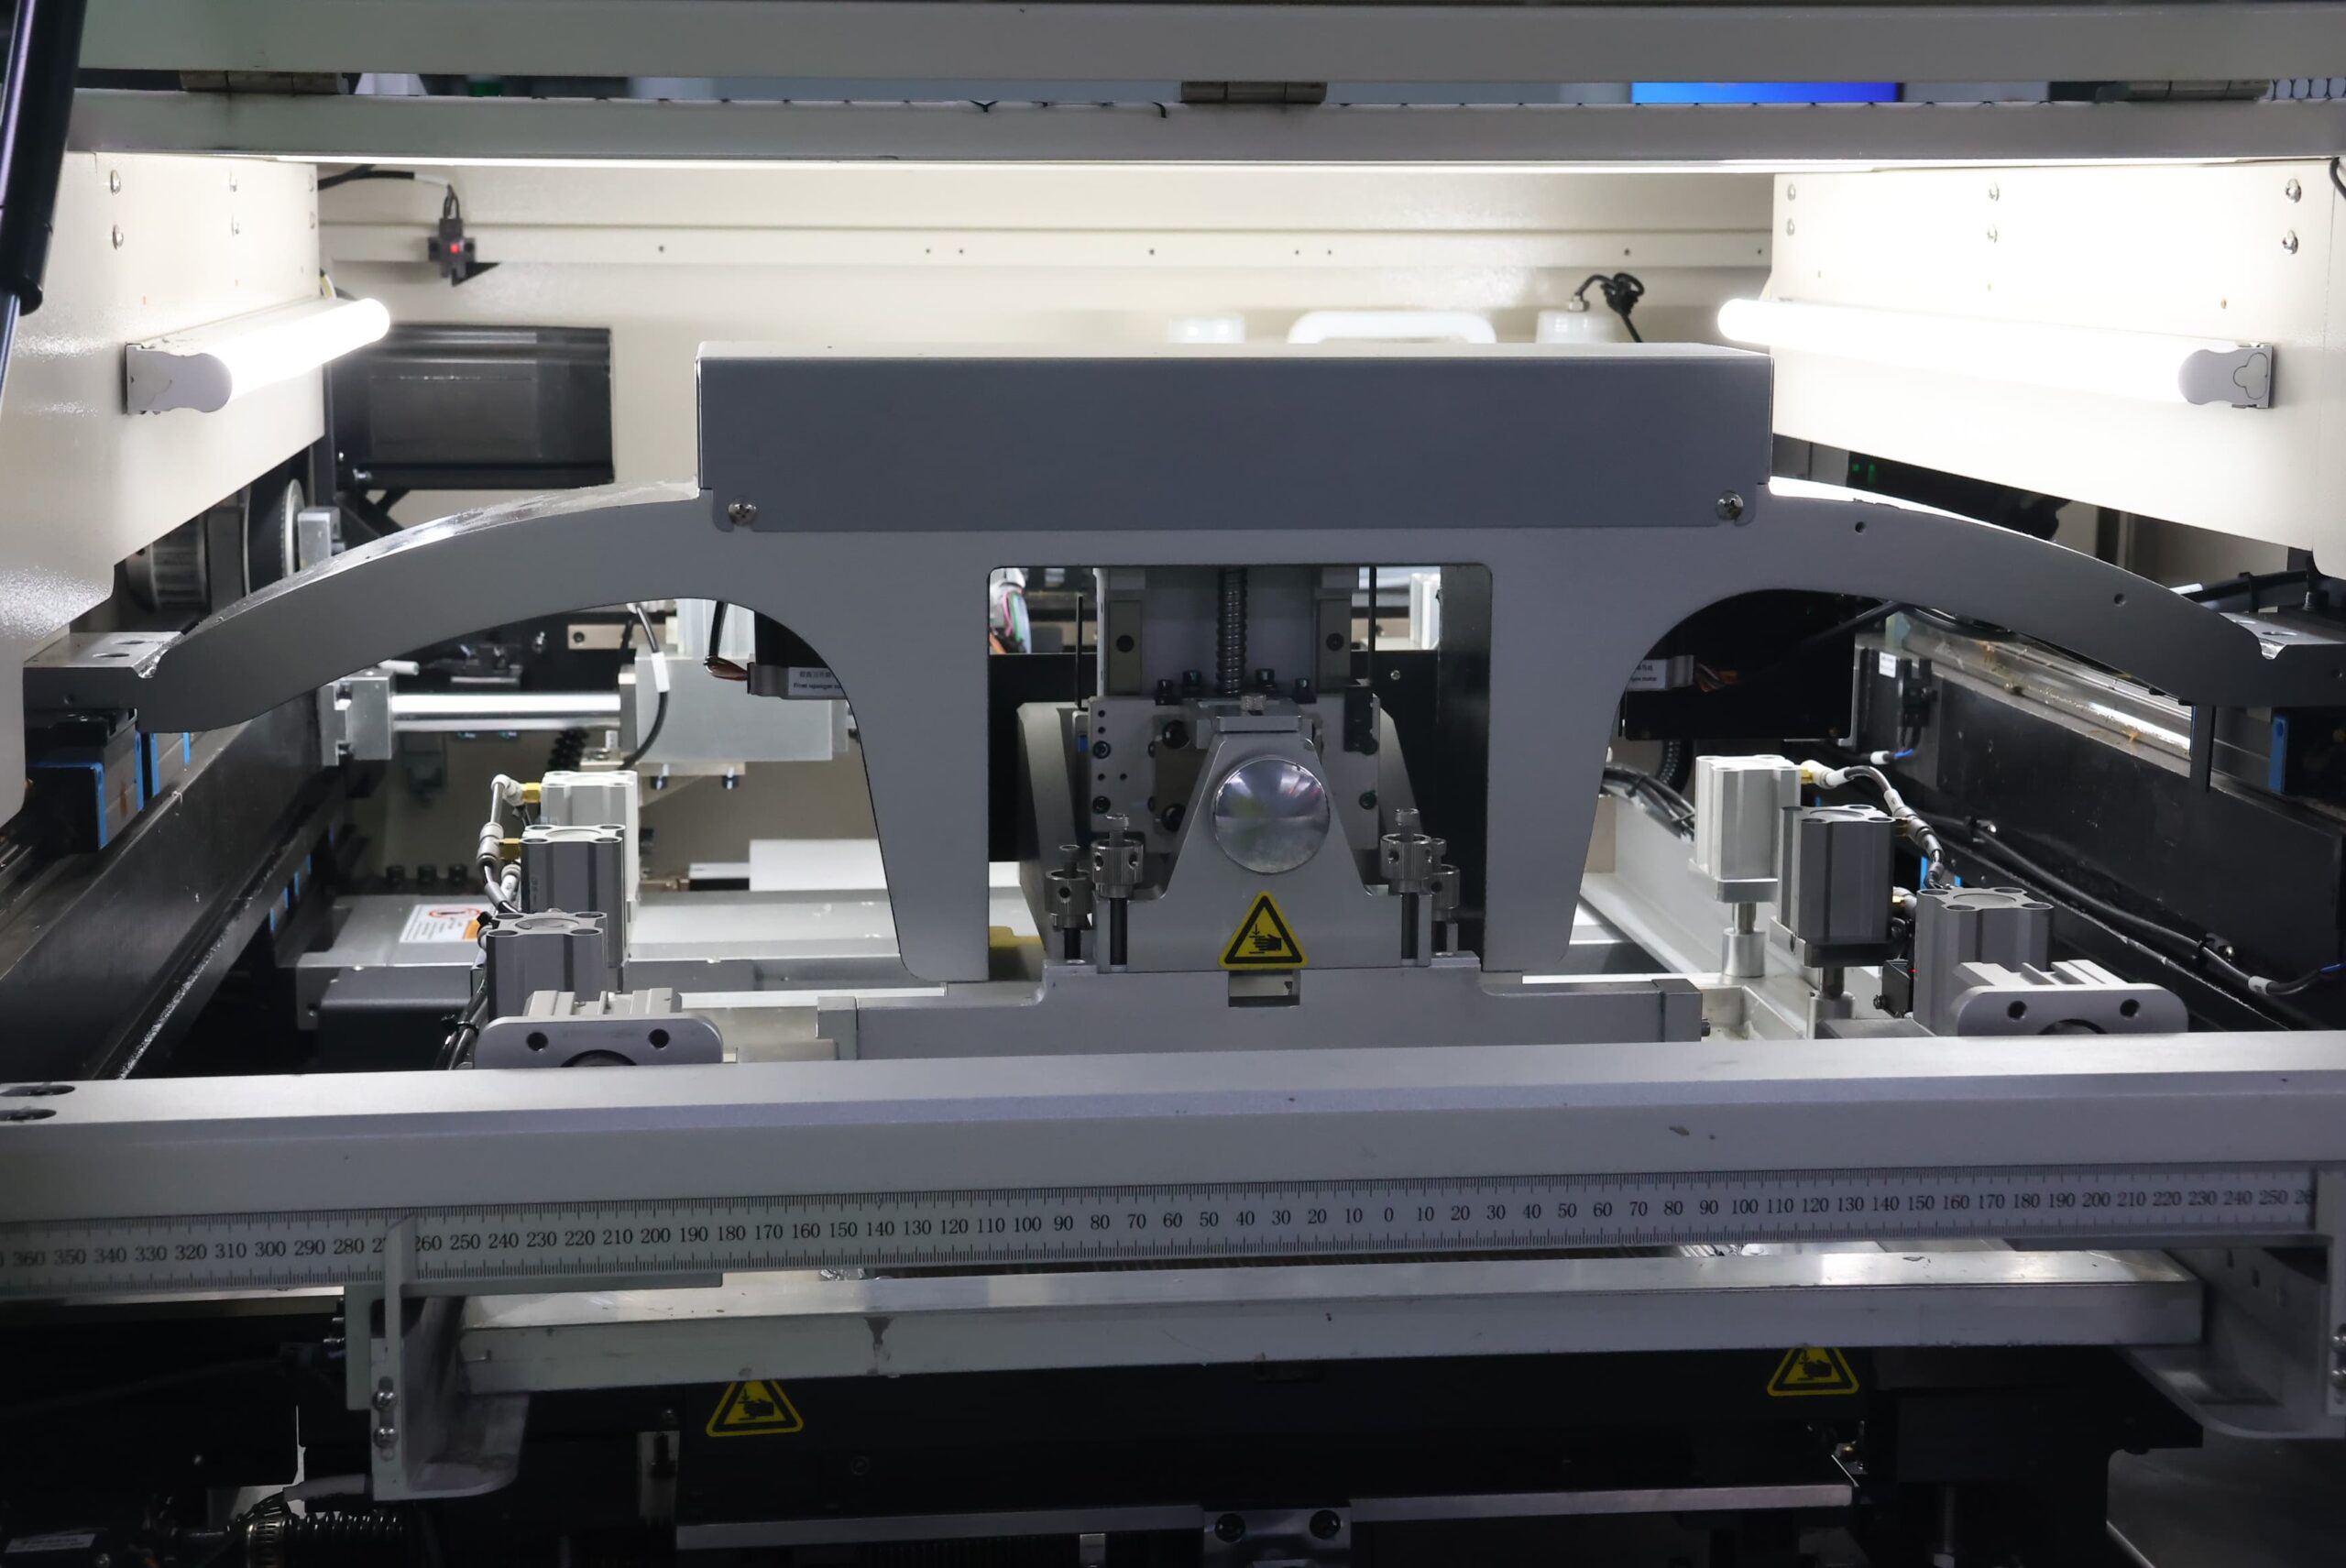
SUGA locks board support, stencil, paste, alignment, printer settings, and cleaning interval. SUGA uses SPI limits and trend data to determine when production can begin. Production does not start until deposit volume, area, height, and shape are stable within the approved print window.
Fine pitch leaves little overlap margin for error; therefore, before placement, SUGA aligns the fiducials, board coordinates, and package vision. Nozzle selection and board support prevent body movement, while first-board checks confirm polarity and orientation.

Loaded-Board Reflow Profile
The QFN EPAD geometry can retain flux volatiles beneath the package; therefore, segmented paste windows and the thermal profile must work together. SUGA profiles the populated board with thermocouples under IPC-7530B, setting ramp, soak, peak, time above liquidus, and cooling limits for the selected paste and alloy based on loaded-board mass and component mix. Each package body must remain within the device supplier's J-STD-020F classification temperature and time limits.
The approved profile records the thermocouple locations, board loading, ramp rate, soak time, peak temperature, time above liquidus, and cooling limits. The loaded-board profile is the production reference for the released revision.
Residue Control Under Low Stand-Off
Low stand-off can trap residue beneath a QFN. High-impedance sensor nodes, RF circuits, and compact power designs can respond to contamination that does not affect other components. SUGA selects the flux chemistry, no-clean controls, cleaning method, and verification method before assembly based on under-package access and electrical sensitivity.
Cleaning effectiveness is determined under J-STD-001J requirements using the specified ionic-contamination, SIR, leakage-current, or product-level electrical criteria where contamination could affect product performance.
First-Article Production Baseline
First-article release combines footprint data, stencil data, SPI deposits, the loaded-board profile, the AOI or visual baseline, the X-Ray baseline, and the applicable continuity, ICT, or functional result. If SPI is stable but X-Ray shows central solder loss, the via treatment and window locations are checked. If X-Ray is acceptable but the circuit test fails, the EPAD net, perimeter terminals, and test access are checked. If stand-off or perimeter wetting shifts, the EPAD volume and profile balance are checked.
Production begins only after the corrected settings have been recorded against the released revision, including stencil identification, paste, printer program, placement program, loaded-board profile, inspection baseline, and test limits. Subsequent production is trended against the first-article baseline.
Under-Package Solder Inspection
Soldering QFN packages requires separate evidence for visible perimeter joints, hidden EPAD geometry, finished solder distribution, and electrical behavior. Product risk determines the required combination of visual inspection, under-package imaging, and electrical or functional testing. No single method proves all four conditions.
| Inspection object | Primary method | Detectable result | Method limit | Engineering response |
|---|---|---|---|---|
| Package identity / alignment | First-article visual/AOI and placement data | Package, orientation, body position and visible shift | Does not establish under-package EPAD solder distribution or electrical continuity | Correct package identity, orientation, body position and placement data before full production |
| Visible perimeter joints | Visual/AOI where the termination is exposed | Bridges, wetting shape, toe/side evidence and local damage | Does not establish full EPAD condition or circuit behavior | Accept visible criteria, then add internal imaging or electrical evidence where the hidden interface controls risk |
| Hidden EPAD geometry | 2D X-ray; oblique or 3D imaging for overlapping structures | Solder distribution, major void pattern, bridges, misregistration and drainage | Does not prove full metallurgical quality, heat-transfer performance or product function | Compare the image with exact package geometry, via treatment and the specified finished-joint limit |
| Void / coverage limit | X-ray measurement against datasheet, customer, workmanship and first-article criteria | Total voiding, largest void, location, distribution and finished solder coverage | No universal void or coverage percentage applies to every QFN or every EPAD function | Apply separate finished-joint limits and trend them; do not compare them directly with initial paste coverage |
| Electrical connectivity | Continuity, flying probe, ICT or product-specific electrical test | Opens, shorts, connections and accessible circuit results | Does not reveal hidden solder geometry or full product operation | Correlate failures with imaging, package pin assignment and print, placement or reflow data |
| Product behavior | Functional or system-level test | Required response under the test condition | Does not identify every internal joint condition or predict long-term reliability by itself | Accept only when functional behavior and the required assembly evidence agree |
Visible and Hidden Joint Inspection
While oblique imaging separates most adjacent overlapping structures on its own, it has limitations when a stacked microvia is directly beneath a dense EPAD via field, as the via and the joint above it cast overlapping shadows at practically all tilt angles. This is where CT is used to separate one from the other. Therefore, this combination represents the specific scenario in which CT is used; otherwise, routing standard QFN joints through CT would add unnecessary cost and cycle time without providing additional findings.
Geometric problems or anomalies are read together with SPI, placement, reflow, via treatment, and package data and are not viewed in isolation. Void or coverage percentages can only be applied when specifically required by the order.

Rework Limits
Prior to removing a component, SUGA confirms the failure mechanism that caused the defect, as well as the recoverability of the board to an acceptable condition, through visual evidence, including X-ray imaging, electrical and physical test results, pad condition, and the previous thermal history of the board. Rework is only performed after it has been determined that the land, mask, laminate, and adjacent components can be restored to their original acceptance condition.
QFN Rework Feasibility
SUGA performs an optical or microscope inspection of the component under 10×–40× magnification to evaluate visible features and alignment, then uses X-ray and electrical test results to determine whether the results indicate a visible bridge, an unknown anomaly beneath the component, an electrical open condition, or a symptom unrelated to the overall defect.
The adjacent area of the removed component is critical; if it has lifted pads, damaged mask, discolored laminate, or contamination, the component may be considered unrecoverable even if it can be removed thermally.
QFN Package Replacement
Rework of QFN packages follows the controlled sequence of IPC-7711/7721D. SUGA protects all neighboring components, applies heat specific to the equipment being used, lifts the QFN package without levering against the pads, removes the remaining solder, cleans the area where the QFN package was lifted, and inspects the planarity of the lands. The replacement QFN package uses an approved package, paste or flux, and alignment criteria.
The temperature, time, airflow, nozzle, and preheat settings are derived from the equipment, solder alloy, package, loaded-board thermal mass, and prior thermal history. The purpose is to control stress on the pads and laminate.
Rework Stop Conditions
Rework stops if any of the following occurs: a pad is lifted or thinned; copper or vias are damaged; mask is lost and cannot be restored; the laminate is discolored or delaminated; the heat history is excessive; contamination persists; or the alignment geometry cannot be restored.
When replacing a joint, the new joint must meet the original acceptance limits. SUGA compares the visible and X-ray results with the production baseline from either the first article or adjacent production, repeats all applicable electrical and functional tests, and checks for collateral thermal damage from heat or handling.
Applications

Power Management PCB
Fine-pitch PMICs, chargers, and DC-DC controllers are designed with shorter switching, current-sense, and feedback loops. A QFN EPAD transfers local device losses into the power-management PCB copper and vias. If an EPAD is split or switched and incorrectly tied to ground, it can create a direct fault, while current-sense or feedback routing close to the switch node may pass visual inspection but fail under load.
Inadequate or uneven EPAD paste or open vias may raise stand-off, open perimeter terminals, or weaken thermal transfer from the package into the PCB. Confirming the joint through loaded-board reflow and subsequent operation under the defined thermal and electrical load provides a more accurate representation of joint and thermal-path performance than a room-temperature check alone. X-Ray distribution is checked against the verified EPAD net and segmented paste pattern, while power-rail stability and board-level temperature are confirmed under the defined load.

RF Front-End PCB
Typical QFN RF power amplifiers, LNAs, mixers, and transceivers use short bottom contacts and, where specified, a grounded EPAD to shorten the RF return path in a compact impedance-controlled configuration. A sparse EPAD via field, an open return-path slot, residue under low stand-off, or slight placement misalignment can change bias current, gain, leakage, or output response while the joint continues to appear acceptable.
Placement evidence and X-Ray imaging can confirm the physical EPAD via field and return-path geometry; however, only product-level RF or functional testing can reveal gain, bias, or leakage changes caused by the defect.

Automotive Control PCB
High-density functional integration of sensor interfaces, drivers, and power-management ICs in compact control hardware is enabled by fine-pitch QFN package technology, whose exposed pad (EPAD) provides heat spreading and a low-inductance connection for ground, power, or switching, as specified in the corresponding device datasheet. Wettable flanks enhance perimeter-joint visibility; however, they do not prove the central EPAD condition. An alternate source with different terminal pull-back can pass a family-name check while lacking the released land overlap. Package overlay and perimeter AOI checks are based on the released footprint rather than the datasheet family name. EPAD X-Ray and measured reflow confirm the central joint that the overlay check cannot see before the required electrical, functional, and environmental qualification.

Industrial and Energy Conversion PCB
QFN gate drivers, motor-control ICs, and conversion controllers can shorten switching-control loops and transfer localized heat to a high-thermal-mass PCB with heavy copper. Local heating in heavy copper can occur later than in smaller components. Open EPAD vias allow solder to drain directly, while a stencil designed for large power connections may overload fine QFN apertures. Multi-point thermocouple profiling validates the loaded-board gradient; via treatments and paste windows control solder loss; and X-Ray distribution and powered switching tests confirm the conversion stage.

Medical Sensor PCB
Fine-pitch QFN analog front ends and sensor interfaces shorten low-level paths and preserve channel density on a compact measurement PCB. An incorrect EPAD net, residue near a high-impedance node, or a hidden open can result in leakage, offset, low-frequency drift, noise, or intermittent performance even when no problems are observed with AOI. Under-package imaging and leakage or cleanliness evidence establish the joint condition. However, because a hidden open can cause the joint to appear geometrically acceptable while continuing to produce leakage or drift, only the product-specific electrical or functional test can clear the sensor through direct zero-offset and noise checks rather than the imaging stage alone.

Compact Battery-Powered Electronics PCB
The routing for fine-pitch cell monitors, protection devices, sensors, MCUs, and RF components is compact on battery-management, wearable, and compact IoT PCBs. The use of alternate component sources can create package mismatches, while small-aperture paste loss, EPAD errors, and placement offsets can result in changes to sleep current, protection thresholds, measurement accuracy, and the ability to recover from rework.
A mixed assembly of 0201 and QFN parts requires the stencil to balance the smaller transfer apertures with the larger thermal joints. Package overlay, SPI, and vision placement are used to confirm that the stencil balance is maintained across both aperture sizes, while EPAD X-Ray and electrical testing confirm quiescent current, protection trip, charge/discharge, or RF-related results, where applicable.
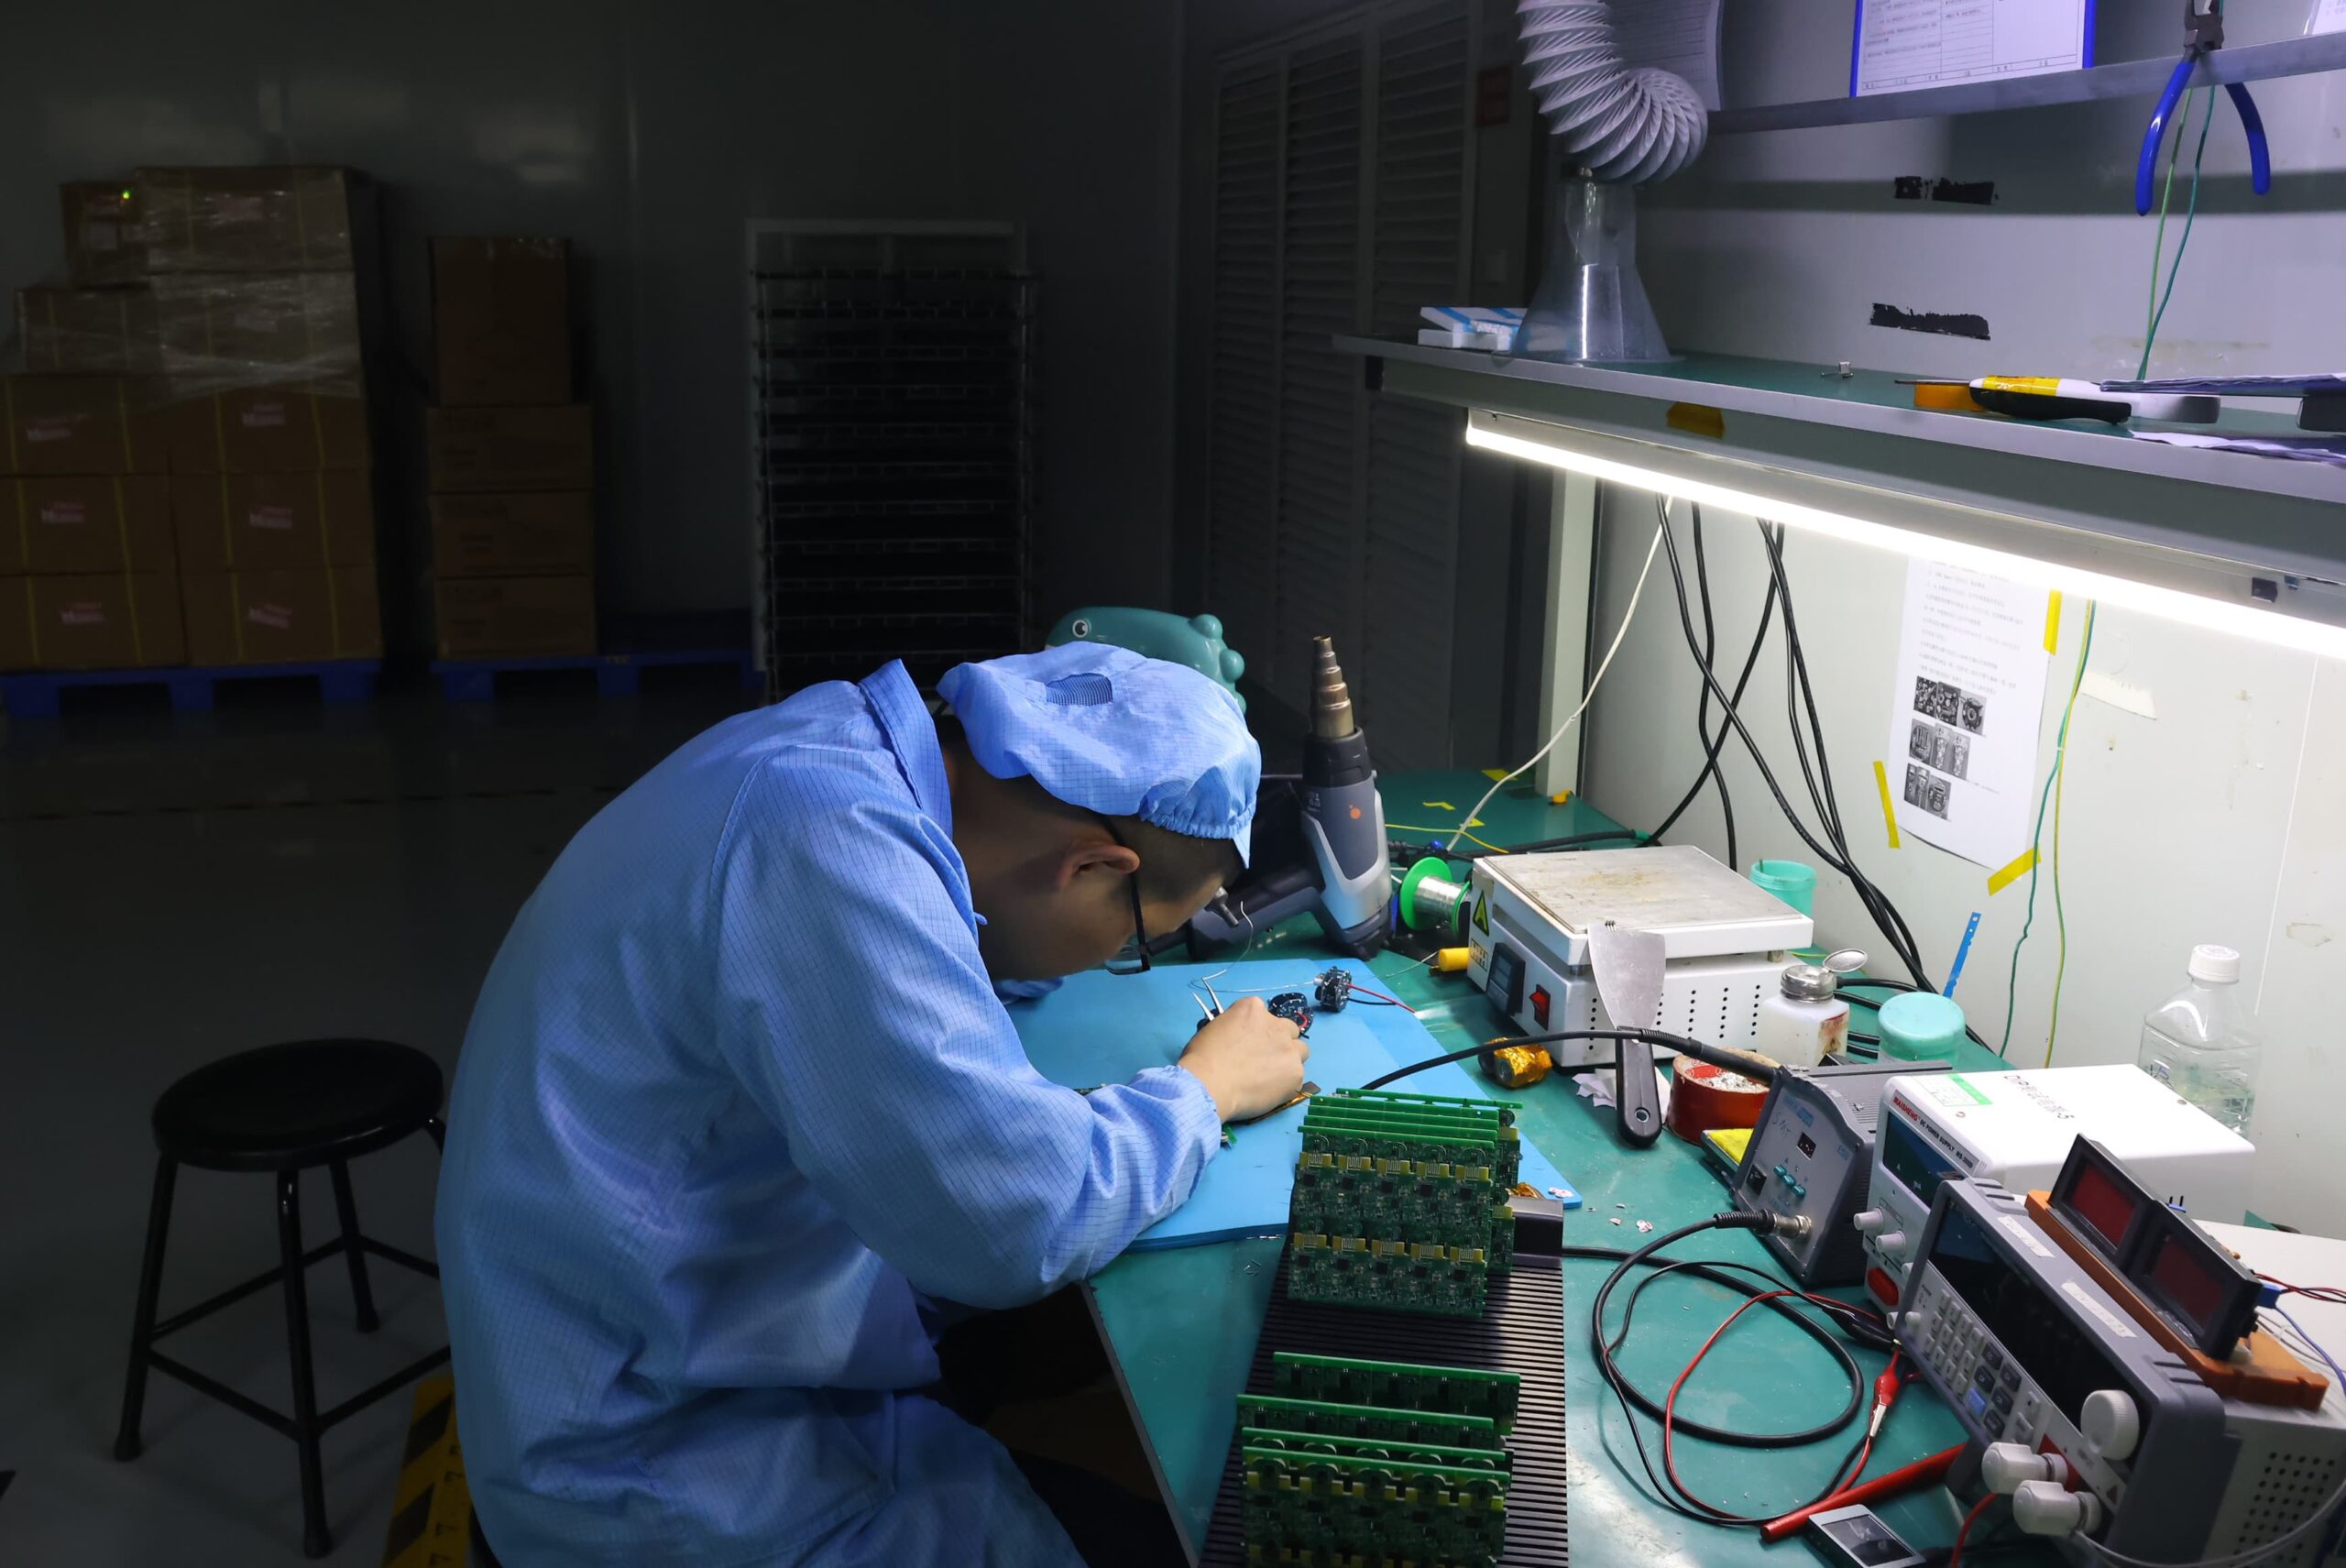
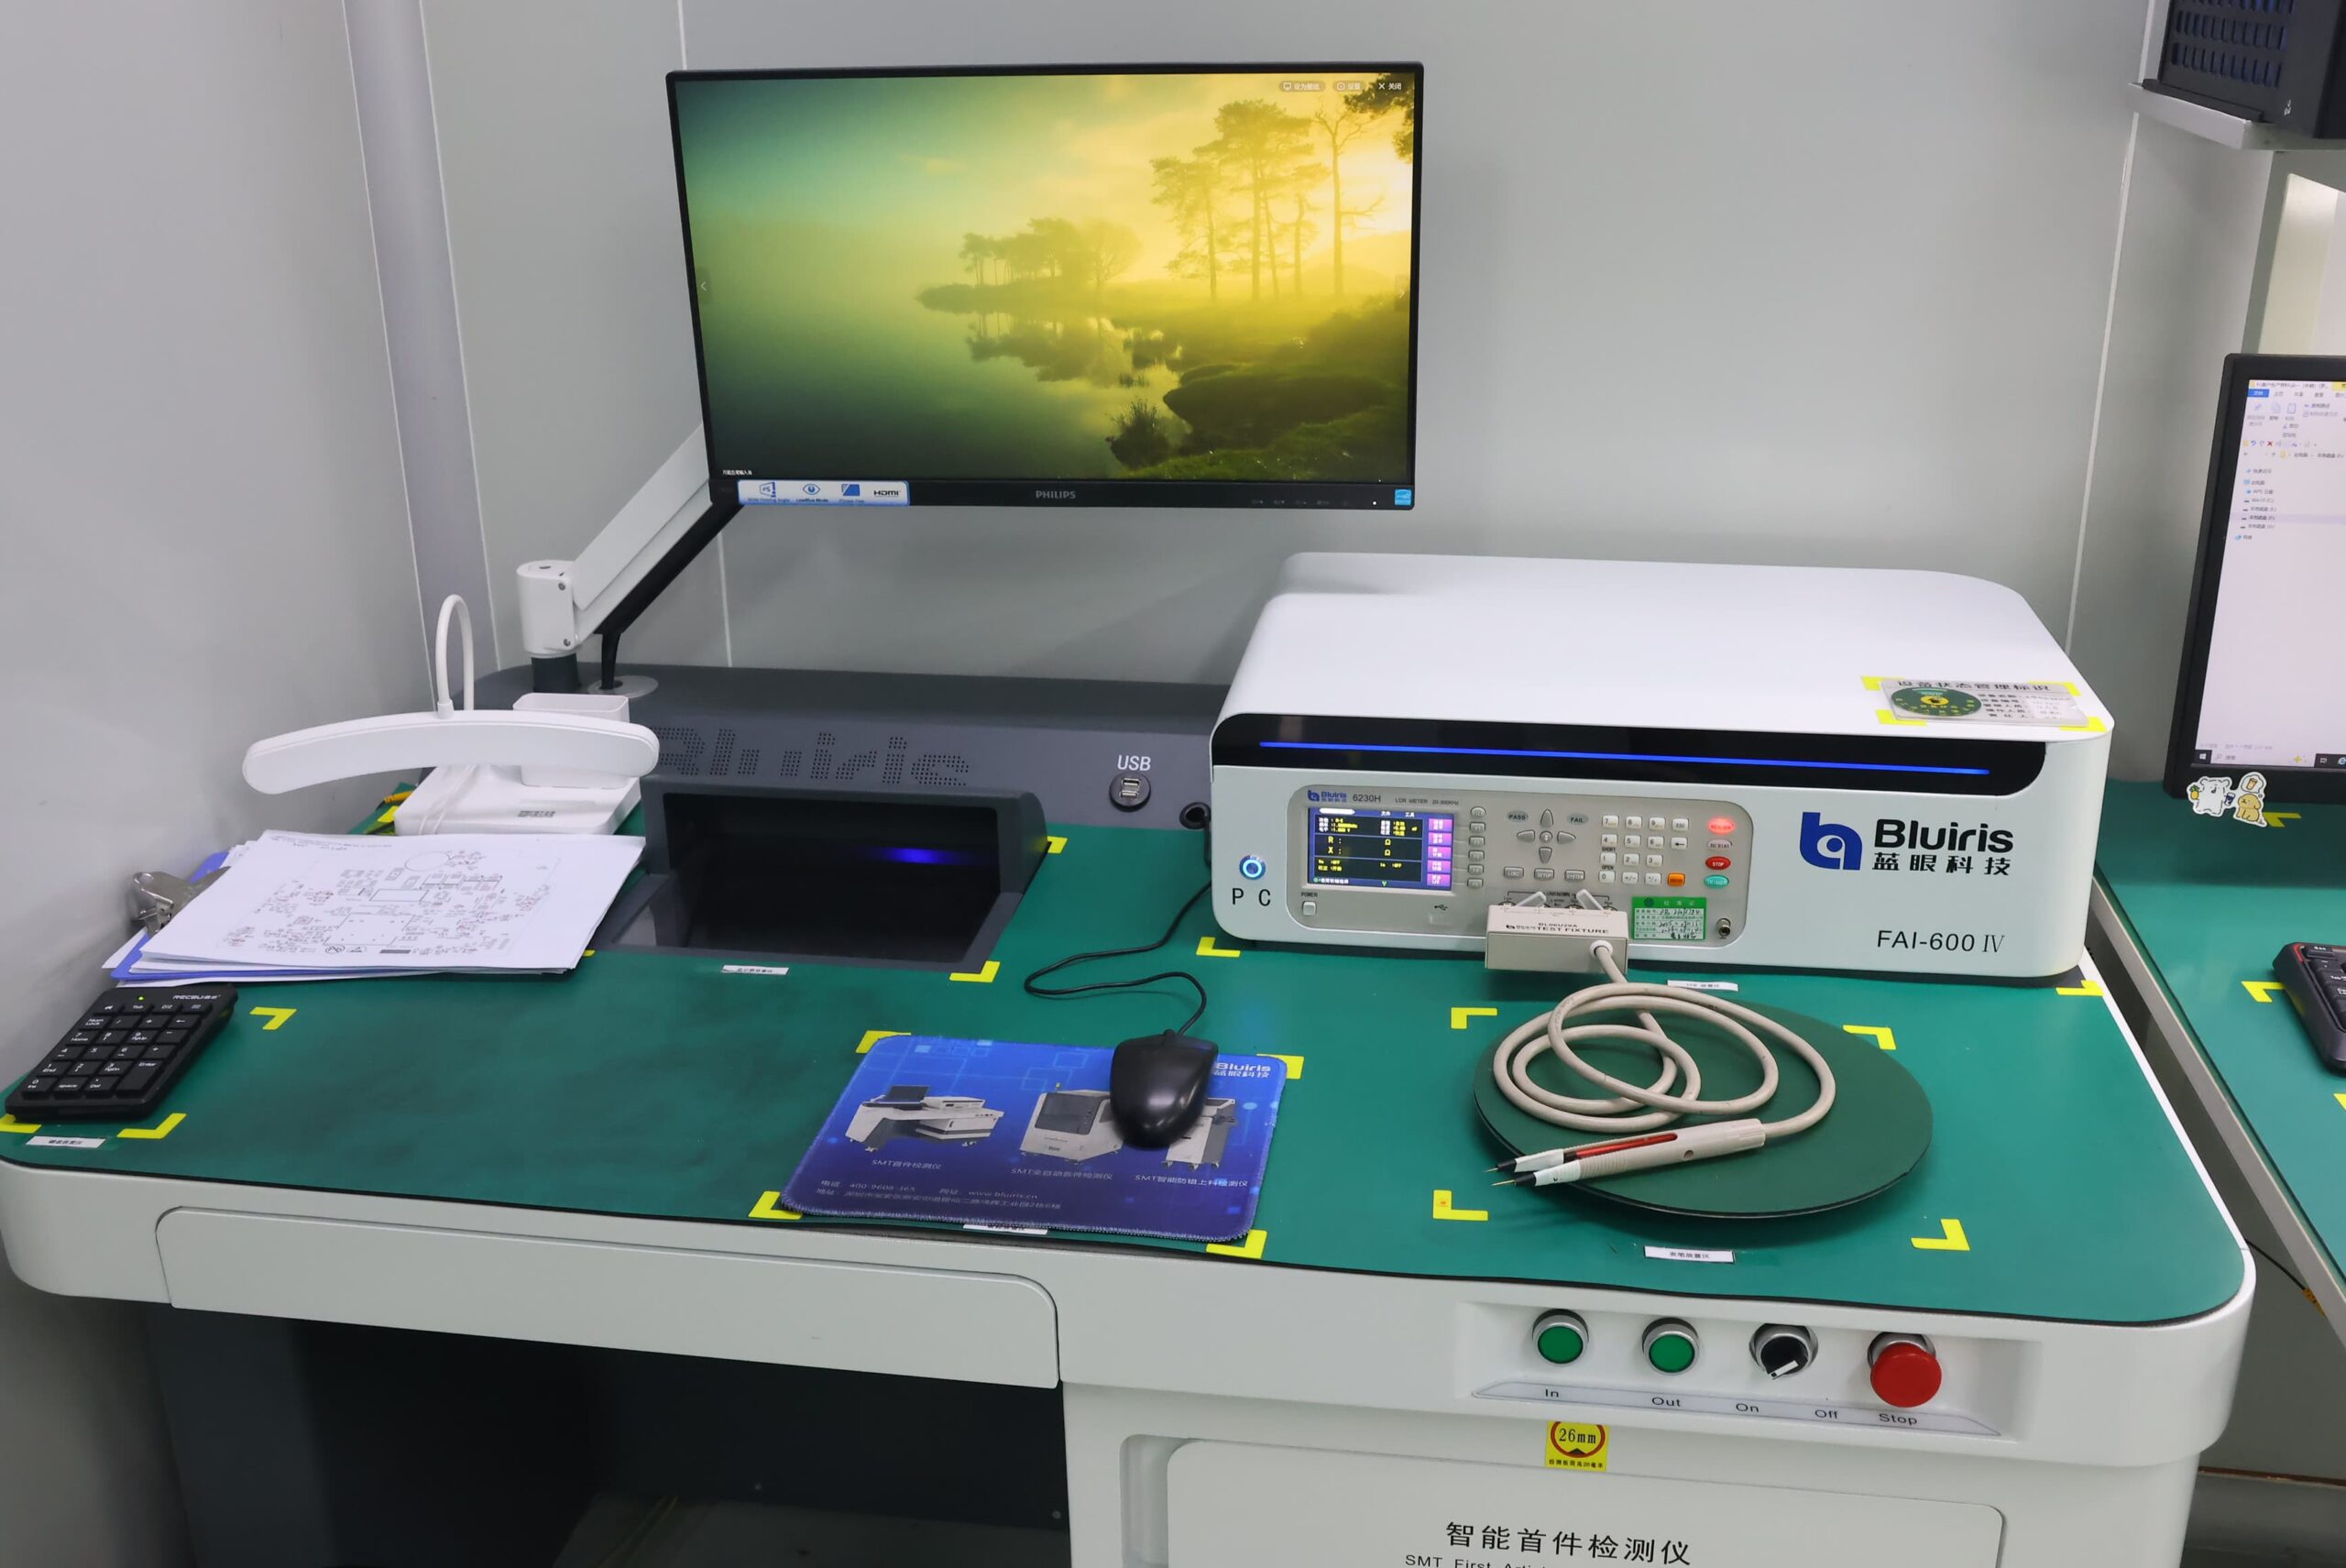
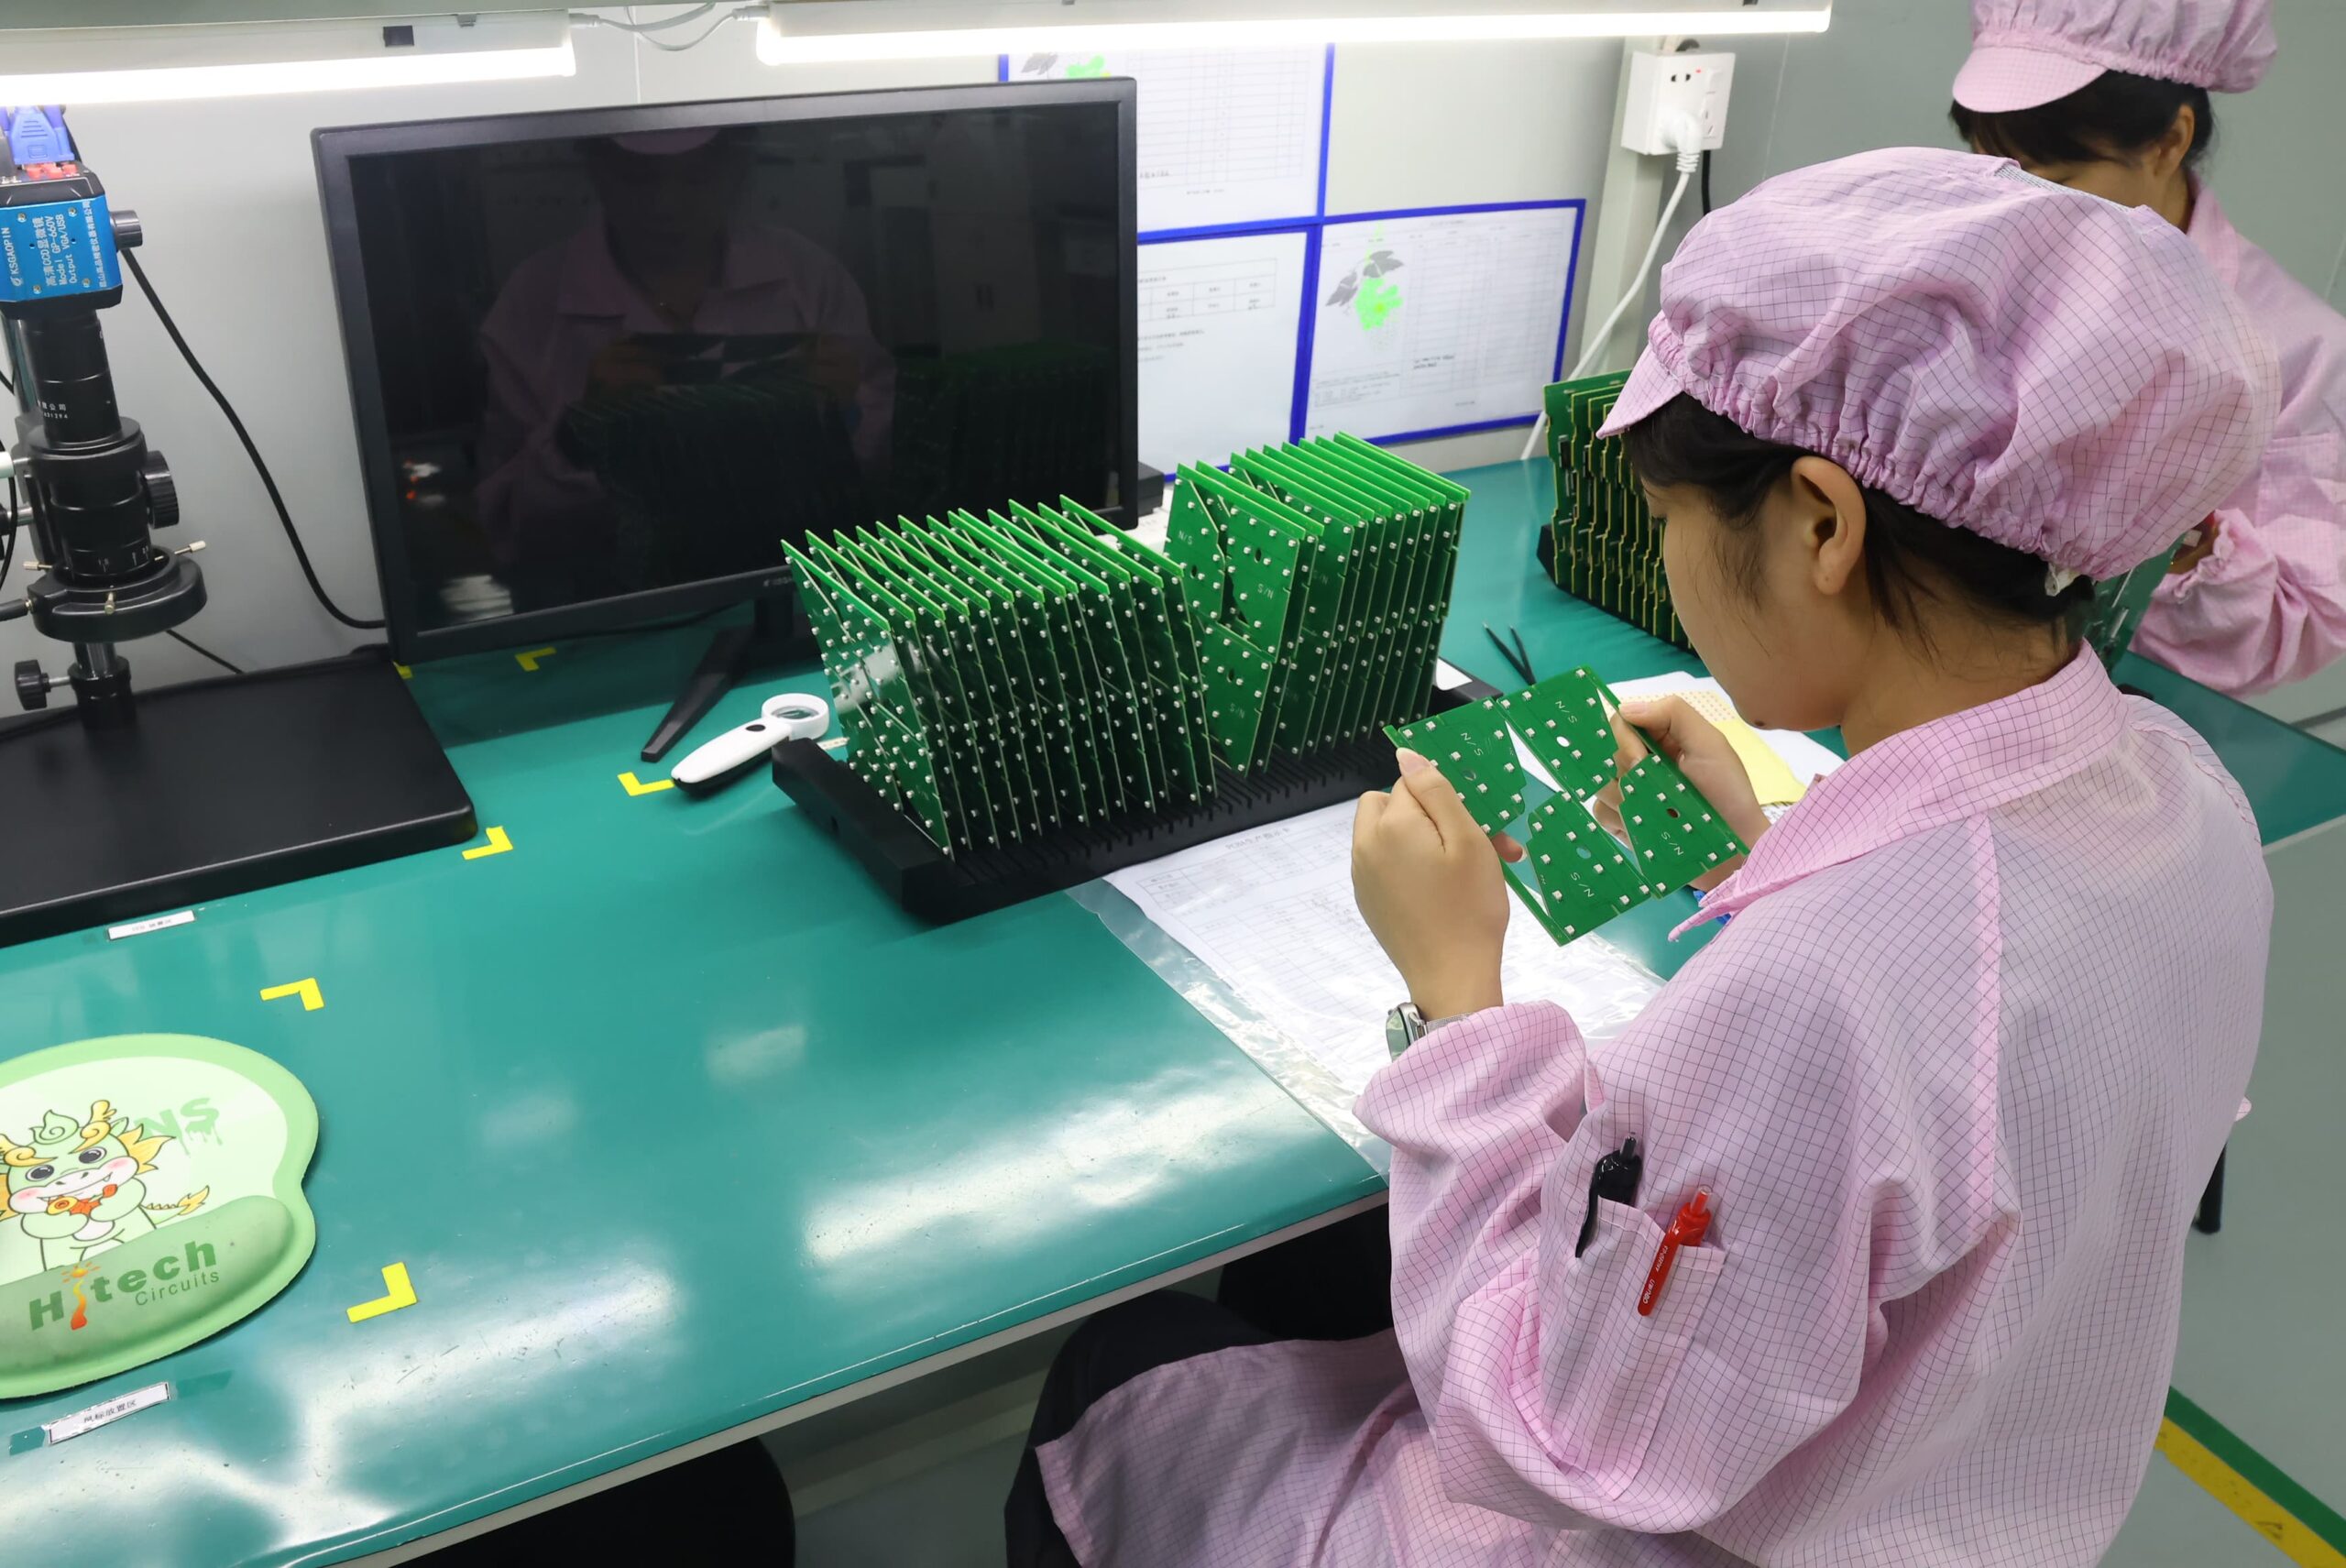
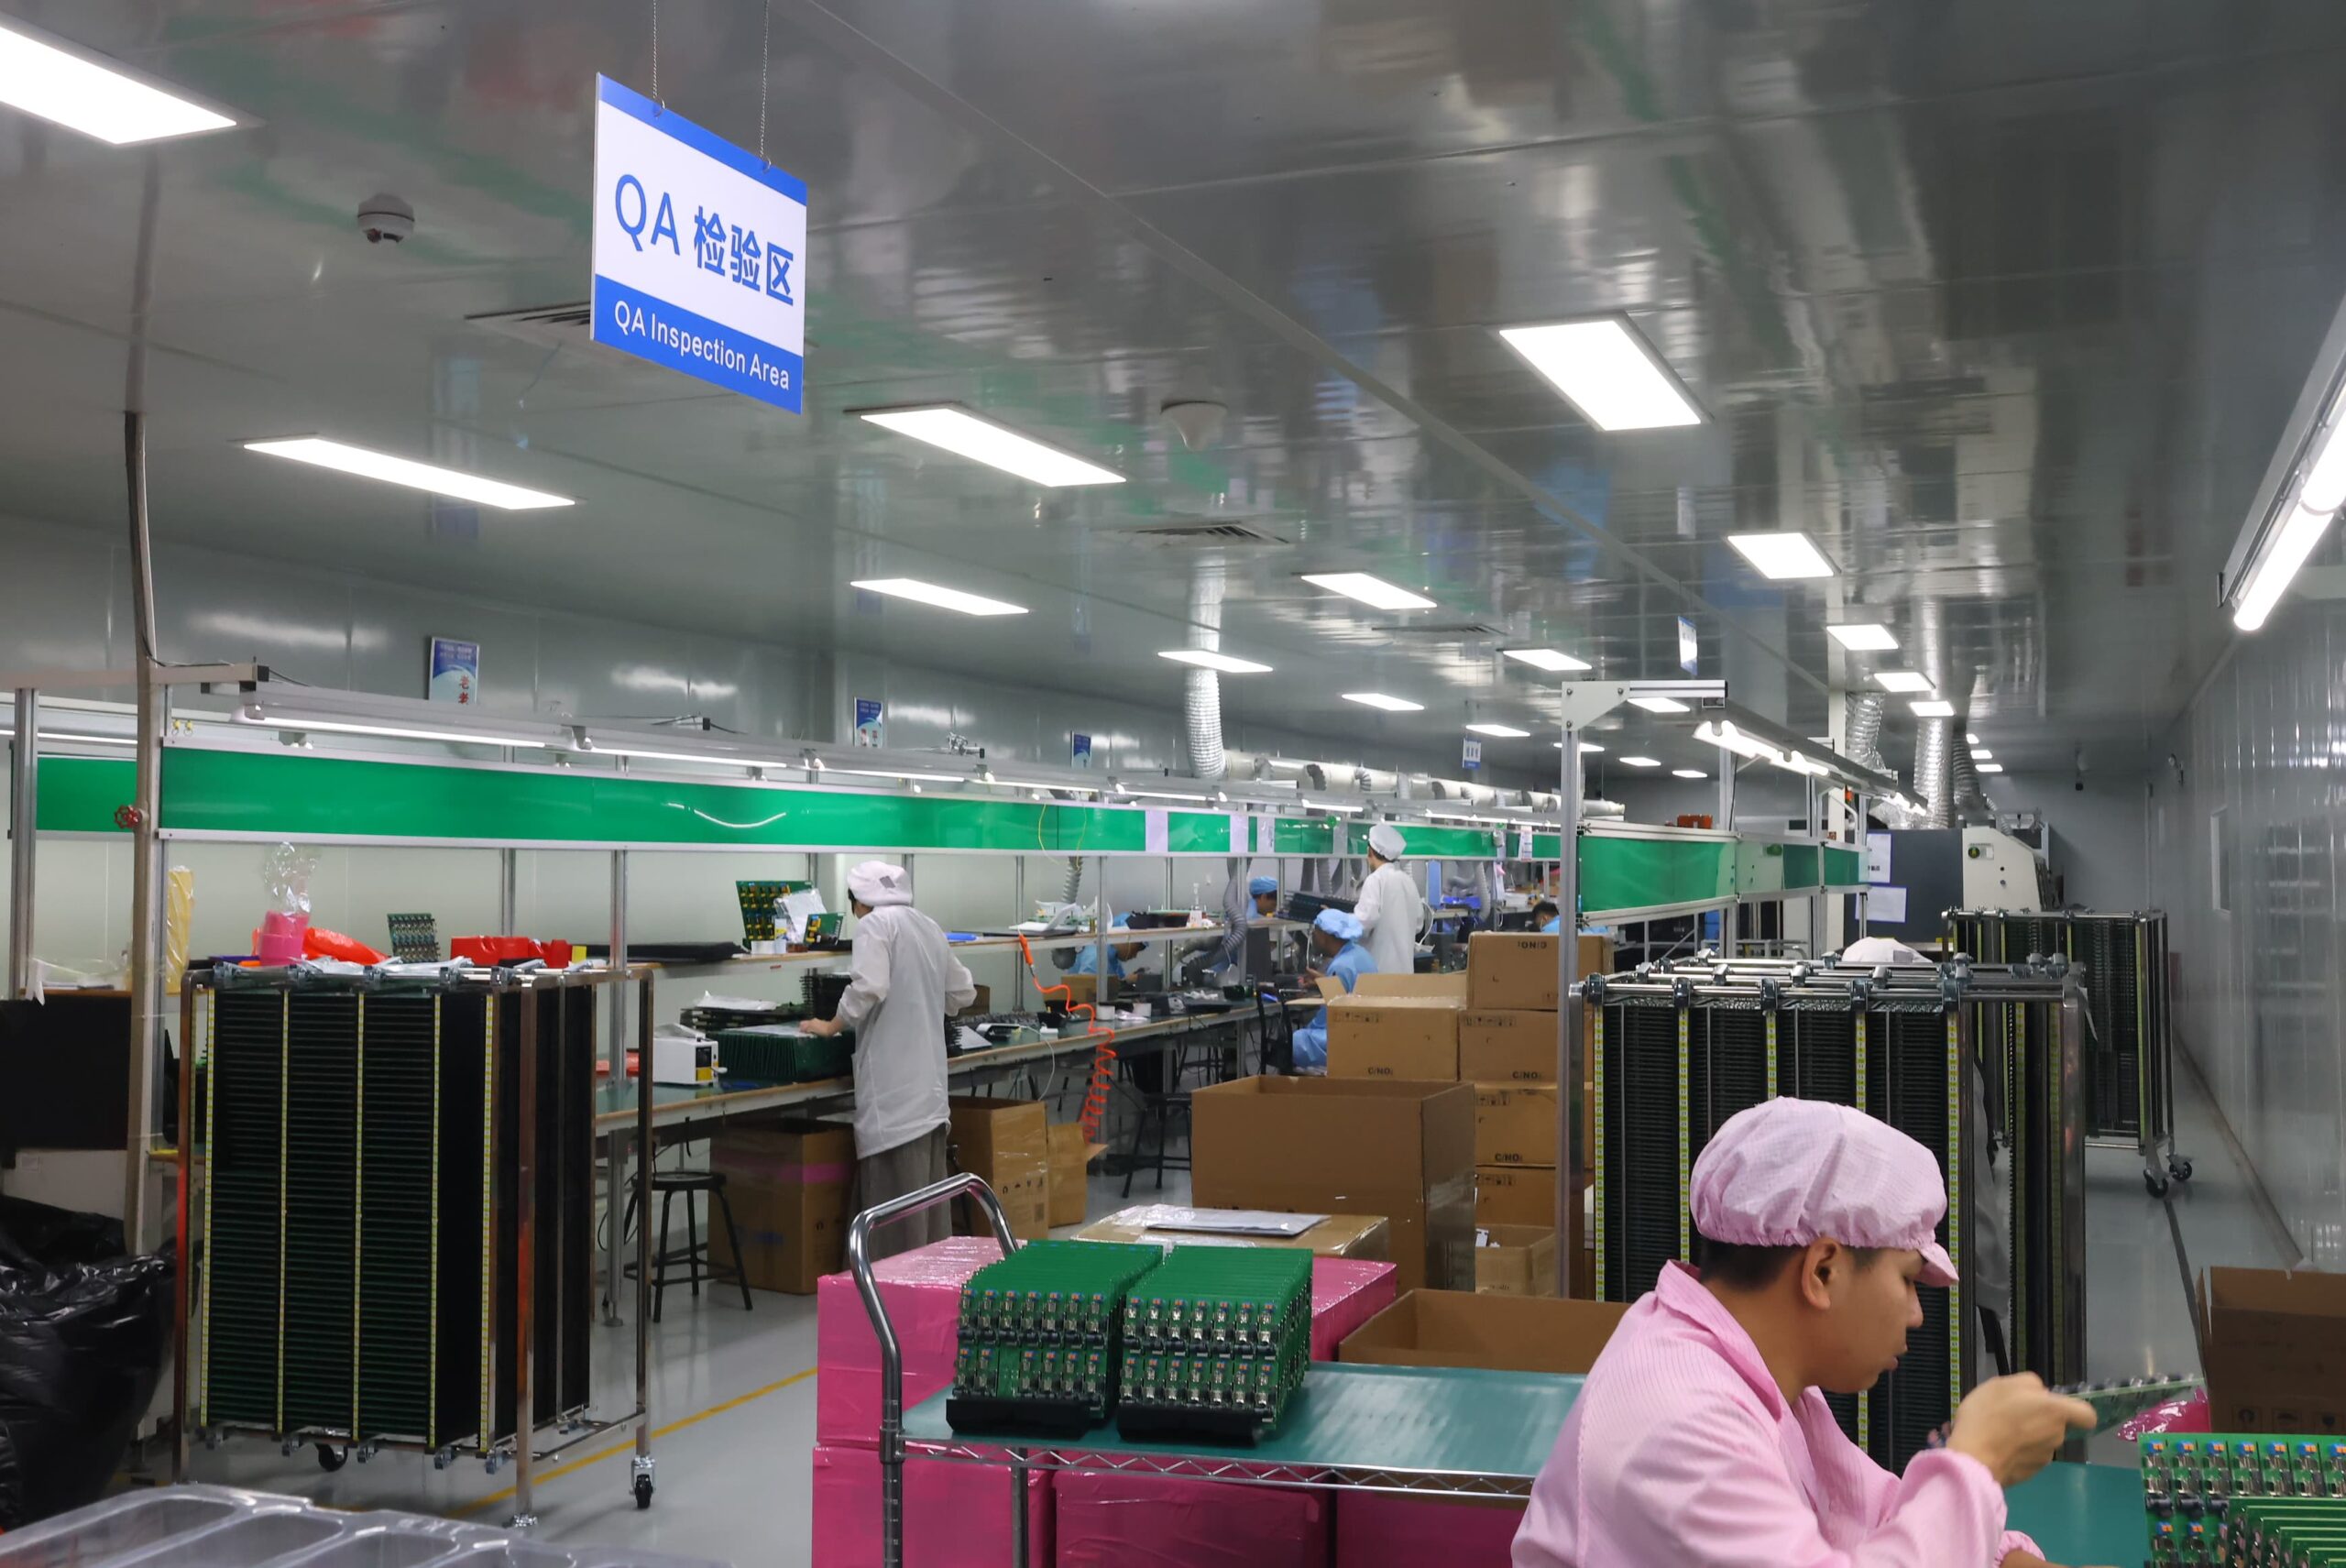
Our PCBA Production Lines

Frequently Asked Questions
Both are bottom-terminated leadless package families. QFN normally distributes terminals on four sides, while DFN primarily uses two-sided arrangements; I/O distribution, escape routing, stencil distribution, and EPAD geometry therefore differ. The exact package drawing, not the family label, sets the PCB land pattern and assembly origin.
The exact package drawing determines both the assembly origin and land pattern. Land-grid arrays place an array of lands beneath the package, while QFN packages typically place lands around the bottom perimeter of the package, with the center area normally reserved for an EPAD. Land-grid assemblies shift most of the solder interface beneath the package and affect escape routing, paste distribution, and X-Ray interpretation, while QFN packages may retain some visible perimeter evidence depending on terminal geometry. The assembly choice should be made by analyzing the terminal map, exposed-pad convention, board routing, inspection plan, and repair requirements associated with the completed package assembly before making a final decision.
The QFN assembly process uses bottom perimeter solder lands and is usually accompanied by an exposed pad. The flip-chip process uses bumps to connect the die directly to a substrate or PCB, introducing bump metallurgy, underfill, substrate planarity requirements, different imaging limits, and different rework methods. The increased interconnect density of a flip-chip assembly does not automatically make it a drop-in replacement for a QFN process; therefore, the device architecture and qualification plan must support the entire flip-chip assembly process.
Fine-pitch assembly increases project cost when a step stencil is necessary, SPI limits are significantly tighter, overlays of alternate-source components are required, the loaded-board profile must be determined, X-Ray or CT is required, via treatment must be controlled, a test fixture is needed, or only a limited number of repairs can be made after the initial assembly. Therefore, any project cost estimate must take into account the limiting aperture, inspection depth, anticipated yield, test coverage, component availability, and recoverable board value rather than only the terminal pitch.
Fine-pitch joints with visible solder can use visual or AOI evidence. However, if QFN EPADs, BGA assemblies, or overlapping structures have hidden solder joints, internal solder patterns require imaging when their geometry affects joint acceptance. X-Ray scanning is used to determine solder distribution beneath hidden EPADs and BGA assemblies, whereas electrical or functional testing is used to determine the electrical connectivity and behavior of the joint. The final combination of X-Ray and testing depends on joint visibility, EPAD function, overall product risk, and the released acceptance criteria.